Sunday, January 22, 2017

Stash report: January 22, 2017

 Tonight I'm linking with Judy Laquidara's Stash report... you can check it out here

I'm not figuring seams... these projects were not cut from yardage,  so I'm going to estimate from lengths of goods,  for both top and backs  from the overall size on most of these.  


Since my report last week, 
  • I completed my January UFO backing / binding ... 5 yards 
  • The   top of same....  estimate..... 6 yards 
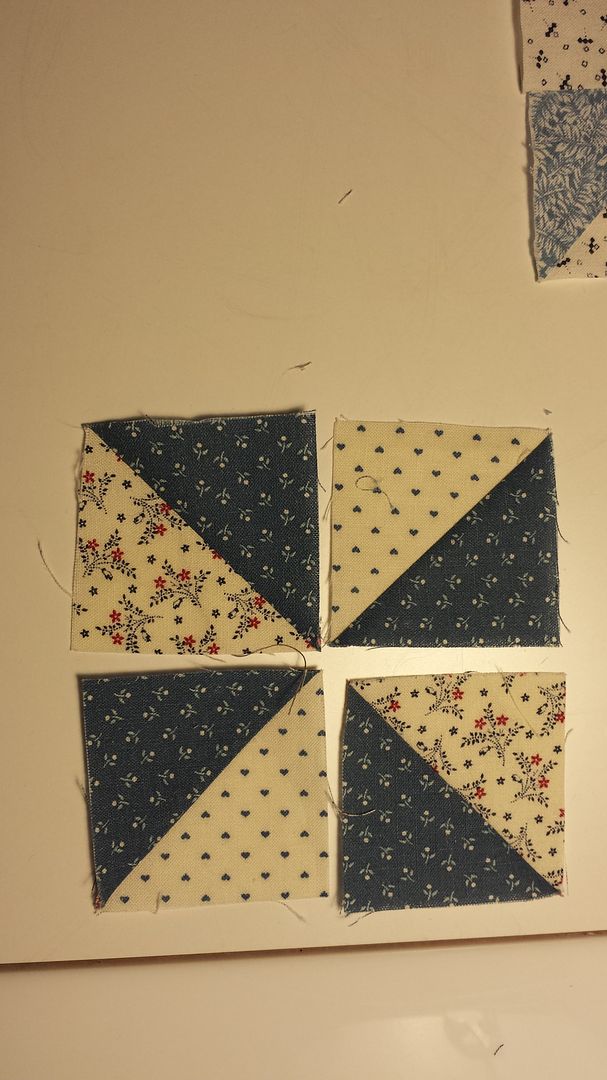
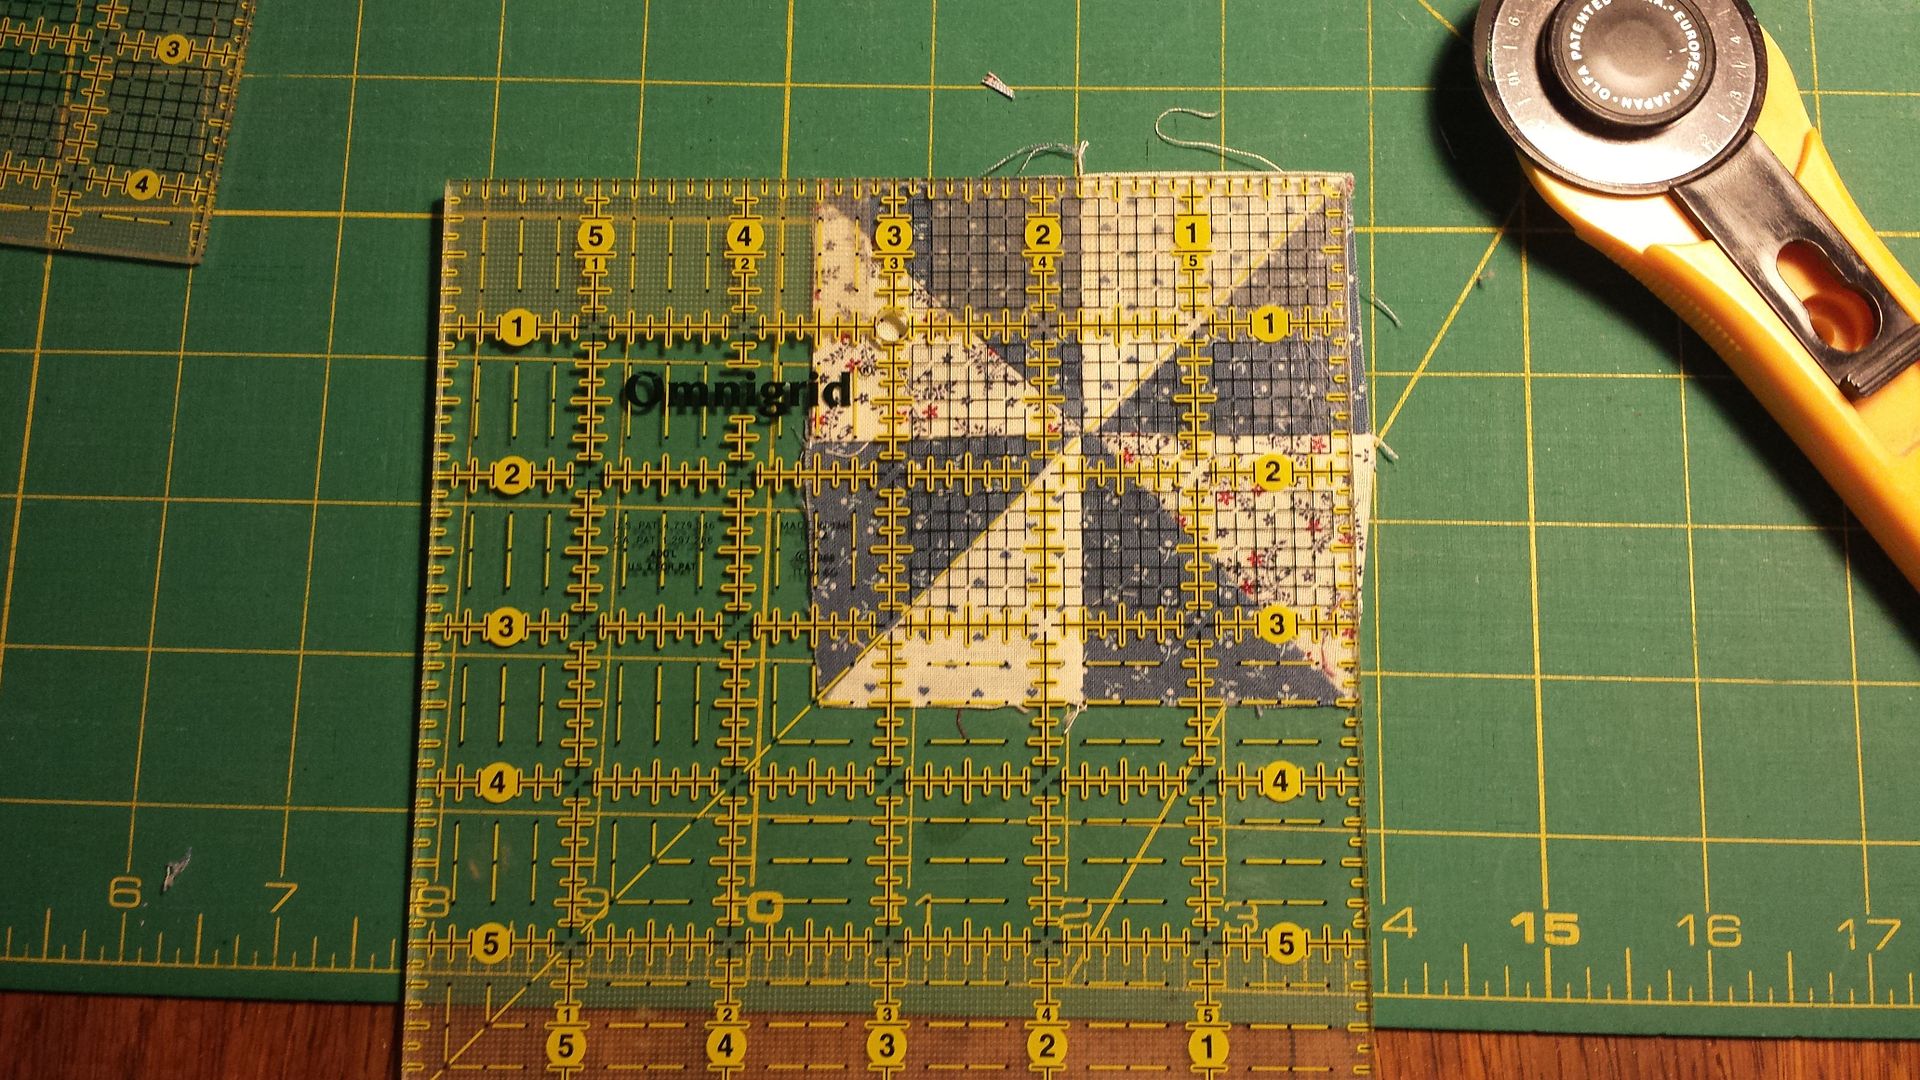
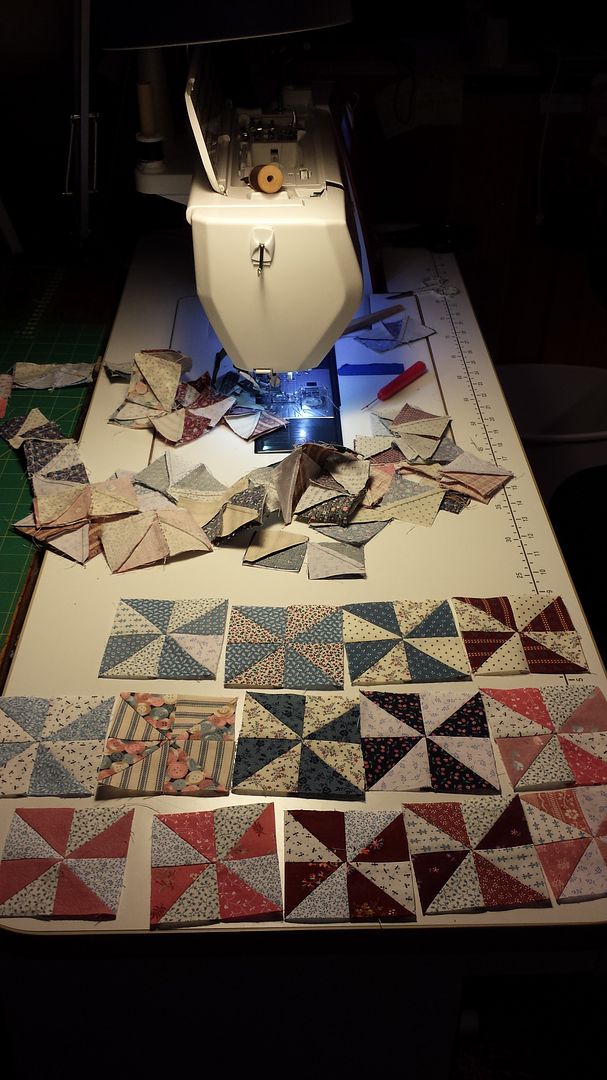
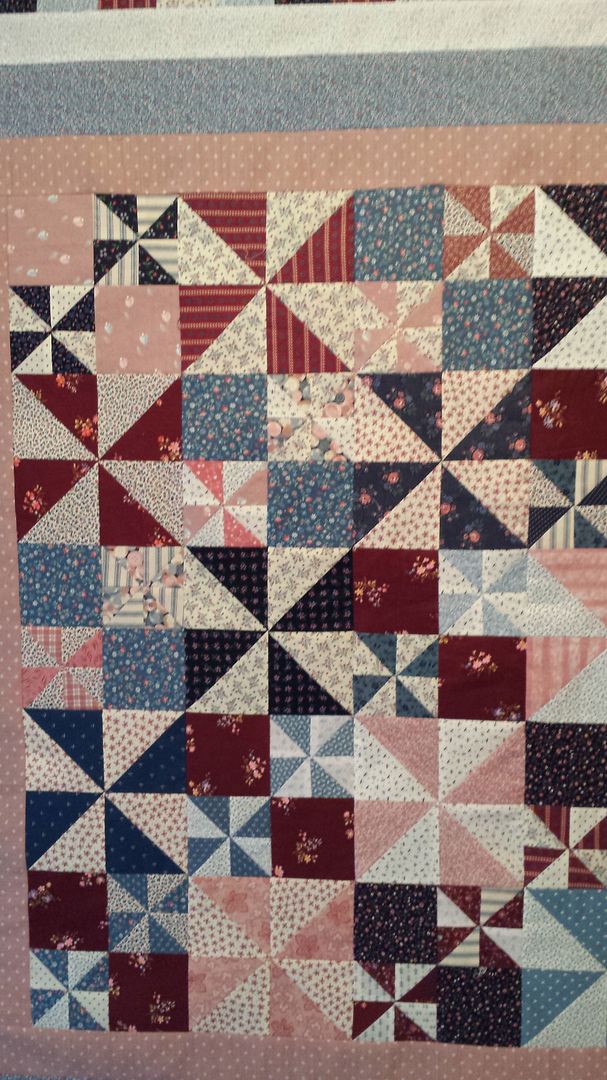
  • I completed  a 42" square lap quilt....    2 1/2 yards  (blue  pink pinwheels )
  • I also completed the blue rail fence lap quilt  44" square  2 1/2 yards  
Fabric Used Since last report : 16 yards 
Fabric Used year to Date: 24 yards
Fabric Added since last report: 0 yards
Fabric Added Year to Date: 0 yards
Net Fabric  as of last report:  16
 yards used
Net Fabric for 2017: 24 yards Used 

Purchased batting:  January 2017 (took advantage of 50% off with an additional 20% off coupon) 

     15 yards of Soft and Bright  (90" wide) 
     15 yards of Hobbs 80 / 20  (96" wide) 
     10 yards of 4 oz poly   (48" wide) 

Batting used to date 2017: 

    as of 1/22/2017,  with the exception of finishing up the last 2 yards of Hobbs 80/20 from a roll to complete the January UFO,  

and 1 3/4 yards of Soft and bright  for the QOV which was also the end of a roll, 

all the other quilts finished in 2017 have been done from pieced scraps from my batting  scraps totes.  

Sunday, January 15, 2017

Stash Report January 15, 2017

     The idea?  well,   I'll report how much fabric I've used  in FINISHED Projects and we will keep track of how much fabric is used,  and how much is obtained during the year.  We are hoping for more fabric going out.  

     I'm linking to Judy Laquidera's  linky party... click here   Judy shares every week,  since I went more than 5 months without posting,  I'm not making any promises,  but I'll do my best to post at least once a month. 

     I've been on a finish binge.... that's what happens when it snows in Oregon.... schools close,  we stay home... and I stitch.   I'm not figuring seams... these projects were not cut from yardage,  so I'm going to estimate from lengths of goods,  for both top and backs  from the overall size on most of these.  


  • I've finished a table runner.... 1 yard    
  • I've also finished 3 doll quilts..... 3 1/2 yards   
  • A 30" lap quilt....   2 yards
  • A 40" lap quilt....  2 1/2 yards 
  • A Quilt of Valor  pillowcase ... 1 yard
  • A Quilt of Valor  60 x 76"  ... 8 yards estimate 
                                   Total  18 yards   (estimate )


Fabric Used Since last report : 18 yards
Fabric Used year to Date: 18 yards
Fabric Added since last report: 0 yards
Fabric Added Year to Date: 0 yards
Net Fabric for 2017: 18 yards used


Tuesday, January 10, 2017

Easy Pinwheels from Bonus Triangles - A Tutorial

 
      A few days ago,  I came across some of those "bonus"  half square triangles.  You know the ones.... when you are doing a flip and fold technique on snowball blocks, etc.?    

     At first,  I was going to take the ziplock baggie and toss it into the "orphan block" bin, and deal with it later....  

    Then I thought....  why am I saving these for later?  The matching fabrics from the project are still right here where I can pull from them if needed to do something with them.    

     As I was stitching the original project,  I had already stitched  1/2" away from the original seam, so that when I cut them off, they were already sewn... 

     I spent the evening while watching TV,  pressing these open.   I sorted them as I pressed,  putting them with like fabrics.  Some had sets of 4... but most had sets of 2.  
So then,  I paired up two sets of 2 that had similar tone and value.    

     The first couple of sets,  I trimmed to a nice square.  These still needed trimming after they were assembled into pinwheels,  and since I wanted this to be a quick "Use it Up" type of project,  I really didn't want to spend a week sliver trimming 4 blocks and then the larger blocks.    I also realized that a couple of the sets I trimmed before assembly were then slightly smaller than the  3"  or 3 1/2" size I was hoping for.    

    Then,  I got an idea... what if I stitched the pairs into the four patch needed to create the pinwheels,  and then trimmed at the very end..... How would they turn out? 


Here is my first set of 4.   The dark fabric is the same, but the neutrals are different.  My first step was to trim the dog ears from them with some small snips.  I did not worry about any wonkiness at this point.


Then.. I set them out in the layout I wanted, alternating the two different fabrics like in the picture below...

Can you see where the two sets are not quite the same size?
The one on the left is larger than the one on the right.... I didn't let this bother me.  I just made sure that the center seams matched, even if the outer edges were not even.


I treated them like a standard 4 patch  making sure that my diagonal seams meshed together  for a nice center. 

Here are the four stitched into "twosies"....  
Then I stitched the center seam, matching the center as the priority, rather than worrying about the outer edges of the seam.  


I spun my seams, creating a mini pinwheel on the back, which gives it a much flatter center... and pressed well.

While looking at the back,  You can see the spun seams at the center,  and you can also see where the outer edges are wonky.


You can see that there isn't much to trim,  but it will cure that "wonky curve" on the right side.  Trim.


See how cute it is?


Here are my first 5.   Looking good!


I hope you try this method for using up some of those leftover pieces.....

Monday, January 9, 2017

A Study in Pinks and Blues... (really old pinks and blues)


Boxy Stars  a Bonnie Hunter Pattern 

     I'm linking up with Bonnie's mystery link up tonite.... Linking to Bonnie's link up party

      In the interest of trying to push many UFO's out of the nooks and crannies of my quilty space,  I promised myself that I was just printing off mystery quilt directions and that I need to completely finish 5 UFOs (quilted, binding and label) BEFORE  I can start anything new.  

      Sew... instead of the mystery,  this is what I've been working on.   I put the last row onto this donation quilt....  Not sure why it wasn't yet attached.... but it is now.    Ready to be quilted!  

     Although I had (and still have)  many of these fabrics in my stash,  the majority of these fabrics were 2 1/2" strips that were in the boxes of fabric we pull from for donation quilts out in Corbett.   Someone had cut the strips,  many, many strips... I find it hard to believe that these were leftover from a project.  I doubt I'll ever work my way through.  

     I used Bonnie Hunter's pattern,  "Boxy Stars",  which uses 2 1/2" strips exclusively.   You can find the pattern under the FREE Pattern Tab on Bonnie's website.    Go here    

     I still have a project box full of blues,  pinks,  and burgundy to use use up.   As I was cleaning up,  I found the baggie full of the bonus triangles that were already stitched, that had been cut off when creating the points of the stars.   and... better yet,  I decided not to put them in the drawer of project parts.... since I had the fabrics still handy I decided to play.    I pressed and matched sets to create pinwheels.   (see my tutorial on how I saved a step in making these in the tutorial tab above)     I ended up with a total of 48 pinwheels,   about 1/2 of them measuring 3 1/2"... and the other half 3" after trimming.    


Working on the pinwheels....
     Once the pinwheels were done,  I divided them by size.  Using the larger (3 1/2") ones,  I played with a couple of quick layouts.   I chose to place them in four patches  and make some (12) 6 1/2" pinwheels to mix with them.  My goal was to have a lap quilt to donate to our guild's project... and they like them about 45" square.  

     While digging through the box of pinks and blues... I ran across some leftover piano key sections from another quilt I had worked on several years ago....  hmmmm  this will work!   After some coping borders,  I came up with my 45" top.... and believe it or not... I had a total of 1" of that piano key border left after trimming in in half.   Score!  

Lap Quilt       45" square  

     You can see that the pinwheels are not all the same fabrics within each pinwheel....  some are, but most are not... just  the luck of the draw in how the triangles worked out when cut from the original project, which was random.  
   
Center Section Detail 

Detail photo 


      Now... about those 3" pinwheels....  Next up is a doll quilt,  also for our guild.  This measures about 22 x 27".   I had some 3" strips of the blue with hearts in the box, and since they don't play nicely with the 2 1/2" strips... I cut them in half at 1 1/2"  and used them as a border around each pinwheel.  This made it much easier to work with those little edges, and gave me the size I was looking for.  


Doll Quilt  Donation for Toy n Joy.....   22 x 27"
     
    There were also 3 full leftover blocks and 3 partial sections left from the Boxy stars... 
 I see the making of a second doll quilt!   In the interest of  wanting to move forward quickly,   I made the executive decision to just fill in the missing piece with a large solid square.... rather than cutting pieces for another unit.  (Believe me... I emptied the bin out and looked to see if I could find the missing unit, but I think I vaguely remember a rotary cutting accident where one got sliced by mistake) 


Boxy Stars  Orphan blocks.... Now  a Doll quilt    24" square
     Unfortunately,  these all still need to be quilted, and bound to be called "FINISHED",  but they are closer than they were..... and I am well on my way to helping both our guild, and the Corbett Windy Hill Quilters in meeting the needs of community members for 2017.  
     I also kept some pieces out of my orphan block bin....   Now.... what to do with all the rest of those 2 1/2" strips....  thinking I might do a "Jelly Roll Race"  and use them up!   I haven't made one of those yet.... and I have enough strips that I could probably get 2 lap quilts made.   I'll keep you all posted,  but you'll have to wait awhile,  'cuz that would be starting something entirely new,  which I can't do just yet.   So for now,  I'll neatly fold the strips and extra fabrics together in their project box and put them away for another day.   

Tuesday, January 3, 2017

2017 UFO Challenge - January

      Judy Laquadera hosts a UFO challenge each year.  We choose 12 Unfinished projects that  need to be completed.   My list for 2017 looks much like the last couple of years.... but I did finish 4 quilts on my list last year, so that is progress, right?   You can check out Judy's blog here Patchwork Times

      Judy pulled the number 3 for January... so this is my number 3. 

#3.  My Favorite  Green Blocks Quilt ... 


This was an internet exchange.  I won the blocks for Feb 2010.  I actually got the top put together by June!  big shocker!   Now, it sits here waiting for quilting.  I have the backing purchased,  just need to pin, quilt and bind....  nearly twin size.   Also from my 2011, 2015, and 2016 UFO list.


      I guess this is the first one to get  pin basted this next week.  I'm hoping that my finish picture of this quilt will be of better quality...