Showing posts with label Bonnie Hunter. Show all posts

Monday, November 26, 2018

Good Fortune Mystery Part 1 Linky Party


  I have so many unfinished projects and tops that are waiting for quilting...  I love to follow Bonnie's Mysteries,  but I told myself that I wasn't going to dive in, until I got 10 of the 20+ finished tops  waiting for quilting  done.    I wasn't even going to determine my colors... Nope... Not even going to go there...   Roll Roll Cotton Boll is waiting to be quilted,   Jamestown Landing is  in pieces to be assembled.   On Ringo Lake is waiting for a day that I can go learn to use a longarm.  

     I finished # 9 on Saturday!    # 10 is chosen, and ready to be sandwiched.     

     I took some time to clean off the flat surfaces,  I've quilted 9 quilts since July 1st.  And the pieces of leftover binding,  parts trimmed off after quilting,  leftover backing that needed to be taken care of...  you all know... the evidence that something has happened in your creative space.  And there were three little things I needed to do this weekend, that I decided to take care of.   My guild name tag needed to be made,  the block kit I brought home to make for our 2020 opportunity quilt,  and the Block of the Month for our Dec. Meeting.  Since I had taken the FMQ foot off the machine to do the binding on  quilt # 9,  it seemed like a good time to get those done before delving into quilt # 10.  

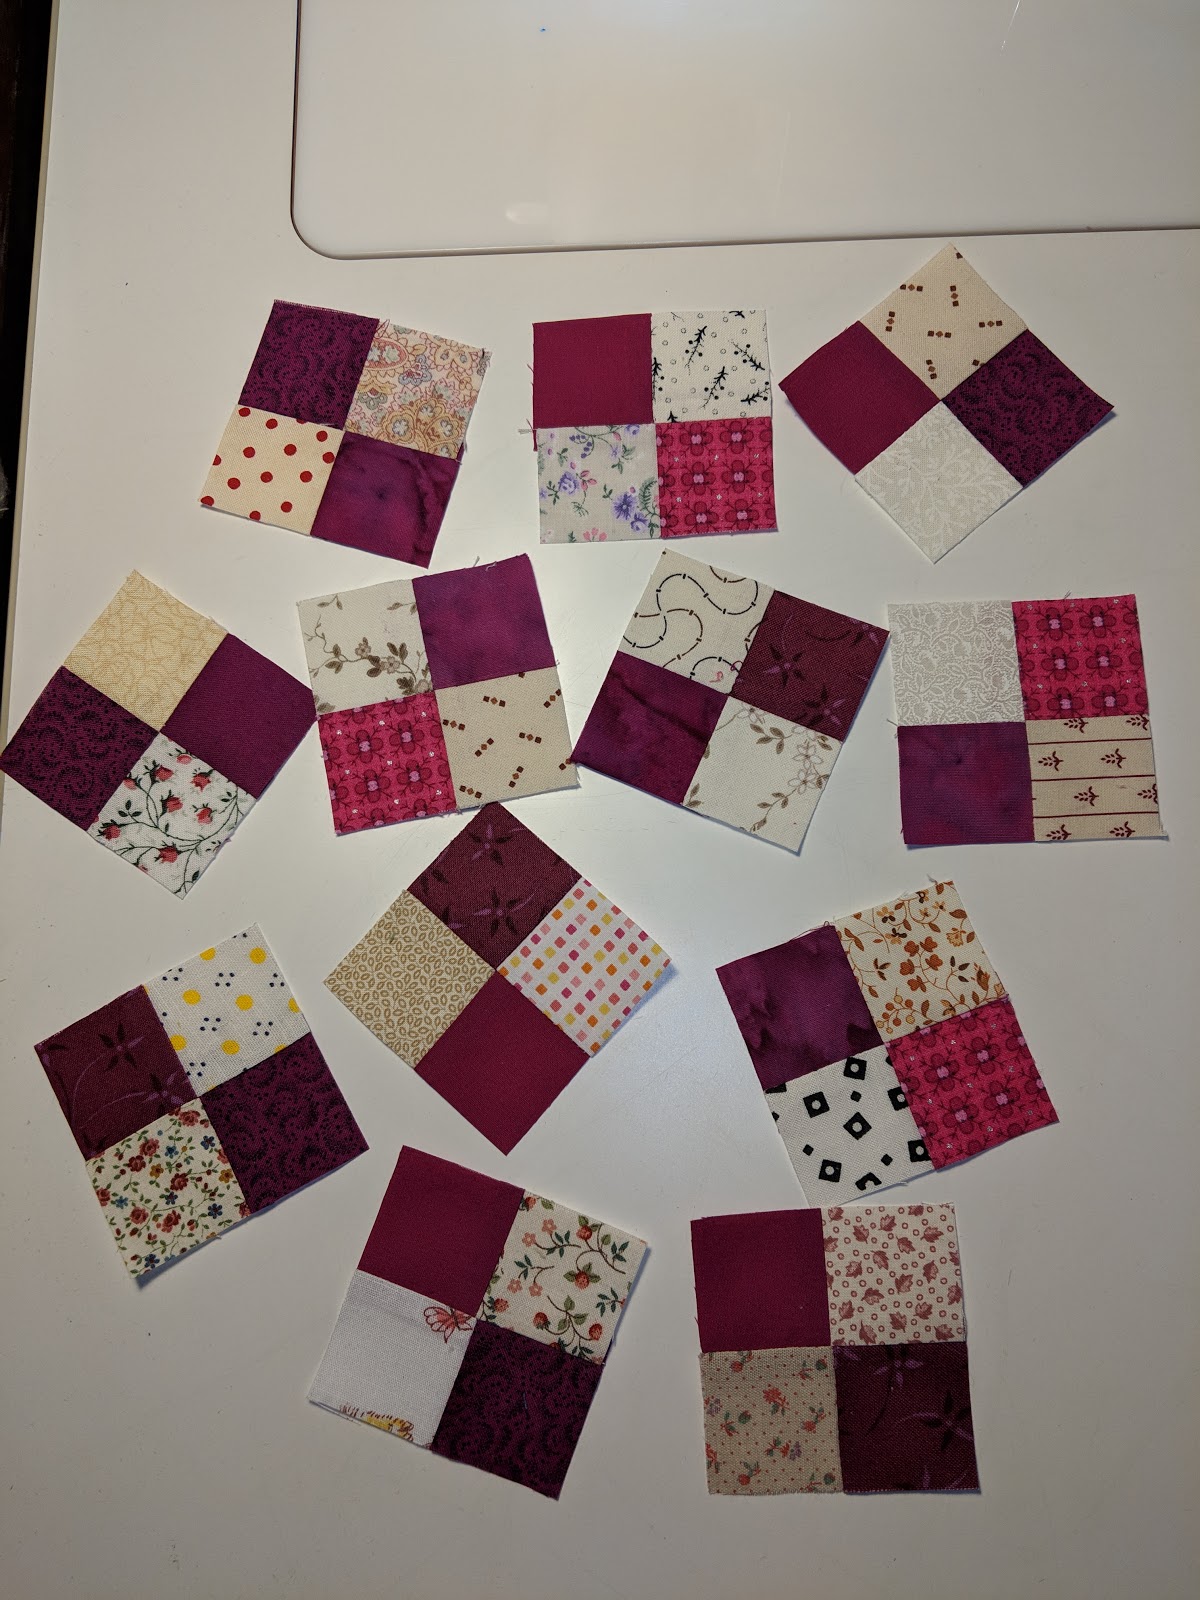
     But!  If I'm piecing blocks,  I need leaders and enders.  Hmmmm how about a dozen or so little four patches....  😇😇😇  

      Now,  I need to pick a color,  at least for Bonnie's  red.   I had played around with colors that were, pink,  raspberry,  lt. brown and dk brown,   but up until yesterday morning, I hadn't committed.   I knew I had lots of lt. pink,  and tons of browns in the scrap system,  but raspberry?    I had to go looking.    


      In all that fabric,  I had just a few little scraps of raspberry...  on believe it or not,  they were in the box of pre-cut squares that were the right size!    I would  Ineed to buy more of this color  to finish the clue and to do later units,  but it got me through the blocks I needed to finish.  So.. I am officially 5% done with clue #1.    

      I stopped at three stores today after my Quilt of Valor sew day,  and found enough prints between the 3 stores to give me a nice variety.    

    I am linking to Bonnie Hunter's Linky Party    Linky party for Clue 1 Good Fortune

  and  more information on the free mystery quilt "Good Fortune" can be found on her website & Blog until January 2019.    Bonnie's Blog link to Good Fortune 

Friday, November 23, 2018

November Finishes

     November has been another productive month....  Yeah!  

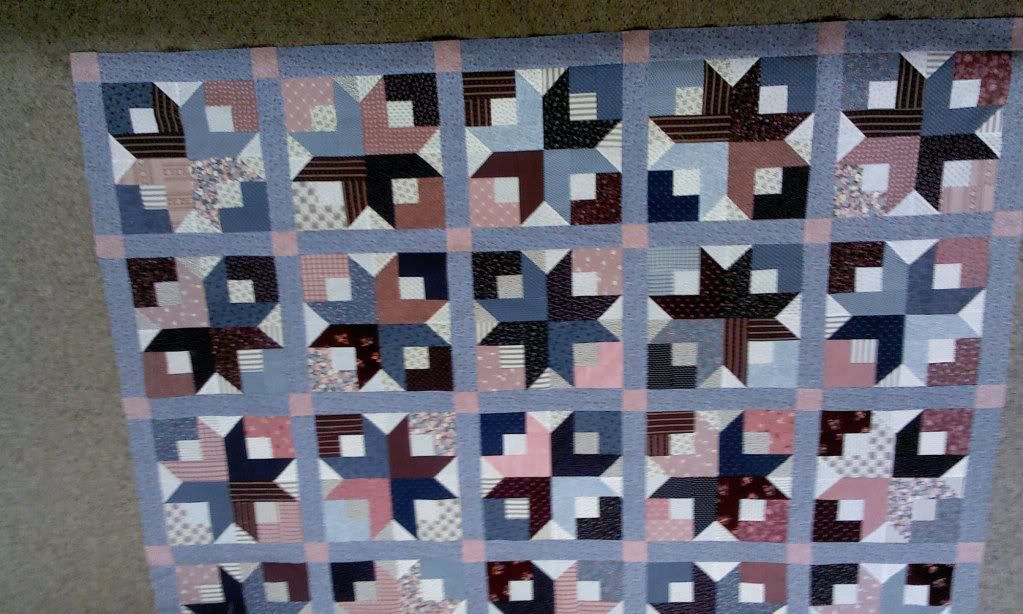
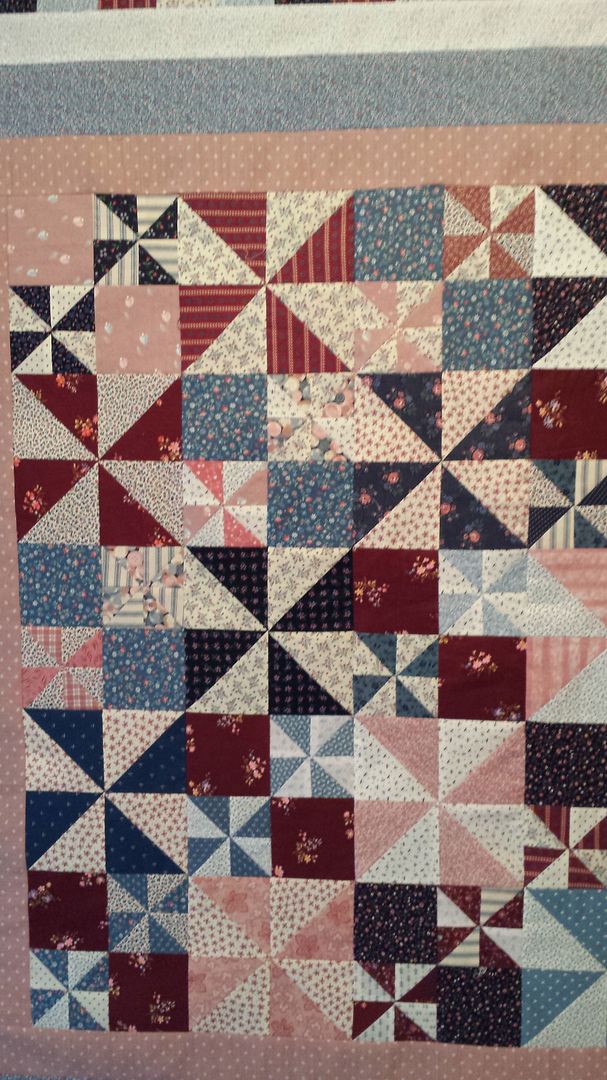
     My first finish for the month was this "Boxy Stars"  by Bonnie Hunter.  It's a free pattern on her blog.     I started this a few years ago as a stash buster for donation of the many 80's calicos I have in my stash that are blues and pinks.   I  didn't purchase all of these,  but folks seem to think I like these colors,  because the collection just keeps growing.   

     This is a going to the Corbett Windy Quilters Donations.    I decided to quilt this one simply,  using echo stitching in the center stars,  and switchbacks to help hold down the outer designs.    I used a wishbones motif in the sashings. 

      I used a new to me batting, which is Fairfield Cotton.  It is thinner than warm and natural,   quilts up similar to an 80/20 blend.  The price was right!  I bought the 20 yard roll for less than $ 70 on sale with a bonus coupon.  It washed up great!   And it is soft and supple after washing.  One of my new battings for donation quilts.  

   It measures approx 58 x 70.  No borders were used on this quilt, because it reached the size I wanted without one.  

    I wish I could say that I'm done with this color combo and these vintage prints,  but it's safe to say that there will be more quilts using these colors in my future.   


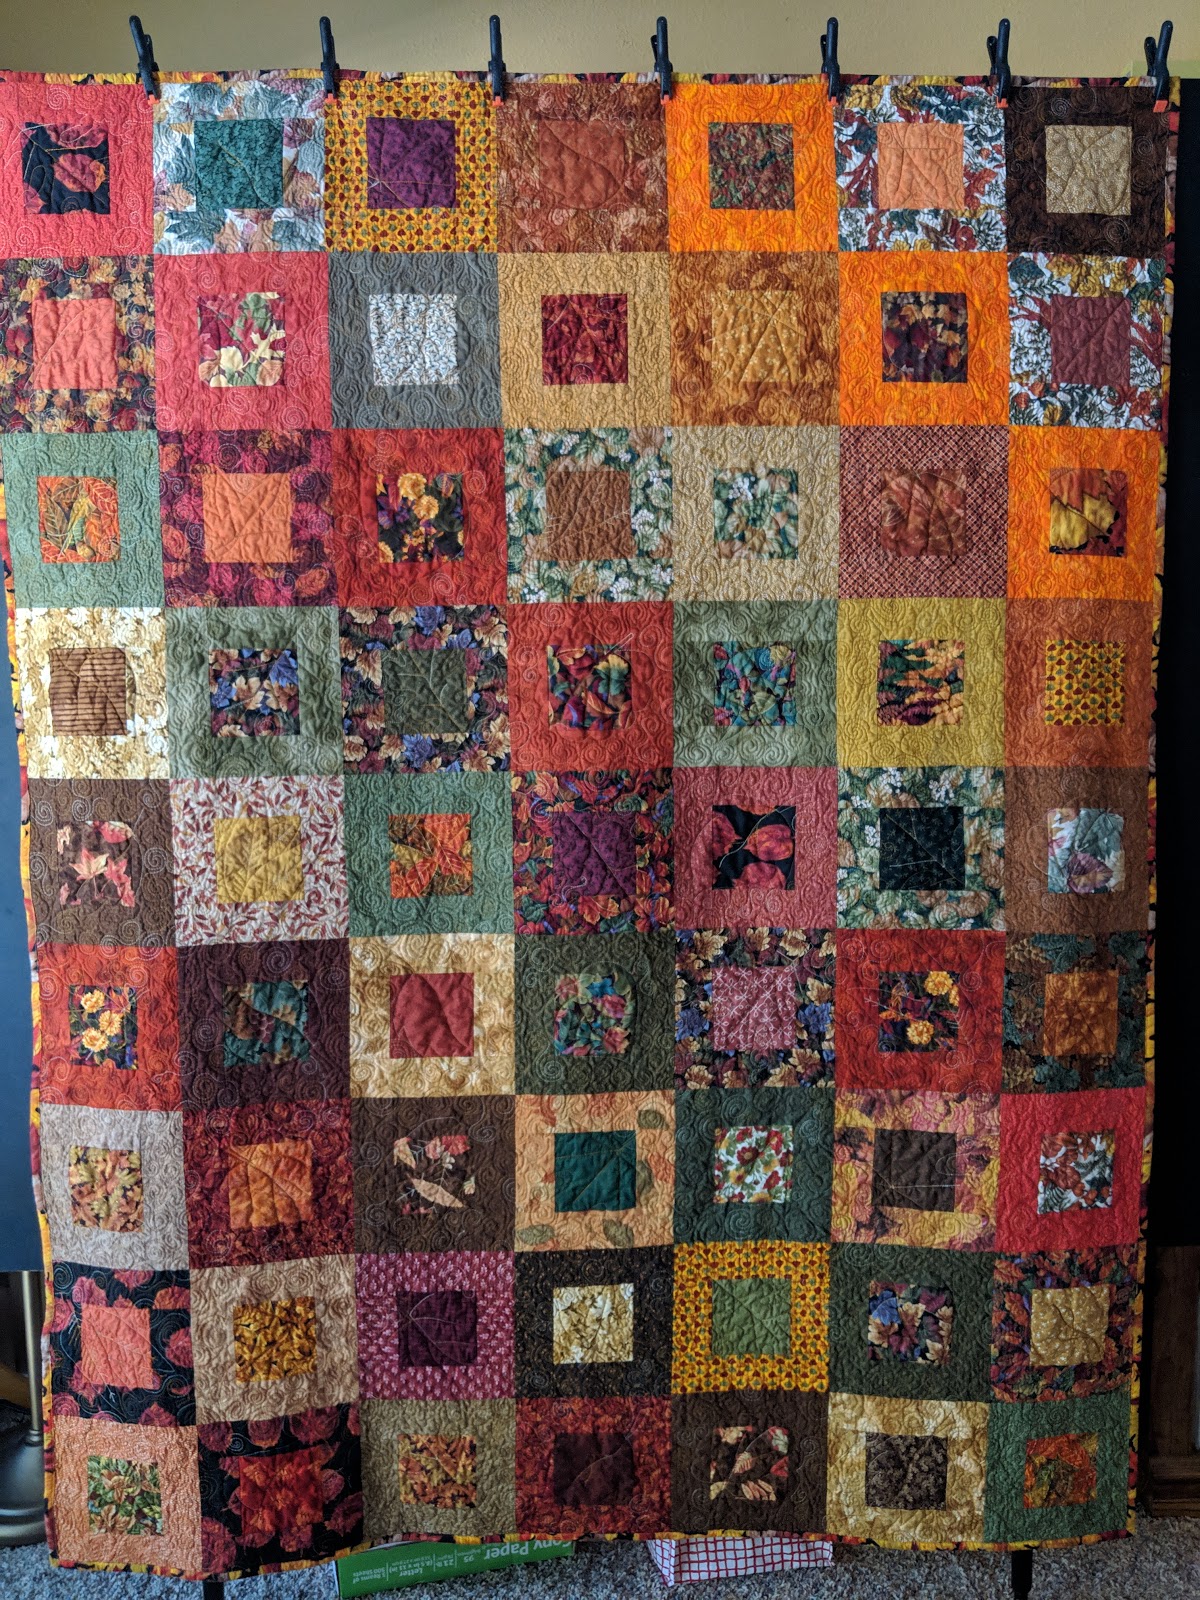
     "Autumn Leaves"  was my second finish for the month.  This is another quilt that has been lurking in my "Needs Quilting Pile" for too long.   These fun little "Happy Blocks" were some I won from an online quilting forum that  I used to visit often, called Block Central.   I made a whole bunch of quilty friends there before it went dark.   We still keep in touch on a facebook group,  but I think we all have so many blocks and projects from those previous exchanges and swaps that we don't really do that much any more.   

     Each month, the previous month's winner chose a theme.  It might have been color combos such as "turquoise and browns"  or a season, "fall leaves".   We made as many of these little 8" blocks as we wanted to, and for each set of 2,  our name went into the hat once.   I won several of these wonderful, luscious leaf blocks back in 2008, 2009....   I pieced to top after we moved to this house in 2009.  I had to make about a dozen more blocks to get it to the size I wanted.   It is a great lap size at 58 x 68. 

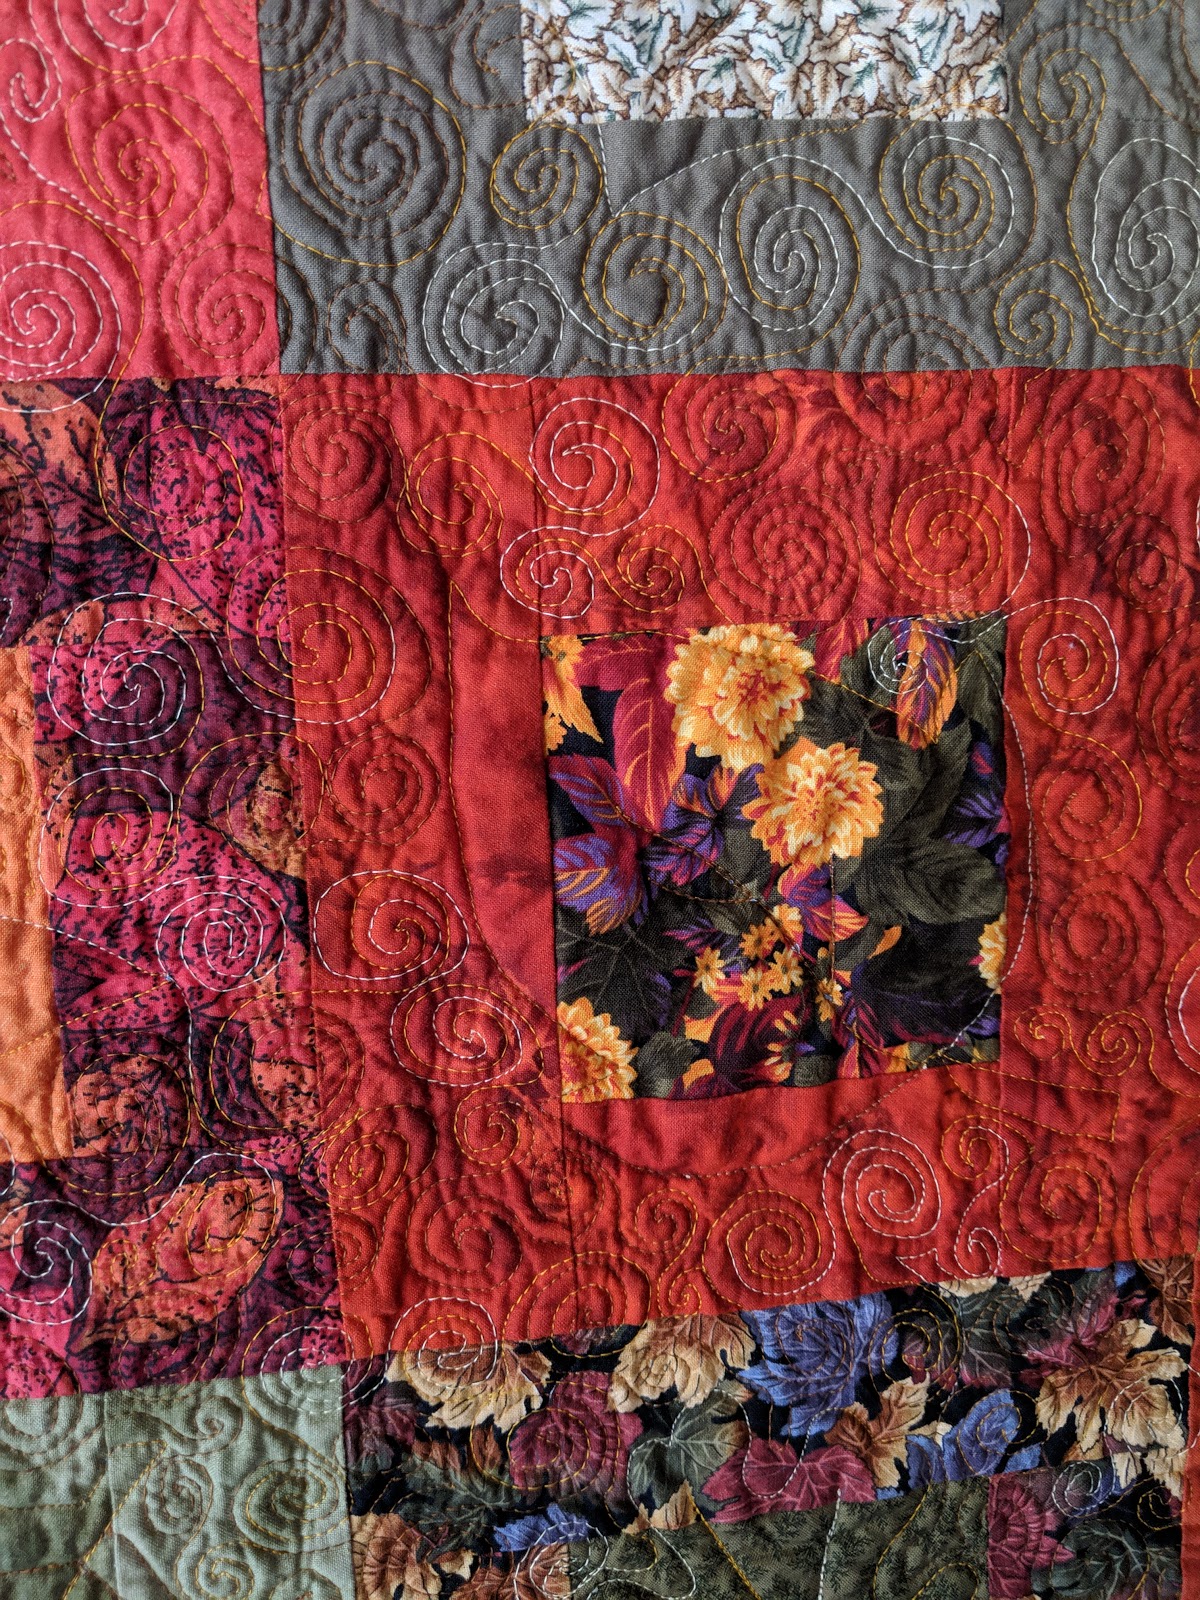
       I found a bunch of different leaves  using a google search for FREE clipart.   Then I enlarged or cropped each of them to get to the size I wanted.   I then traced these onto  Golden Threads Paper.  I stitched over the paper in the center of each leaf.  Then,  I filled in all around those leaves with a small swirl pattern.  No straight stitching or ditch work.   It feels like butter!  So soft and snuggly!   This one stays with me!  

      I used Hobbs 80/20 for the batting in this one. The beautiful backing was in a box of fabrics I purchased at an estate sale,  so it was a bargain.  It was a great piece  from Hancocks' that has a very soft, satiny feel.   


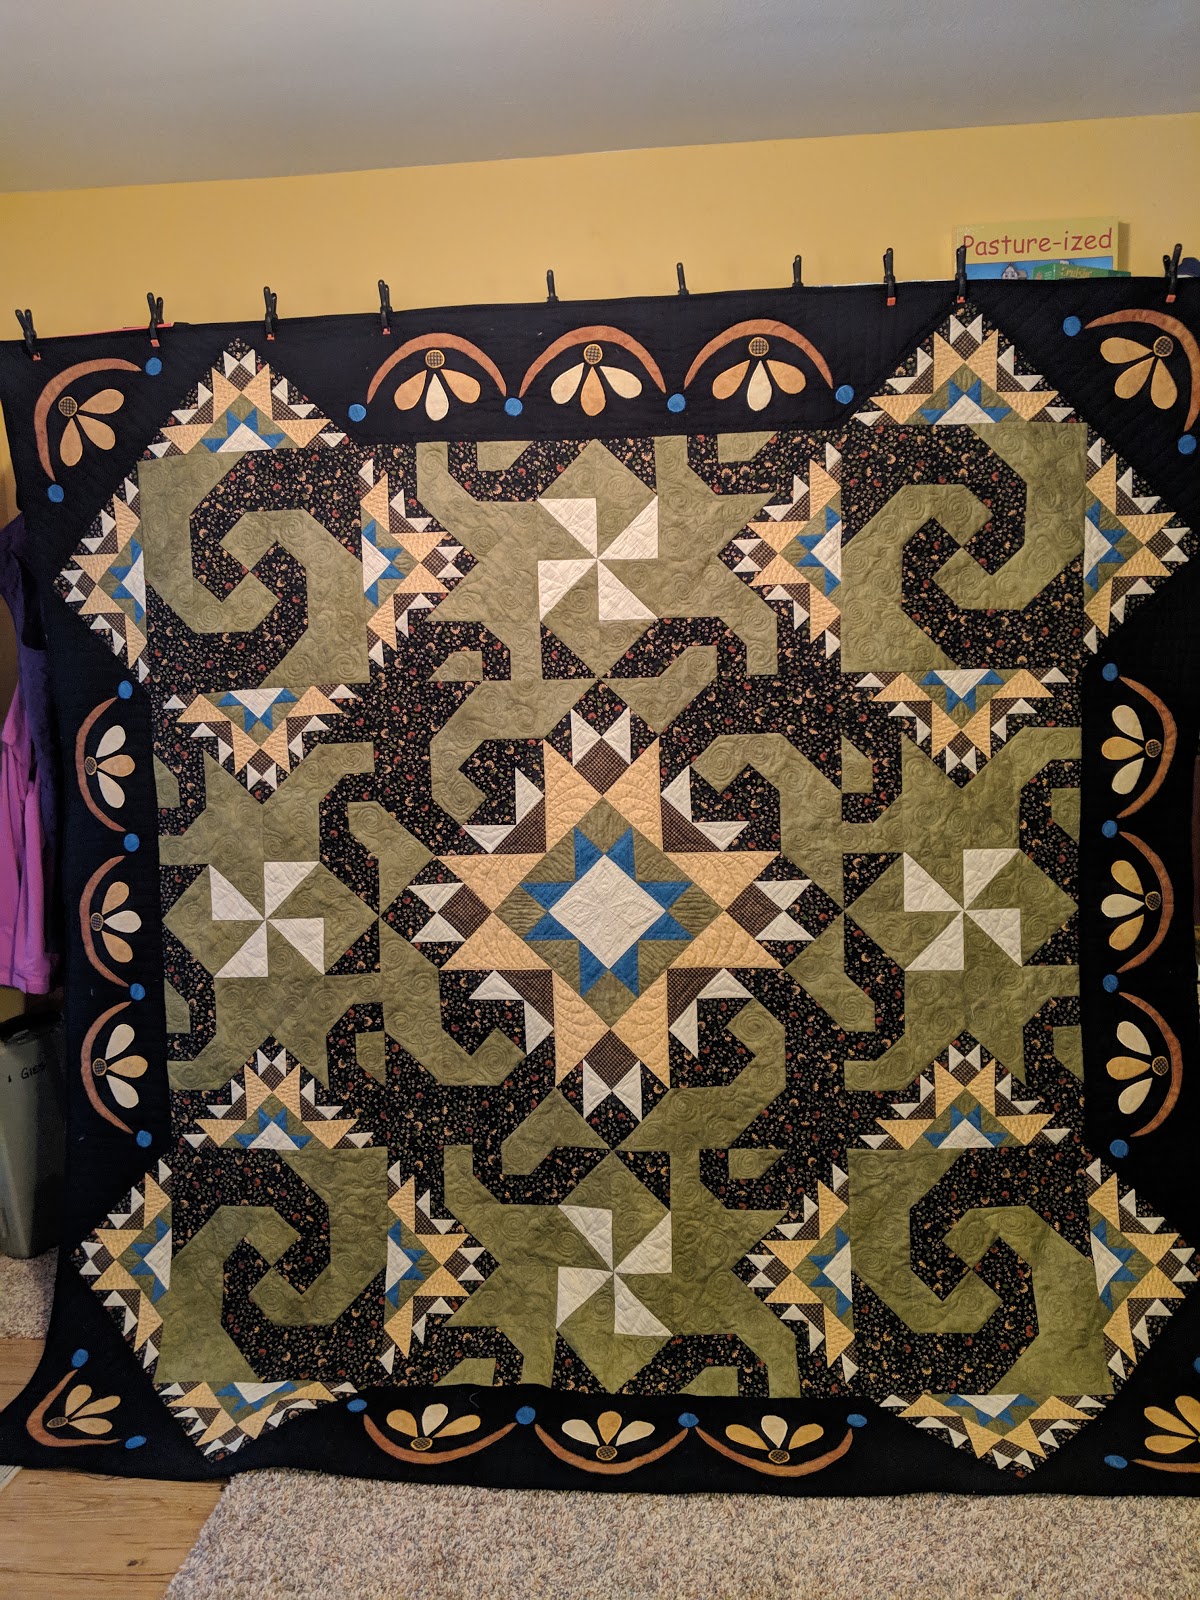
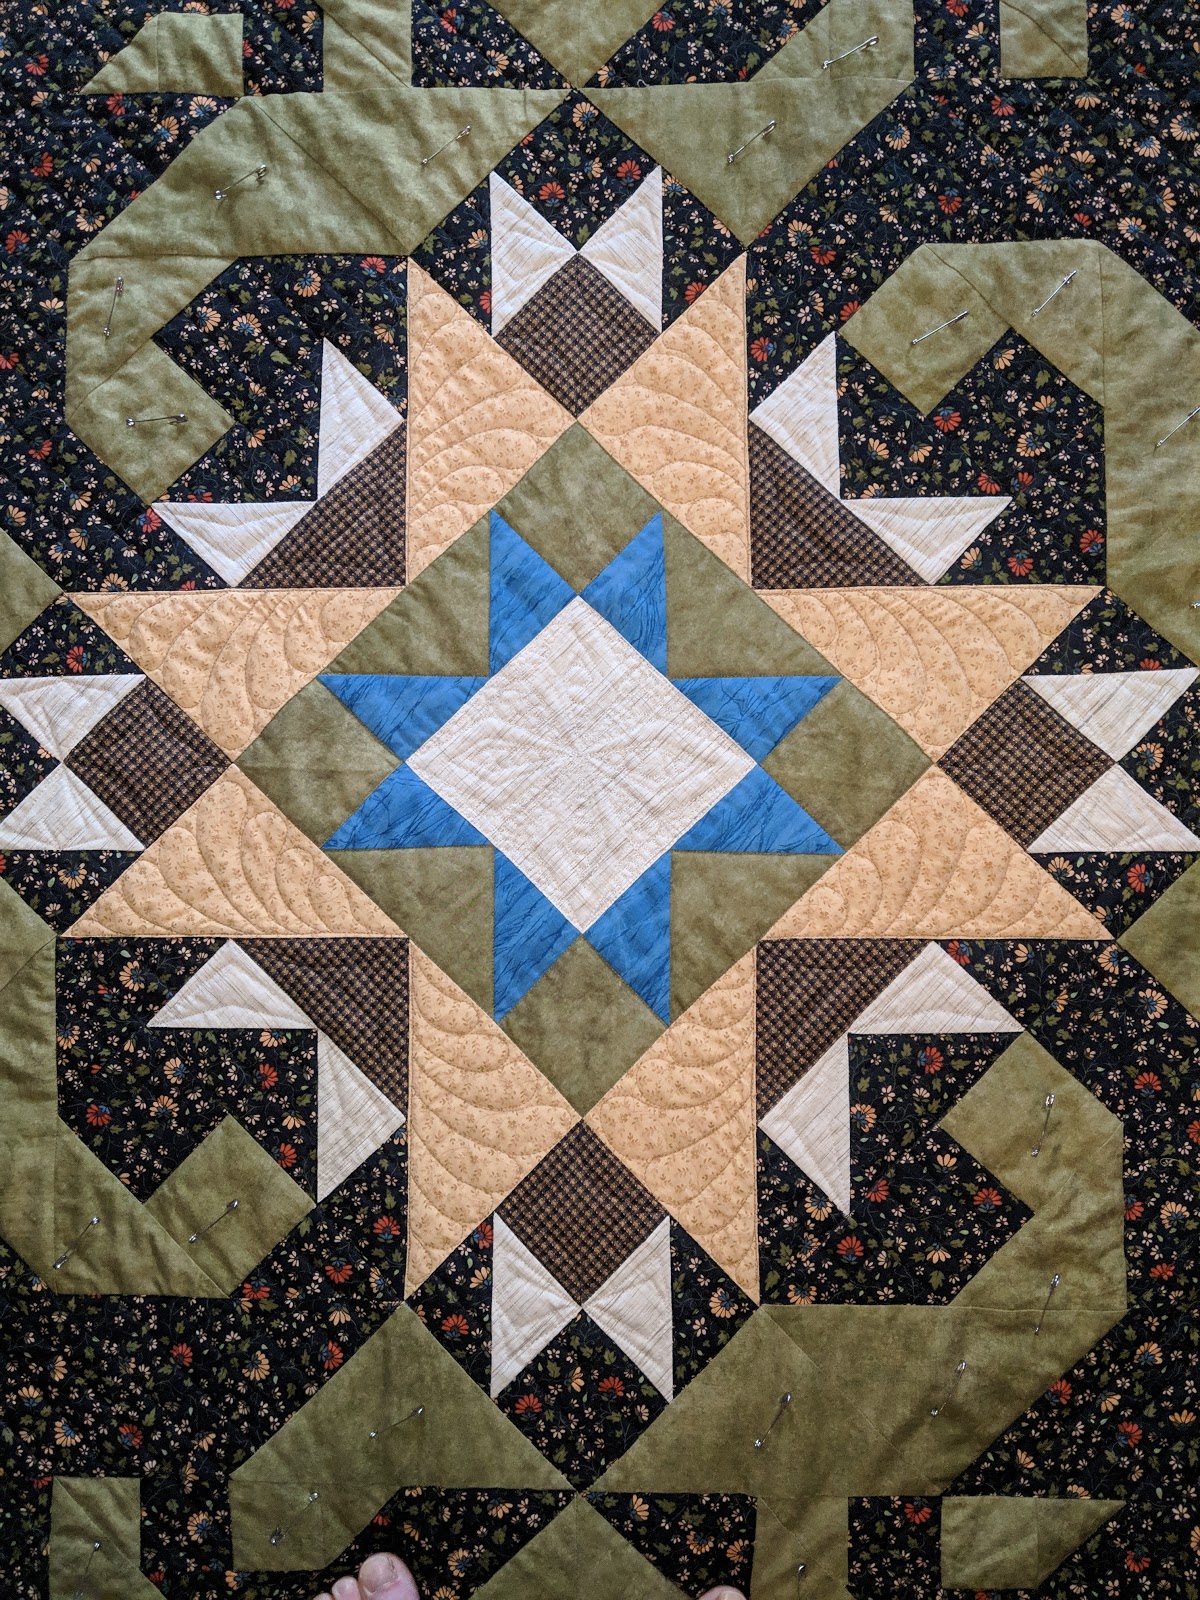
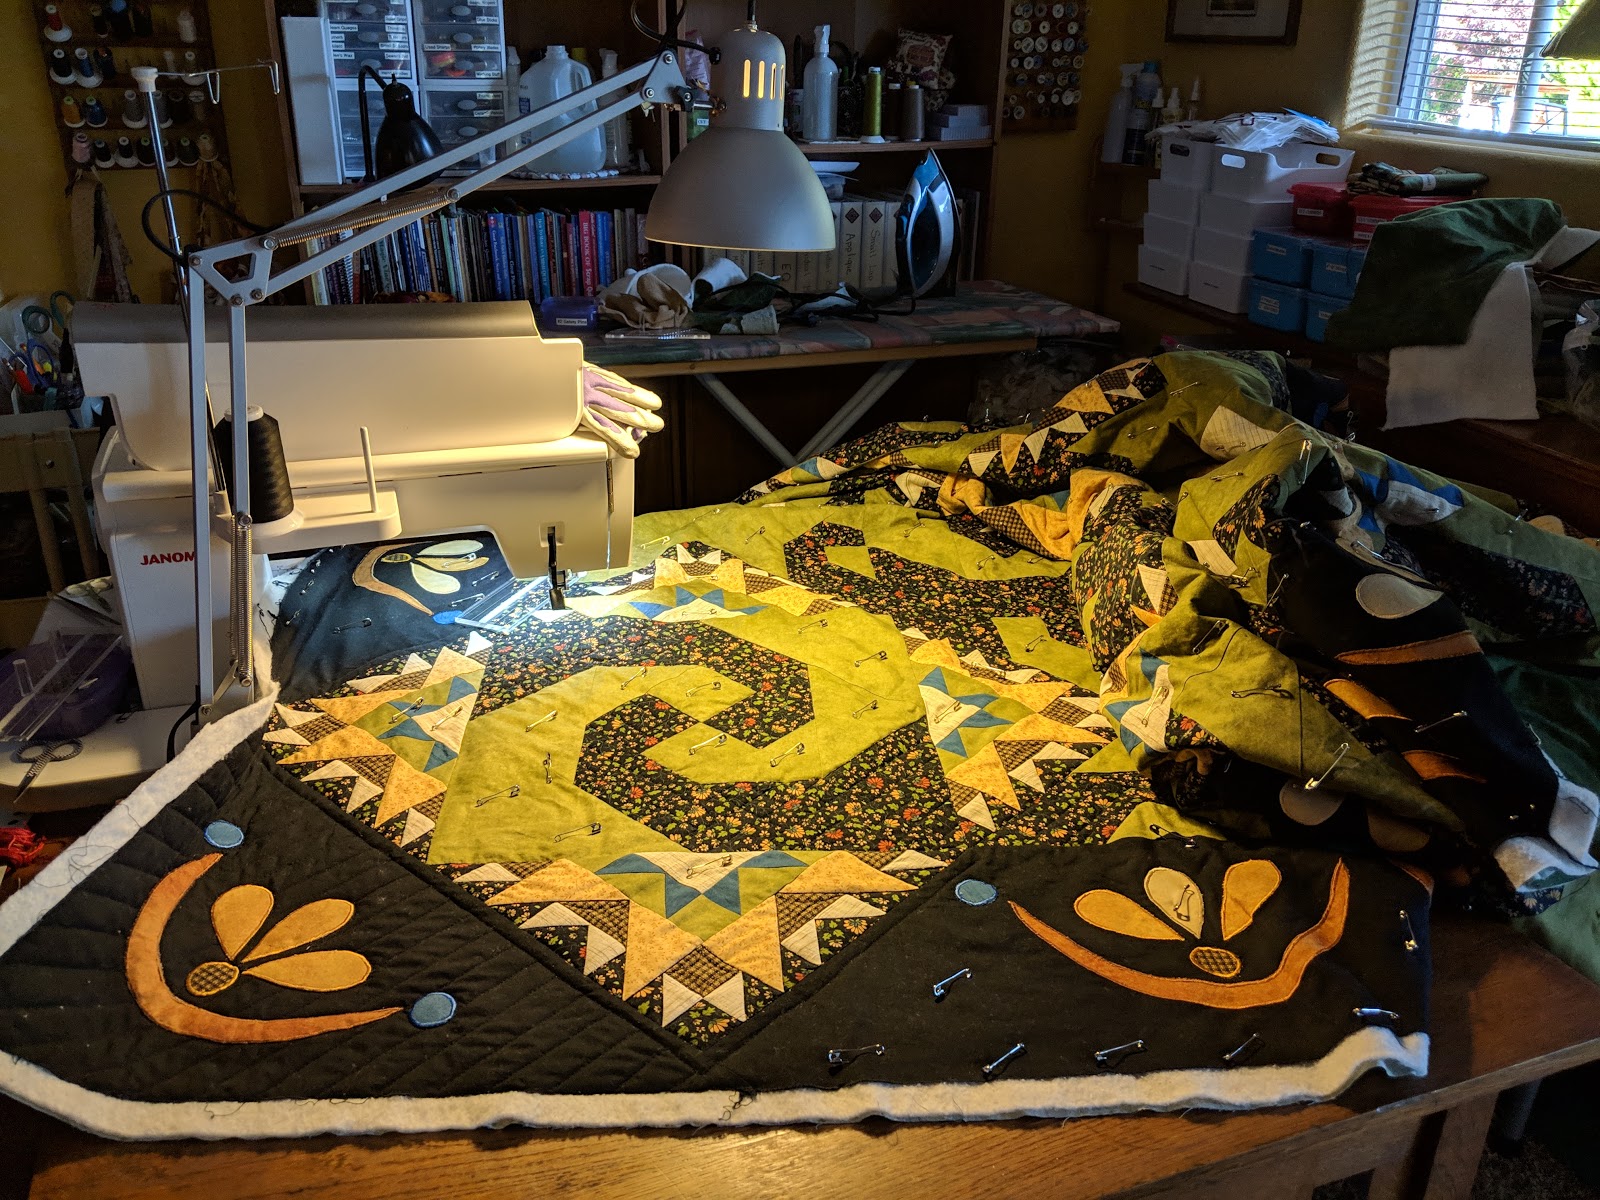
     "Friends and Fellows"  is my third finish or November.   You may have noticed a theme here,  but this top was pieced in 2009.  I've tested patterns in the past, and this is one of the patterns I tested.  Jessica J. E. Smith from the "Quilt and Needle"  designed this quilt as a mystery weekend.   I believe it is one of the few patterns that she has designed that is not available for sale on her website.  

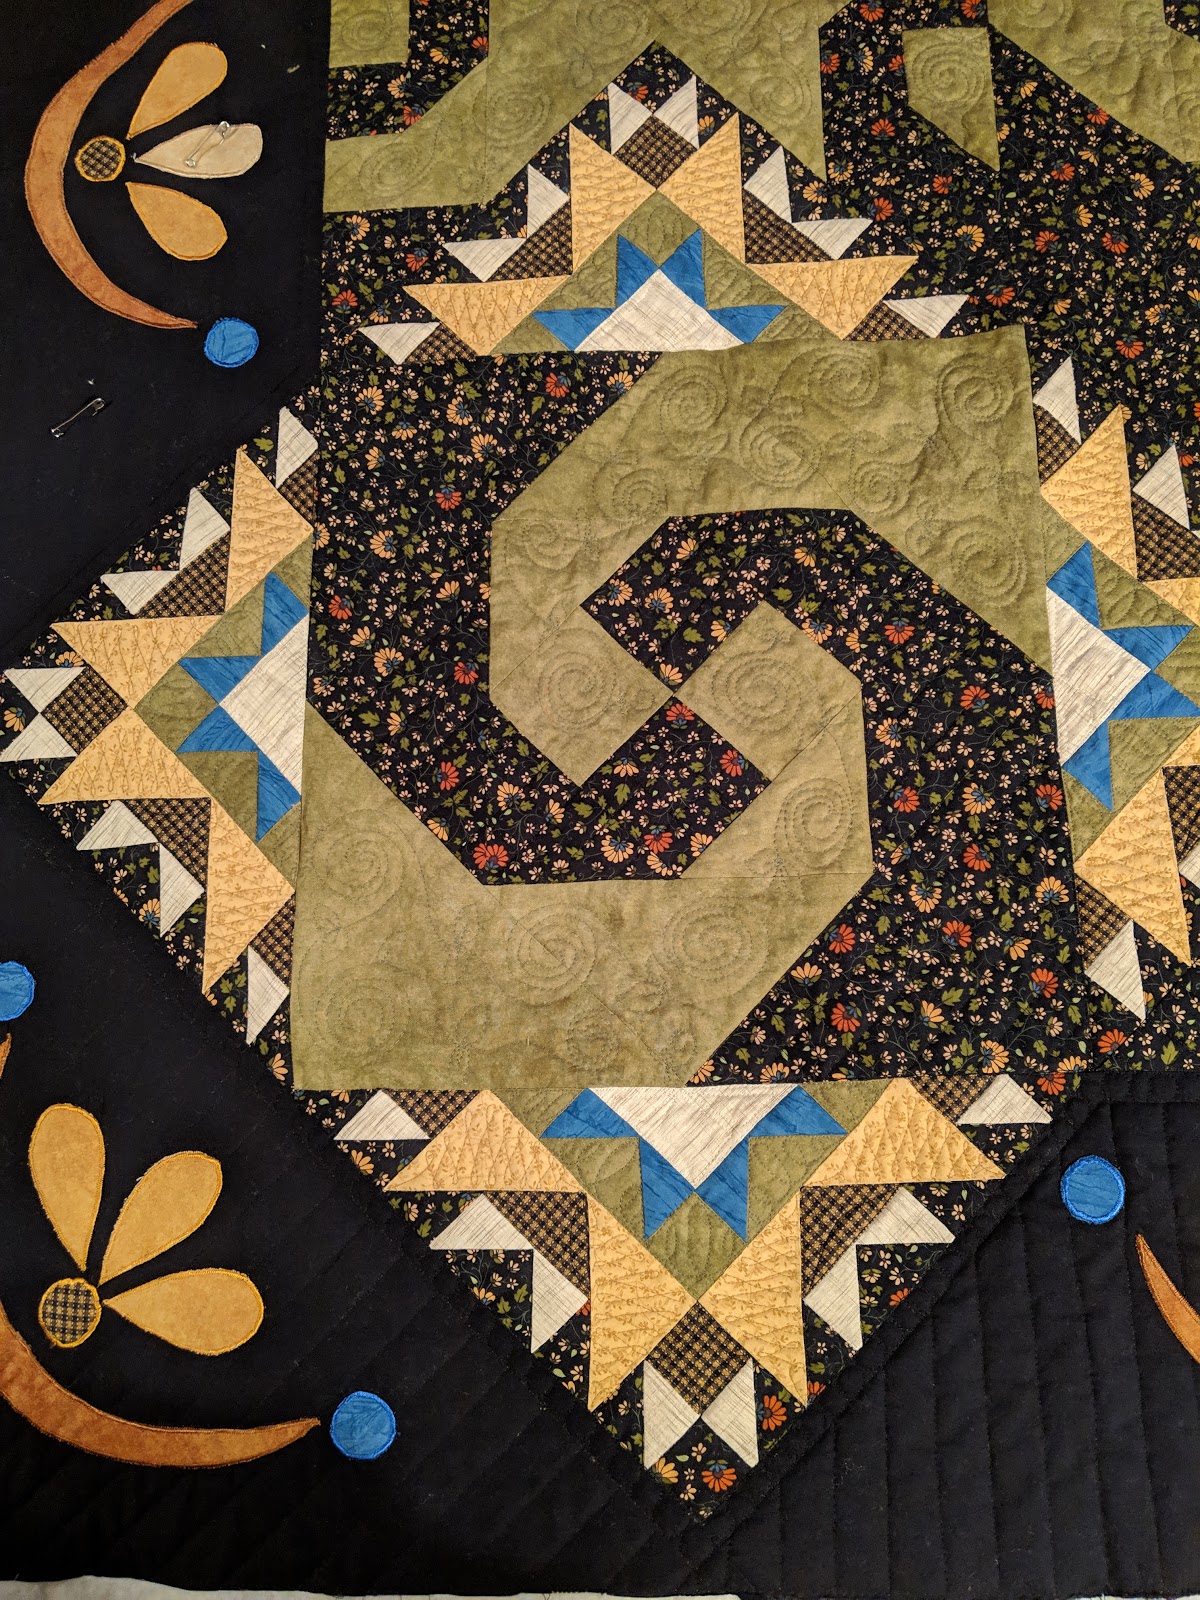
     The original mystery quilt had plain, simple borders on it,  but I decided that I wanted to extend the corner blocks out into the borders,  and then I added the applique.   The appliques are fused and machine satin stitched.   

     84 x 84 before quilting and washing, it was one of the larger quilts I've finished.  My Janome 9400 QCP handled it well.  I love the 11" harp space.  I used Hobbs 80/20 for the batting.   I spent a couple hours each day over about 2 weeks to get the quilting done.  I chose  1" Cross hatching in the black printed areas.  Stitch in the ditch around the block components.  Medium sized swirls in green areas, and a mix of motifs in the block portions in the center.   I decided to keep the borders simple, using a 1/2" bead design  along with 1" piano key quilting.  


The quilt below is one made by my quilting friend, Jami Carr Schroeder in Iowa.  This is the way the original pattern was designed with simple borders. 
     

Wednesday, December 27, 2017

Scrap and Stash Management - A Revisit

I've posted before  in Jan. 2015, about my stash and scrap management.  I believe you can find the previous posts both here ...   and  again here.  

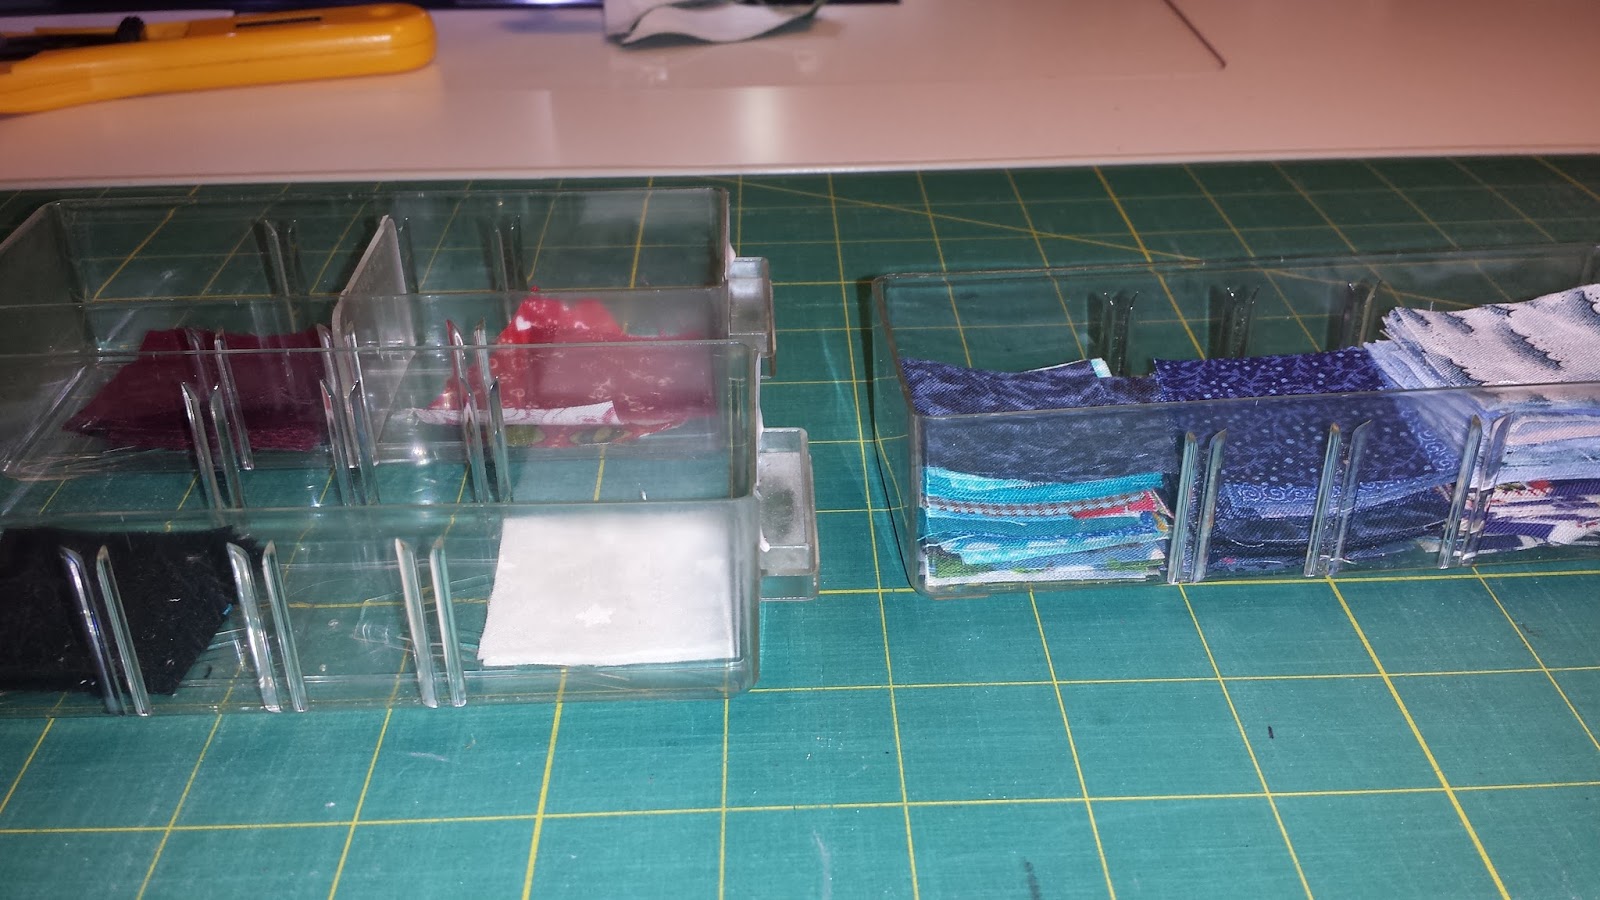
While working on the current Bonnie Hunter Mystery, "On Ringo Lake",  I was amazed at how easy it was to go to my bins of pieces and strips a pull from them for variety.  I made it all the way through part 1 without cutting into the yardage in my stash.  In fact, much of it came from my 1 1/2" squares that were already cut.  As you can see in my picture, that I all but wiped out  my reds and whites.  


I did purchase a handful of fat quarters in the light blue I'm using for the corals that Bonnie is using,  and I cut 2 fat quarters from some blue yardage on my shelf.   The two lighter blue pieces under my step one units.  (Since is is going to be a Quilt of Valor, I am trying to steer clear of girly looking florals, and most of my lighter blues were just that... girly florals!)  I didn't have any strips of those two in my strip bins.  Other than that, Through step 5, all of my color pieces have come from strips or smaller scraps. 


Here is where my "revisit" part of this post comes in.    

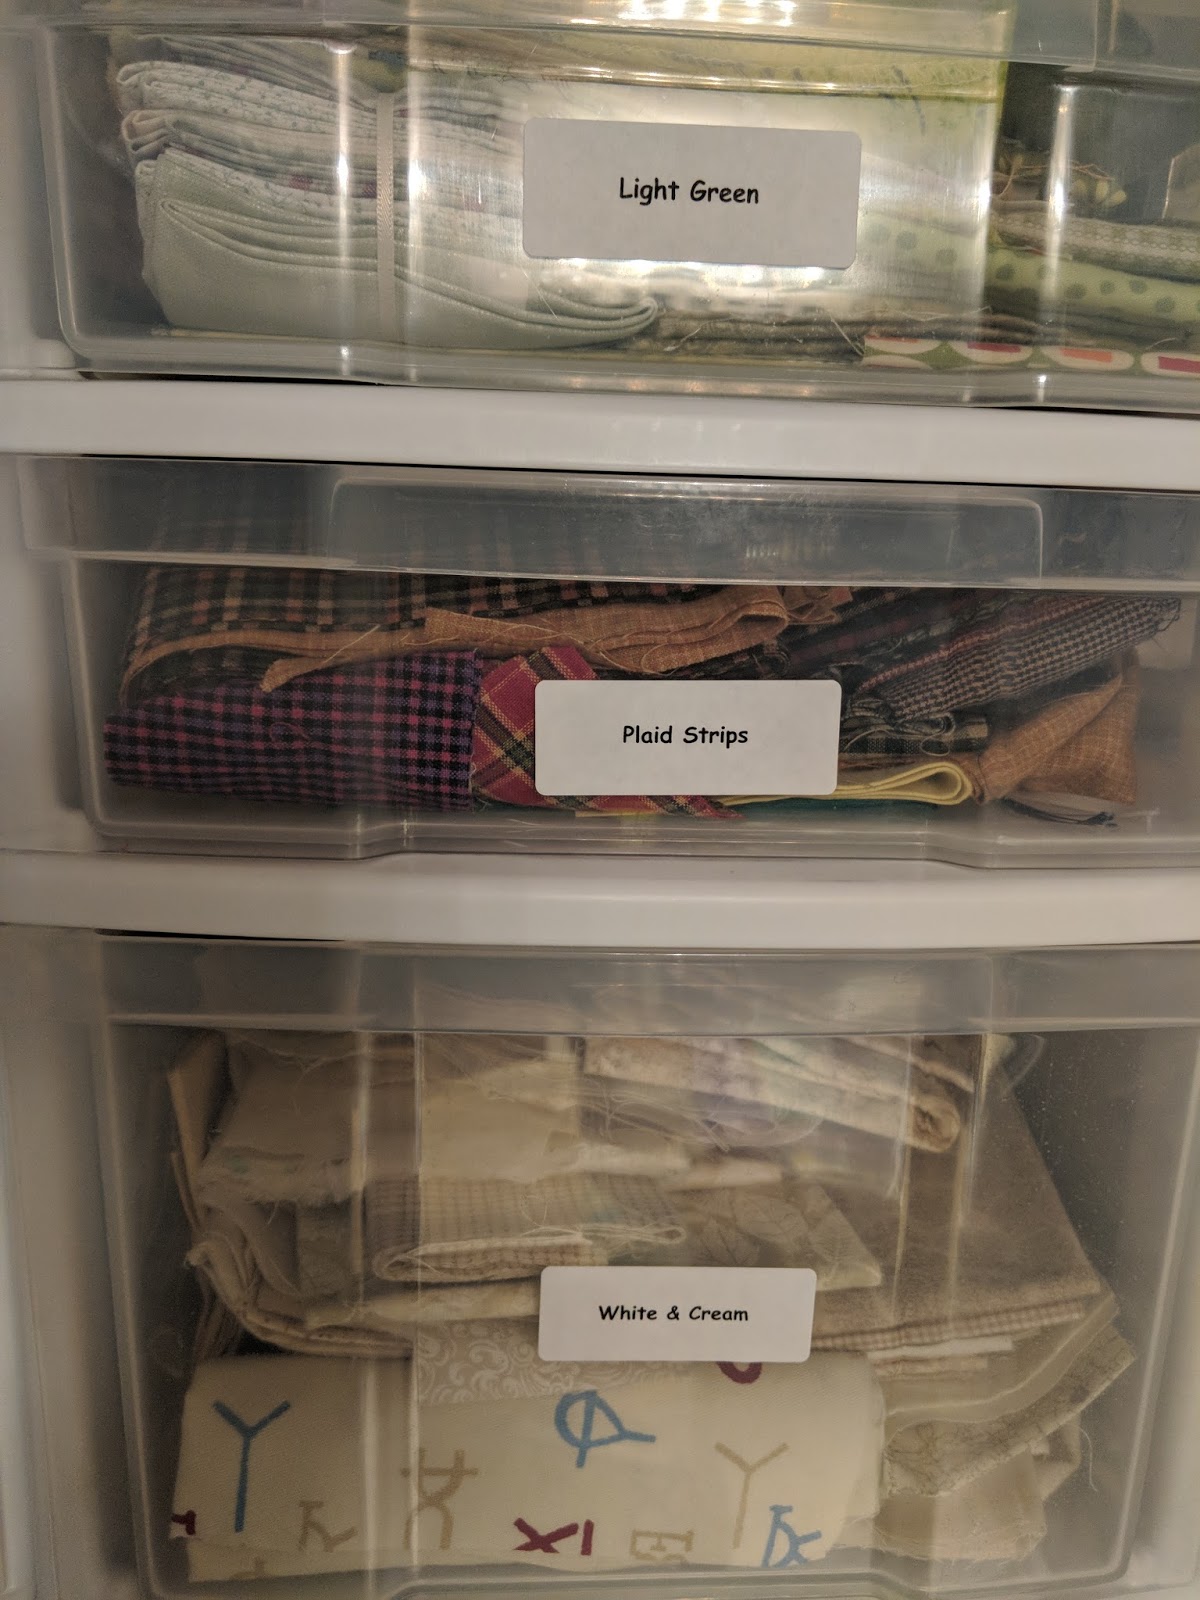
As I was getting ready to cut  for clue #5 last week,  I realized that everything left in my whites/ creams bin is on the creamy, beige side.... I've used up all the whiter pieces that were in there.  Yeah for me!  but this means I need to re-supply.  


 Now,  creams and beiges are often my backgrounds of choice,  but I really wanted a brighter white feel to the background pieces in this project.  So I took a couple of hours, and re-stocked my whites on whites. 

I purchase fabrics when I find a great deal!  Especially if it's not going into a current project.  I have been really diligent about this the last couple of years.... In fact, I can honestly say that I think this past year, I've probably purchased less than 10 yards of fabric! (I'm practicing for retirement... LOL)   As you can see from this previous stash photo,  I'm not in need of anything to speak of...   See that stack of Whites near the bottom left?  Yep.. that one.. the middle part of the next to the bottom row.... That's the stack I'm working with today... and this picture was taken in Jan. of 2015...  Those are my whites on whites. 


It is a daunting task to think about pulling each of those fabrics,  and only cutting one strip off of each.   So thinking proactively,  I decided to work the pile systematically. 
I opened up each piece,  some measuring a yard,  some up to 5 yards. 


  • Step 1.  Press out the fold lines on one end, so that I could cut a half yard from one end. 
  • Step 2.  Cut the 1/2 yard off.  
  • Step 3.  Refold the remaining yardage, hopefully on the original fold lines, so that I don't have to re=press the entire piece. 
  • Step 4.  trim the fold line, resulting in 2 Fat Quarters.   One fat quarter got put aside in  a pile for later pressing and refolding. 
  • Step 5.  Once 5 fat quarters were pressed, (I like to use a little sizing or starch),  I laid them out in a stack that I'll call  a "5 stack".  Making sure that the salvage edges were straight, and the pieces were smooth.  
  • Step 6.  Now,   use about 4 of my flat flower pins, and pin about 1/3 of the way down the stack of fat quarters, to keep them from shifting.  (the use of starch or sizing in the previous step helps with this too). 
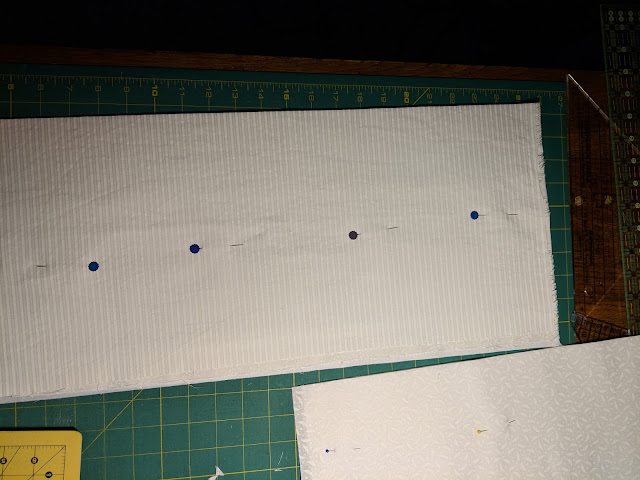


  • Step 7 -  I knew I needed 2" strips for my current project, so I cut one of those first.  
  • Step 8 - Now the planning part comes in... I also cut another 2",  1 1/2",  2 1/2"  and 3 1/2" strip to put into the strip bins for another day.   
  • Step 9 -  This left me with about 6" of my "5 stack" left.  I haven't cut the 3 1/2" strip yet from the photo above.   
Note - If you look closely in the photo above you can see the difference between my "clean cut" edge at the top,  and the uncut edge at the bottom of that striped set. 
  • Step 10 - press and refold the pile of fat quarters that I set aside earlier.  These will go into the fat quarter drawers to be pulled out to play another day.  I may not have to pull my entire stack again for a couple of  years.  
The remaining portions of my "5 stacks"  will stay pinned like this until I finish all my cutting for this project.  If I need a different size strip,  I'll cut from each of these stacks rather than grabbing from the strips I just cut for re-supply.   If I need  3 1/2 inch strips for the next clue,  I'll use these stacks.  

Then ,  I'll see what is left.  If I have more than 4 1/2 inches left,  I'll unpin, and refold them to go back into that bin marked "whites and creams"... which contains pieces smaller than a fat quarter.    

If it's less than 4 1/2",  I'll cut whatever size strips I can get out of it,  and add them to the strip bins with the strips I just cut for re-supply.  Anything less than 1 1/2" will go into my "String Bin"

Here is a picture of my results... 


I still have a stack of fabric to return to my stash shelf.. (the ones on the right).  
I have a stack of 25 fat quarters to grab when needed. 
I have strips to add back into the strip bins to use as needed.   Each little folded roll is 5 fabrics. 

I choose to do this with groups of 5,  because then I can easily count to 10 when cutting.  I use a 60 mm  rotary cutter,  (make sure it's nice and sharp).   5 single layers is my limit for strip cutting.  Many quilters feel more comfortable with just 3 - 4 layers at a time.  

When sub-cutting units,  or trimming blocks,  I do not cut this many layers.  

I use the "5 stack"  technique when cutting my colored fabrics as well.   If the pattern calls for Assorted Blues, for instance,  I pull blues just like I did my whites,  press,  make a separate FQ for use later,  and pin 5 together for cutting for the project.  When the project is done,  I'll  unpin and return to the bins.
Tuesday, December 26, 2017

On Ringo Lake Week 5 update

I am all caught up!    I'm loving this project.  It was exactly what I needed for therapy.   My colors are coming together nicely,  if I have a wish for what color is up next it would be more of Bonnie's aquas,  or my reds.  
I am linking up to Bonnie's Linky party for the week at Week 5 Linky Party

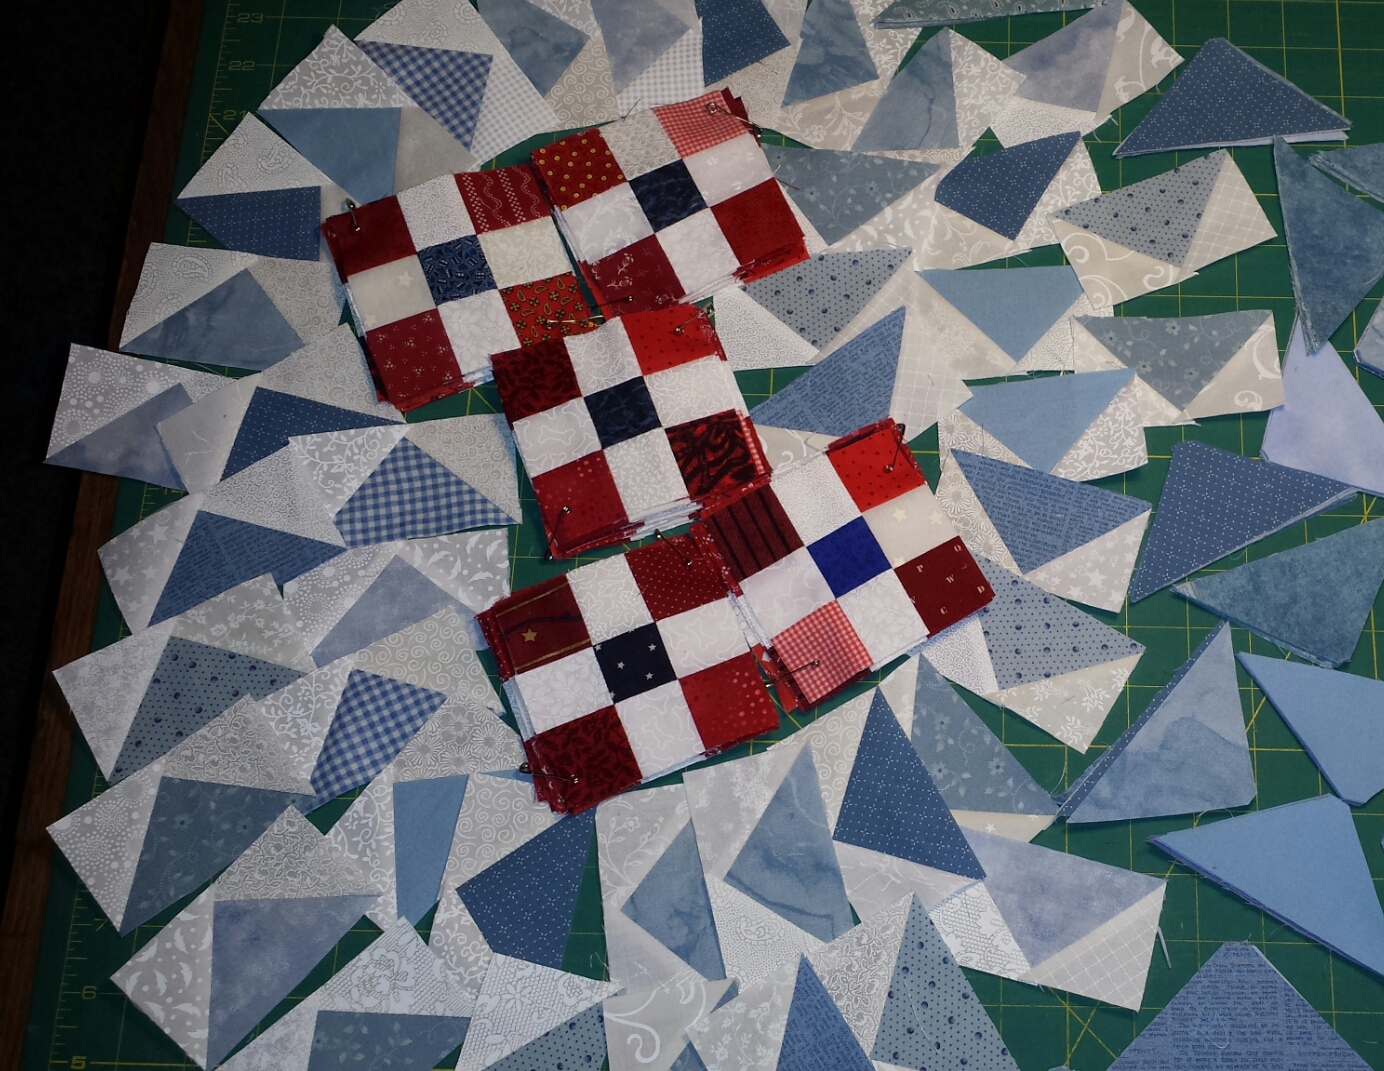
Here is clue #1  - Darling little nine patches


Here is clue #2 -  Flying Geese! 


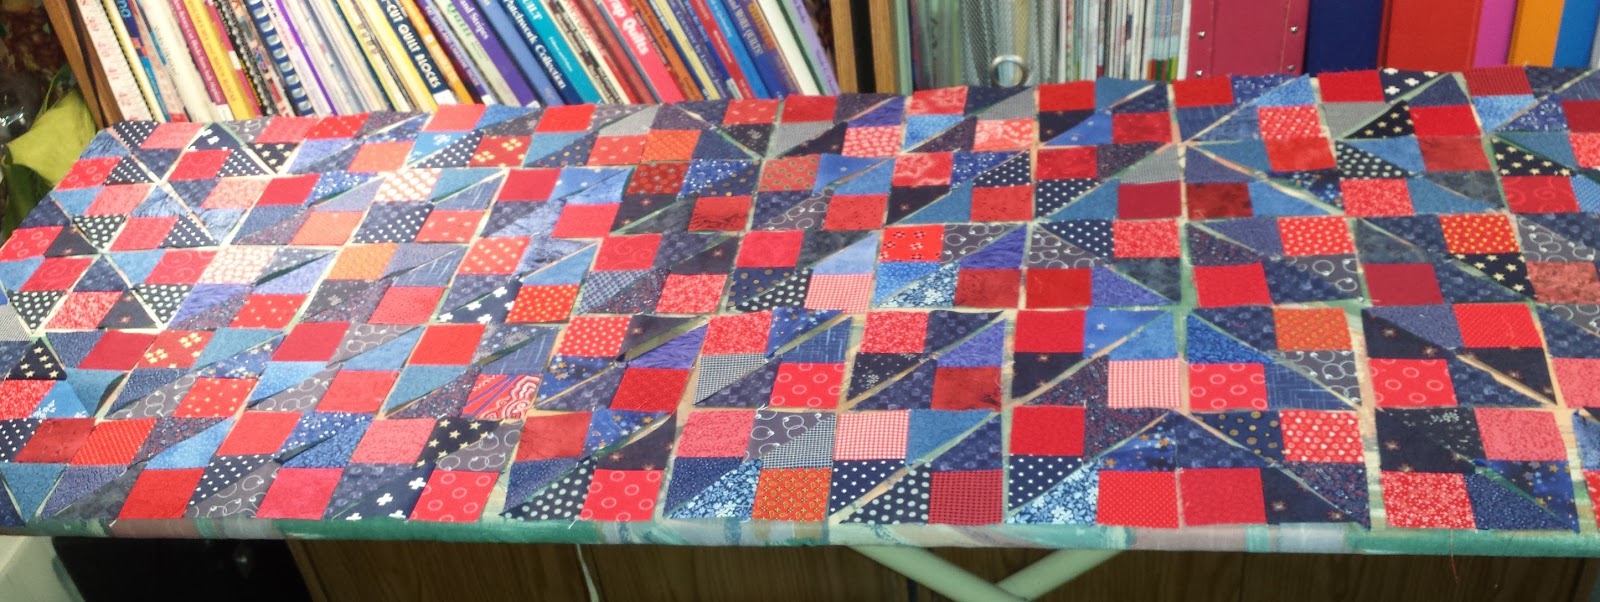
Clue #3 -  Diamonds in Squares...  Going in opposite directions... 


Clue #4 - Some winged squares....  


 And finally...  clue #5  - Another gaggle of Flying geese. 


Up to this point,  I have cut entirely out of my scrap drawers, and scrap saver system....  The only yardage I have cut into was 4 fat quarters of the lighter blue that I purchased for this project and 2 pieces of lighter blue yardage.   I also had to re-supply my white on whites from stash yardage for the flying geese wings for clue 5.     It is amazing how having that variety of strips and pieces in your scrap system allows for such a wide variety!  Thank you Bonnie for giving us this valuable information on your website and Blog.   

Sunday, December 3, 2017

Bonnie Hunter's 2017 Mystery, On Ringo Lake week 2

I'm linking to Bonnie's Linky party for Clue #2.  Week 2 Linky Party   I'm just about half way through the weekly clue.  It's going quicker than I had anticipated.   I have a busy week ahead of me, and not sure if I'll get around to an evening post later this week.  

Check out Bonnie's blog for instructions... its not too late to join in the fun!  

I love flying geese!  I've cut all my pieces using the Easy Angle and Companion Angle rulers.. using from my 2" strips of blue and white on whites.  I've exhausted the colors I'm using in both colors,  and actually went out and purchased about 5 fat quarters to add to my blue variety.  Since I'm doing this as a quilt of valor,  I'm trying to stay away from prints that are floral or kid's prints....   Looks like this value of blues is one area I can look for more variety when I find good deals out there, especially prints that have a variety of textures.  

The picture is with my step one in the middle of the geese.
  

Monday, November 27, 2017

Bonnie Hunter's 2017 Mystery On Ringo Lake Clue #1 complete

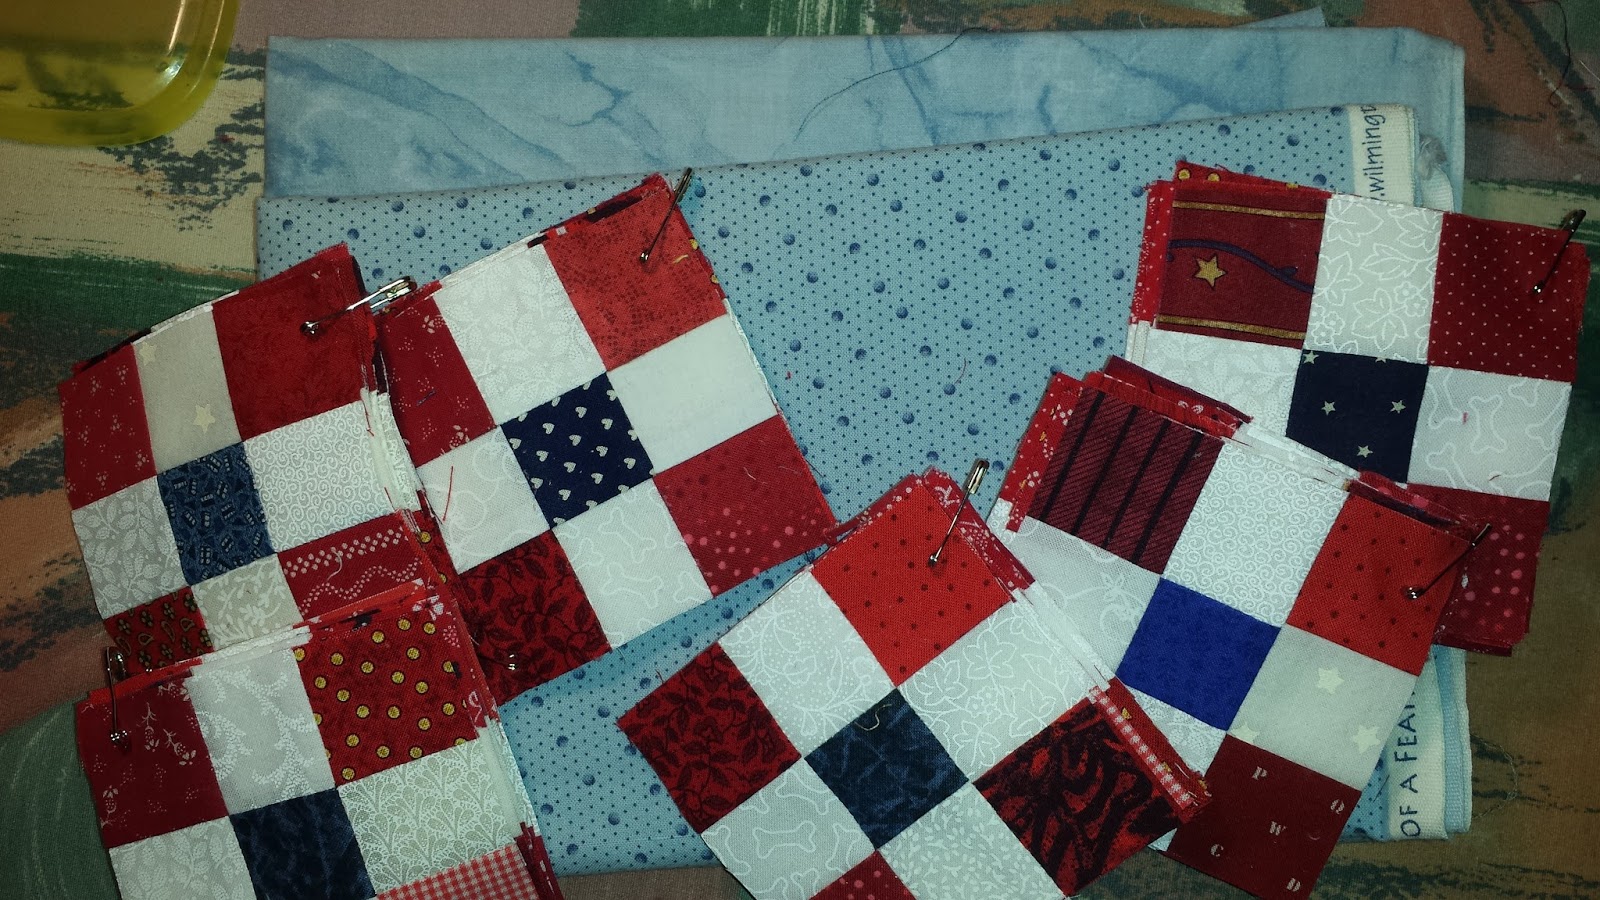
I couldn't resist!   When clue one went live on Black Friday last week,  I fell in love with those cute little nine patch blocks... 

I had originally decided that I was going to sit it out, and finish some UFO's,  but that was my reasoning the last 3 years, and my UFOs are still here, lurking in corners and under tables... LOL   

I decided to do this year's mystery in red, white and blues... and with any luck, I'll have a Quilt of Valor to give to someone special when  it's done.  

Here are my blocks for clue #1 all trimmed and ready to be stitched into something fantastic! 


It's still not too late to join in the fun.   Go visit Bonnie Hunter's Blog...  click on the tab that says "On Ringo Lake". There you will find the  introduction which gives fabric information... and Clue #1 with the instructions for week 1.    On Ringo Lake Mystery Link

I'm linking to the Monday Linky party    so go here to see what everyone else has been up to! 
Monday Linky party for Clue #1

Monday, January 9, 2017

A Study in Pinks and Blues... (really old pinks and blues)


Boxy Stars  a Bonnie Hunter Pattern 

     I'm linking up with Bonnie's mystery link up tonite.... Linking to Bonnie's link up party

      In the interest of trying to push many UFO's out of the nooks and crannies of my quilty space,  I promised myself that I was just printing off mystery quilt directions and that I need to completely finish 5 UFOs (quilted, binding and label) BEFORE  I can start anything new.  

      Sew... instead of the mystery,  this is what I've been working on.   I put the last row onto this donation quilt....  Not sure why it wasn't yet attached.... but it is now.    Ready to be quilted!  

     Although I had (and still have)  many of these fabrics in my stash,  the majority of these fabrics were 2 1/2" strips that were in the boxes of fabric we pull from for donation quilts out in Corbett.   Someone had cut the strips,  many, many strips... I find it hard to believe that these were leftover from a project.  I doubt I'll ever work my way through.  

     I used Bonnie Hunter's pattern,  "Boxy Stars",  which uses 2 1/2" strips exclusively.   You can find the pattern under the FREE Pattern Tab on Bonnie's website.    Go here    

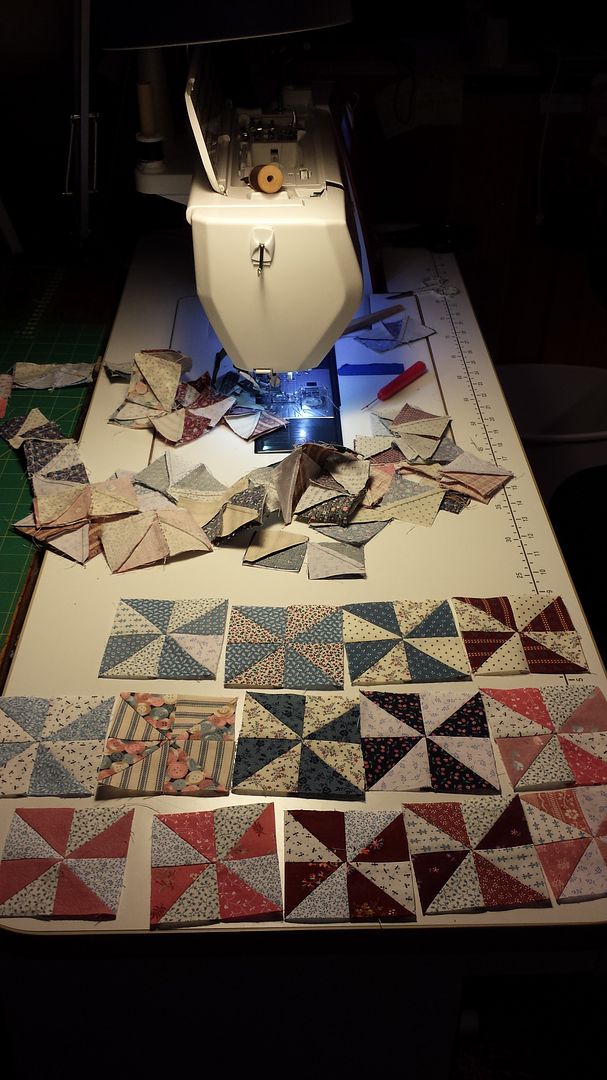
     I still have a project box full of blues,  pinks,  and burgundy to use use up.   As I was cleaning up,  I found the baggie full of the bonus triangles that were already stitched, that had been cut off when creating the points of the stars.   and... better yet,  I decided not to put them in the drawer of project parts.... since I had the fabrics still handy I decided to play.    I pressed and matched sets to create pinwheels.   (see my tutorial on how I saved a step in making these in the tutorial tab above)     I ended up with a total of 48 pinwheels,   about 1/2 of them measuring 3 1/2"... and the other half 3" after trimming.    


Working on the pinwheels....
     Once the pinwheels were done,  I divided them by size.  Using the larger (3 1/2") ones,  I played with a couple of quick layouts.   I chose to place them in four patches  and make some (12) 6 1/2" pinwheels to mix with them.  My goal was to have a lap quilt to donate to our guild's project... and they like them about 45" square.  

     While digging through the box of pinks and blues... I ran across some leftover piano key sections from another quilt I had worked on several years ago....  hmmmm  this will work!   After some coping borders,  I came up with my 45" top.... and believe it or not... I had a total of 1" of that piano key border left after trimming in in half.   Score!  

Lap Quilt       45" square  

     You can see that the pinwheels are not all the same fabrics within each pinwheel....  some are, but most are not... just  the luck of the draw in how the triangles worked out when cut from the original project, which was random.  
   
Center Section Detail 

Detail photo 


      Now... about those 3" pinwheels....  Next up is a doll quilt,  also for our guild.  This measures about 22 x 27".   I had some 3" strips of the blue with hearts in the box, and since they don't play nicely with the 2 1/2" strips... I cut them in half at 1 1/2"  and used them as a border around each pinwheel.  This made it much easier to work with those little edges, and gave me the size I was looking for.  


Doll Quilt  Donation for Toy n Joy.....   22 x 27"
     
    There were also 3 full leftover blocks and 3 partial sections left from the Boxy stars... 
 I see the making of a second doll quilt!   In the interest of  wanting to move forward quickly,   I made the executive decision to just fill in the missing piece with a large solid square.... rather than cutting pieces for another unit.  (Believe me... I emptied the bin out and looked to see if I could find the missing unit, but I think I vaguely remember a rotary cutting accident where one got sliced by mistake) 


Boxy Stars  Orphan blocks.... Now  a Doll quilt    24" square
     Unfortunately,  these all still need to be quilted, and bound to be called "FINISHED",  but they are closer than they were..... and I am well on my way to helping both our guild, and the Corbett Windy Hill Quilters in meeting the needs of community members for 2017.  
     I also kept some pieces out of my orphan block bin....   Now.... what to do with all the rest of those 2 1/2" strips....  thinking I might do a "Jelly Roll Race"  and use them up!   I haven't made one of those yet.... and I have enough strips that I could probably get 2 lap quilts made.   I'll keep you all posted,  but you'll have to wait awhile,  'cuz that would be starting something entirely new,  which I can't do just yet.   So for now,  I'll neatly fold the strips and extra fabrics together in their project box and put them away for another day.   

Monday, December 26, 2016

Mystery quilt? It's a mystery to me, where all these UFO's came from.....

I'm following Bonnie Hunter's mystery this year..... but am sitting on my hands,  instead of joining in. 

My Roll, roll, Cotton Boll,  still needs to be quilted!  Along with at least a dozen other completed tops.... and the list of tops in progress in varying stages.  

I did do a pretty good job in 2016, of not starting anything I wasn't going to finish ASAP.   

I made this golf-themed quilt for my brother in law. Started it  and finished it in a week!  


"Fairway Views"  64 x 80
 Sorry... that is really a blurry picture... but until my sister send me the ones from her phone,   I don't have a better one.  


I also started and finished a Tile Tango for a donation quilt.   There was also a baby quilt that was started and finished back in Jan / Feb.    Gifted!  


Maybe that's the key.... I need to have a purpose to finish.  ðŸ˜Œ 😌 😌 😌 😌  

Then there were the UFO finishes....  You can see a complete list over on my side bar.   

A look back through the postings for this year will show you pictures of them. 

I did finish 2 tops  this fall that were exchange blocks / row robins, that I had received all the components. 


"Flury"  by Kate Spain 
"Flury"was a block exchange.   We each made a gift box for each other person in the group,  and mailed it along with at least four  2.5" squares of our fabrics....   I used some Christmas fabrics from my Mom's stash to lengthen from 12 gift boxes to 20 to make it the size I wanted.  

"Warm Winter Wishes"   a 2015  Internet Row Robin 
A different internet group....  we each chose a theme,  and group members made a row to fit in.   Between planning and mailing of the first rows, the original group became a group of just 4 of us....  down from an original group of 8 or 9.... and since I wanted a larger quilt,  I added some extra of my own.   Most of the snow fabrics I used for this were from a different internet "snow ball fight" exchange where we mailed a "sweet sixteen" ( 9" x 11" )  of a snow fabric to each person in the group.   There were a lot of us in that group.... and I still have some pieces that had "Christmas" hints in them to use later.    I wanted this quilt to be for use in January and Early February after the Christmas decorations and quilts are put away.    
My project this week, is to bust through a box of scraps that needs to be tamed into  my scrap saver sizes.   (One of my current projects needs 192 four patch blocks).   

Linking today to: 

http://quiltville.blogspot.com/2016/12/mystery-monday-link-up-part-5.html 

Saturday, December 24, 2016

One Spring Finish! Smith Mountain Morning


     Sew......  it is becoming increasingly clear to me that I can either quilt,  garden,  or blog.... it must be like trying to walk and chew gum at the same time.   

     End of February was my last post?  Really????? 

     I did spend a lot of time outdoors this summer, finishing a landscaping project from last year,  but that shouldn't really be an excuse, 

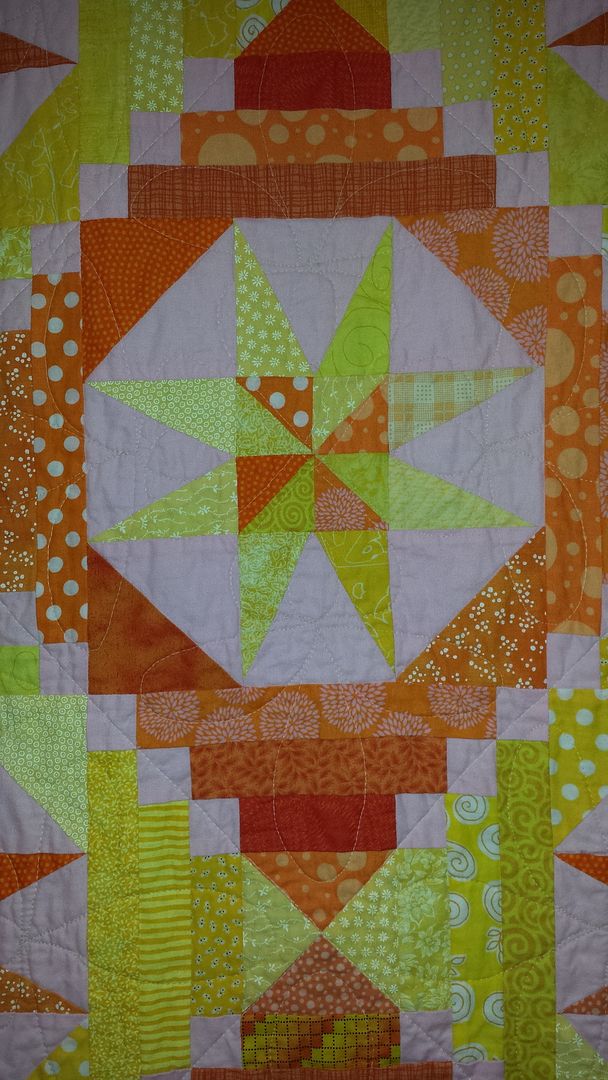
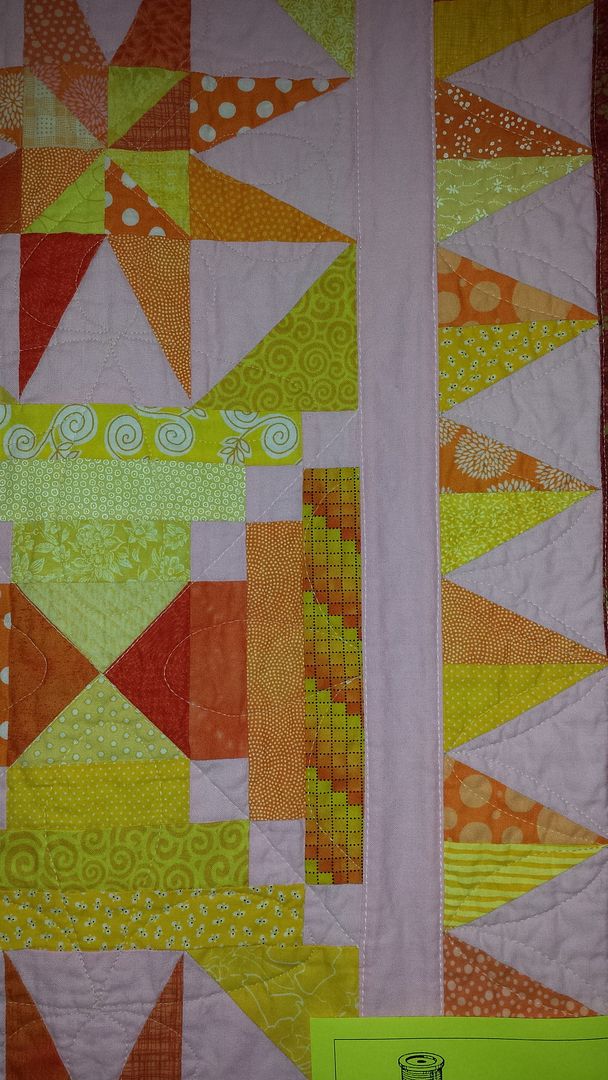
     I did finish one quilt between February and October,  it was my Smith Mountain Morning, that I started when Bonnie Hunter came to do workshops with our guild in 2014. 

     I completed the top in February and decided to get it quilted in time for our guild's show which was in May.    I can't remember now, the exact date,  but I would estimate it at mid April, because I know it was done before it was time to work on show layout tasks


Hanging in the show.... 
Block and Quilting Detail 
Border Details 


Bonnie Hunter and Myself at our workshop  May 2014

     This workshop was so worth taking a personal day off from work to attend!   Bonnie is such a wealth of tips and information, and not a pretentious  bone in her body!   

     I use this quilt daily as my chair quilt.  The bright colors make every day a bit more cheerful! 

.