Showing posts with label scrap saving system. Show all posts

Wednesday, December 27, 2017

Scrap and Stash Management - A Revisit

I've posted before  in Jan. 2015, about my stash and scrap management.  I believe you can find the previous posts both here ...   and  again here.  

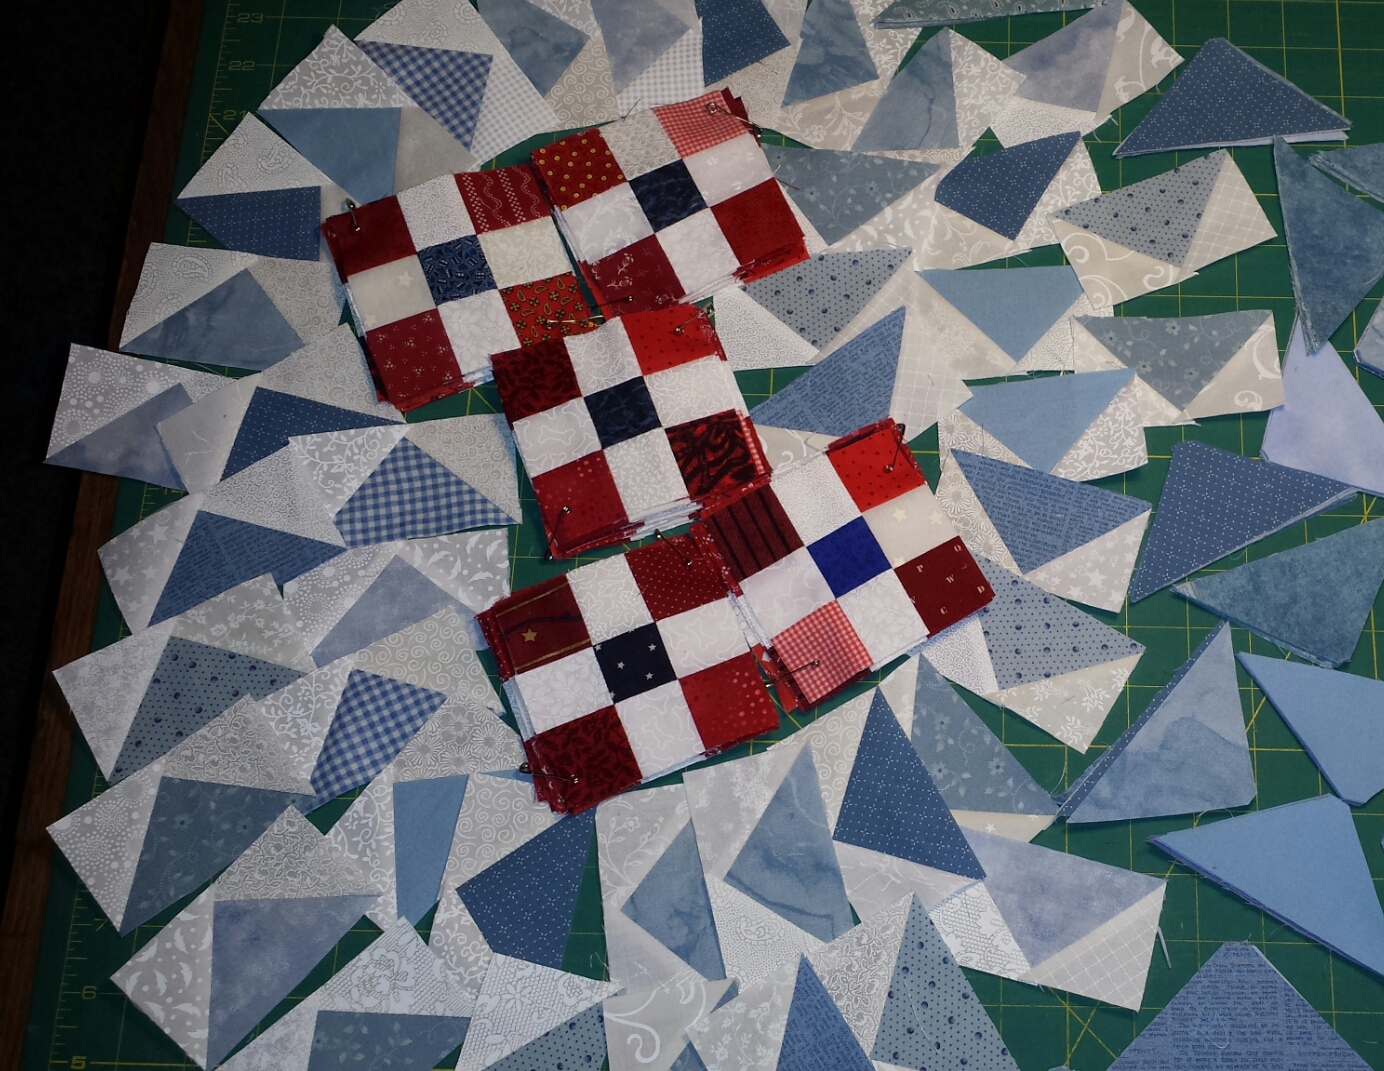
While working on the current Bonnie Hunter Mystery, "On Ringo Lake",  I was amazed at how easy it was to go to my bins of pieces and strips a pull from them for variety.  I made it all the way through part 1 without cutting into the yardage in my stash.  In fact, much of it came from my 1 1/2" squares that were already cut.  As you can see in my picture, that I all but wiped out  my reds and whites.  
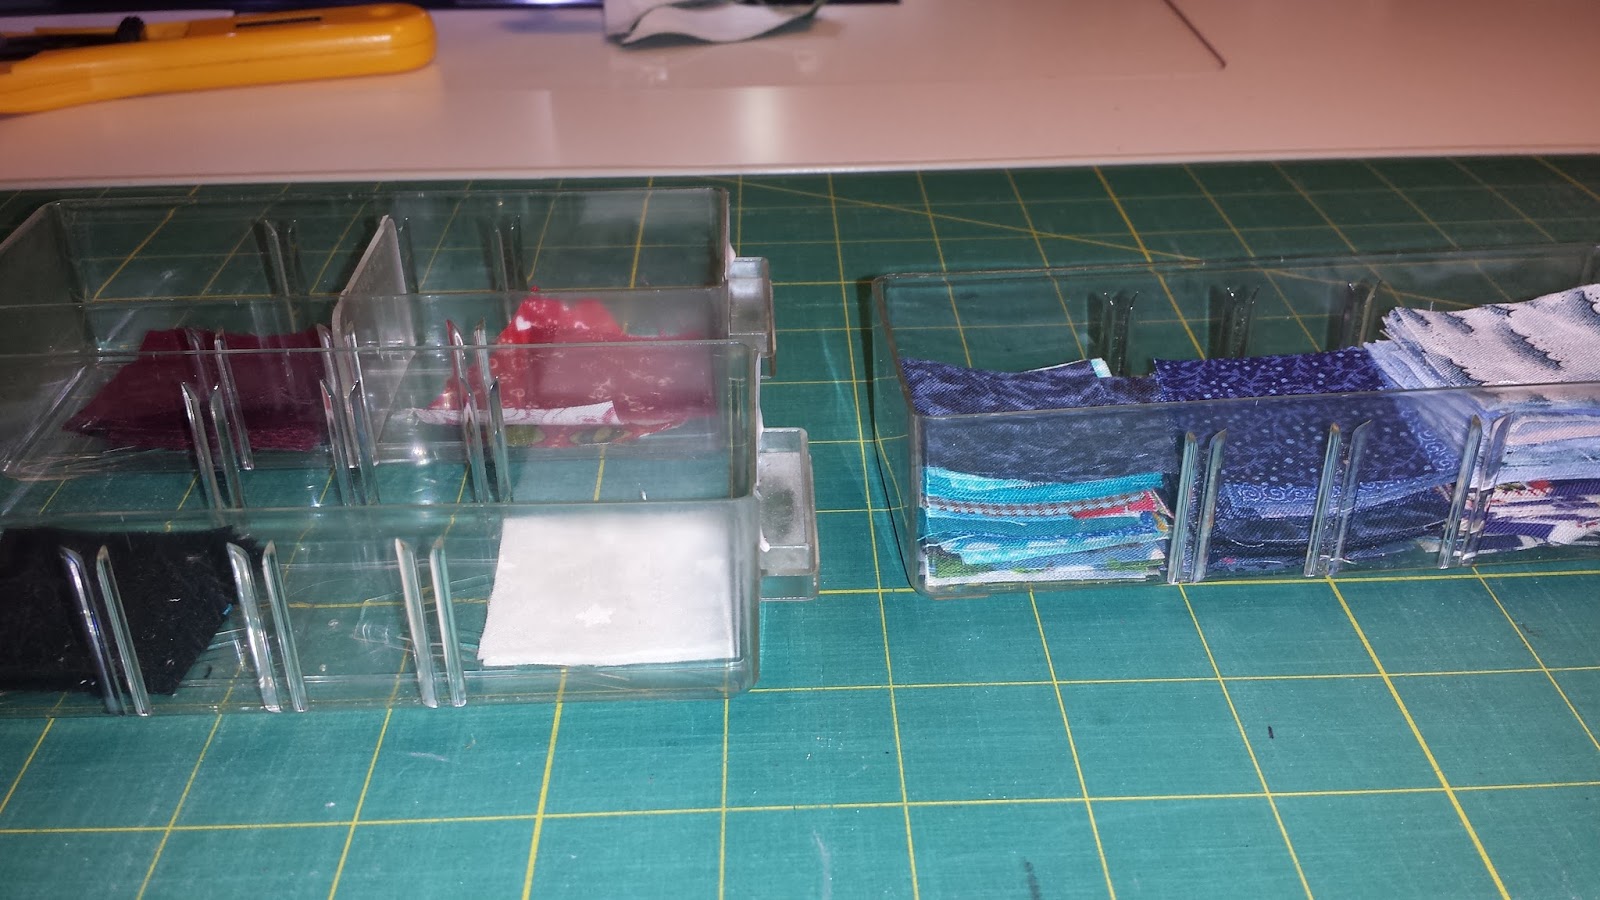


I did purchase a handful of fat quarters in the light blue I'm using for the corals that Bonnie is using,  and I cut 2 fat quarters from some blue yardage on my shelf.   The two lighter blue pieces under my step one units.  (Since is is going to be a Quilt of Valor, I am trying to steer clear of girly looking florals, and most of my lighter blues were just that... girly florals!)  I didn't have any strips of those two in my strip bins.  Other than that, Through step 5, all of my color pieces have come from strips or smaller scraps. 


Here is where my "revisit" part of this post comes in.    

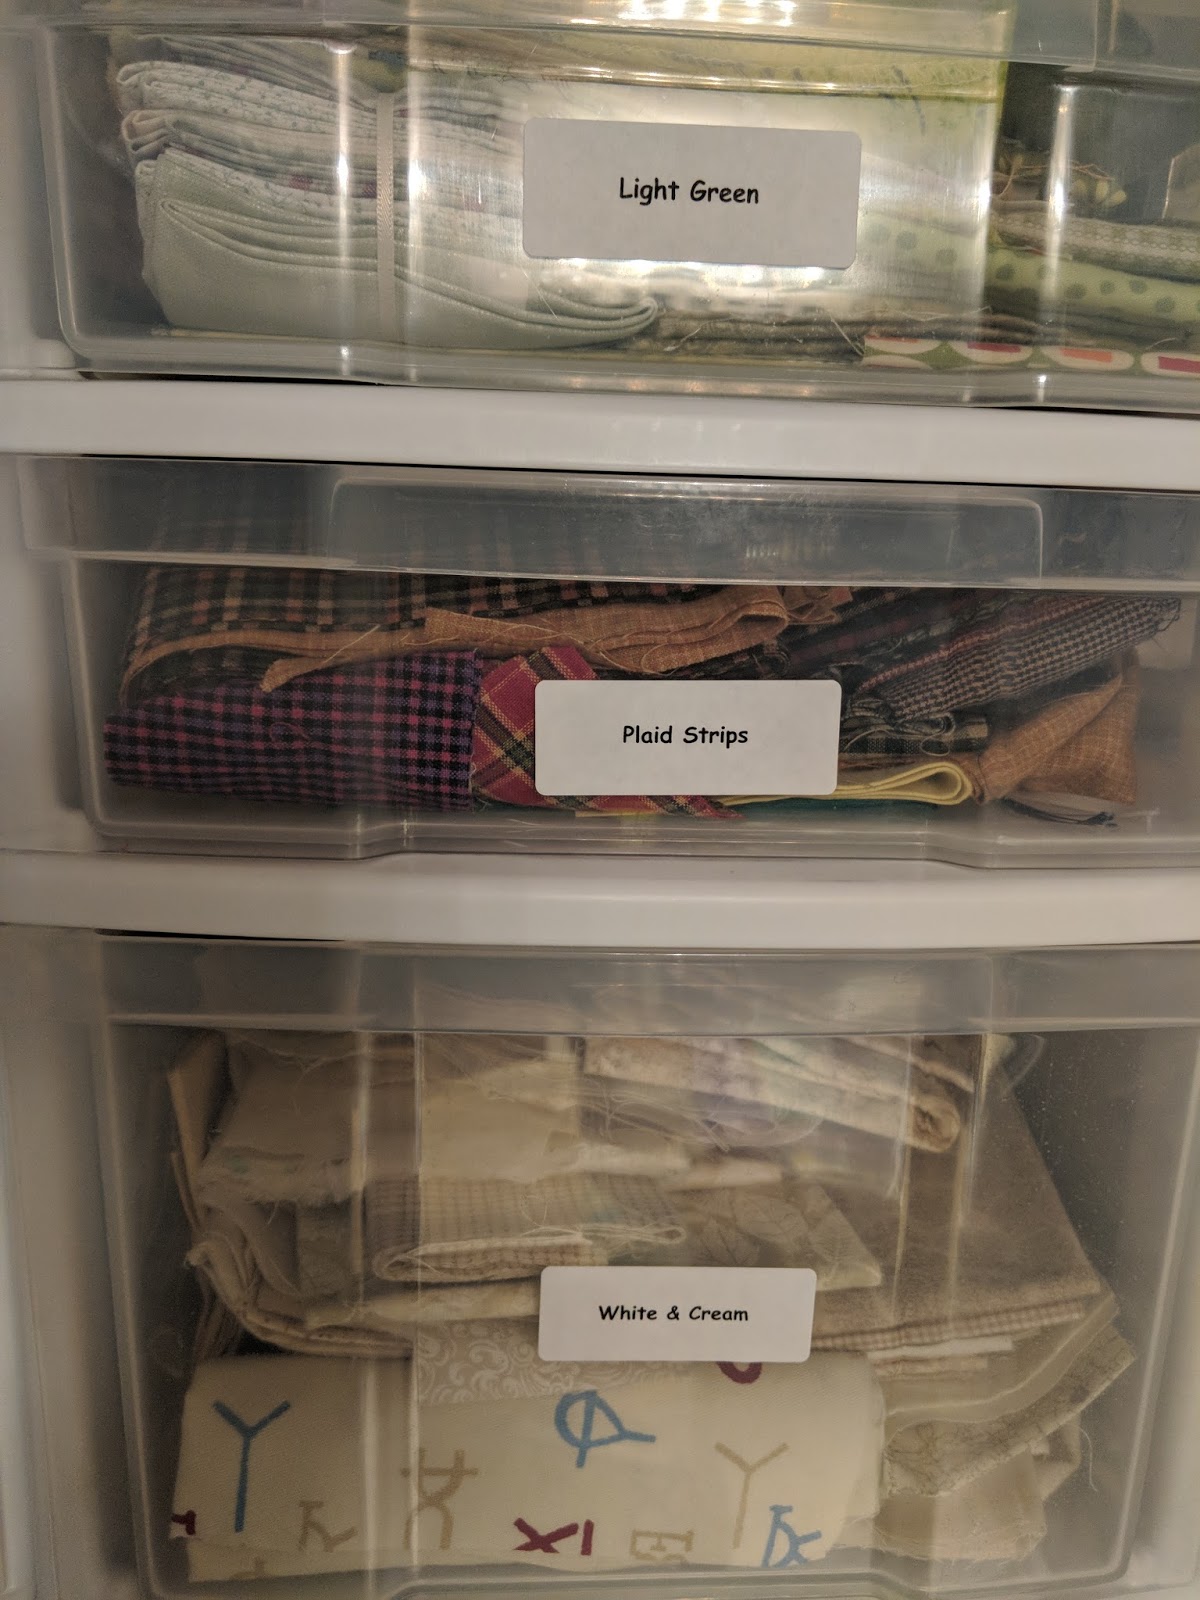
As I was getting ready to cut  for clue #5 last week,  I realized that everything left in my whites/ creams bin is on the creamy, beige side.... I've used up all the whiter pieces that were in there.  Yeah for me!  but this means I need to re-supply.  


 Now,  creams and beiges are often my backgrounds of choice,  but I really wanted a brighter white feel to the background pieces in this project.  So I took a couple of hours, and re-stocked my whites on whites. 

I purchase fabrics when I find a great deal!  Especially if it's not going into a current project.  I have been really diligent about this the last couple of years.... In fact, I can honestly say that I think this past year, I've probably purchased less than 10 yards of fabric! (I'm practicing for retirement... LOL)   As you can see from this previous stash photo,  I'm not in need of anything to speak of...   See that stack of Whites near the bottom left?  Yep.. that one.. the middle part of the next to the bottom row.... That's the stack I'm working with today... and this picture was taken in Jan. of 2015...  Those are my whites on whites. 


It is a daunting task to think about pulling each of those fabrics,  and only cutting one strip off of each.   So thinking proactively,  I decided to work the pile systematically. 
I opened up each piece,  some measuring a yard,  some up to 5 yards. 


  • Step 1.  Press out the fold lines on one end, so that I could cut a half yard from one end. 
  • Step 2.  Cut the 1/2 yard off.  
  • Step 3.  Refold the remaining yardage, hopefully on the original fold lines, so that I don't have to re=press the entire piece. 
  • Step 4.  trim the fold line, resulting in 2 Fat Quarters.   One fat quarter got put aside in  a pile for later pressing and refolding. 
  • Step 5.  Once 5 fat quarters were pressed, (I like to use a little sizing or starch),  I laid them out in a stack that I'll call  a "5 stack".  Making sure that the salvage edges were straight, and the pieces were smooth.  
  • Step 6.  Now,   use about 4 of my flat flower pins, and pin about 1/3 of the way down the stack of fat quarters, to keep them from shifting.  (the use of starch or sizing in the previous step helps with this too). 


  • Step 7 -  I knew I needed 2" strips for my current project, so I cut one of those first.  
  • Step 8 - Now the planning part comes in... I also cut another 2",  1 1/2",  2 1/2"  and 3 1/2" strip to put into the strip bins for another day.   
  • Step 9 -  This left me with about 6" of my "5 stack" left.  I haven't cut the 3 1/2" strip yet from the photo above.   
Note - If you look closely in the photo above you can see the difference between my "clean cut" edge at the top,  and the uncut edge at the bottom of that striped set. 
  • Step 10 - press and refold the pile of fat quarters that I set aside earlier.  These will go into the fat quarter drawers to be pulled out to play another day.  I may not have to pull my entire stack again for a couple of  years.  
The remaining portions of my "5 stacks"  will stay pinned like this until I finish all my cutting for this project.  If I need a different size strip,  I'll cut from each of these stacks rather than grabbing from the strips I just cut for re-supply.   If I need  3 1/2 inch strips for the next clue,  I'll use these stacks.  

Then ,  I'll see what is left.  If I have more than 4 1/2 inches left,  I'll unpin, and refold them to go back into that bin marked "whites and creams"... which contains pieces smaller than a fat quarter.    

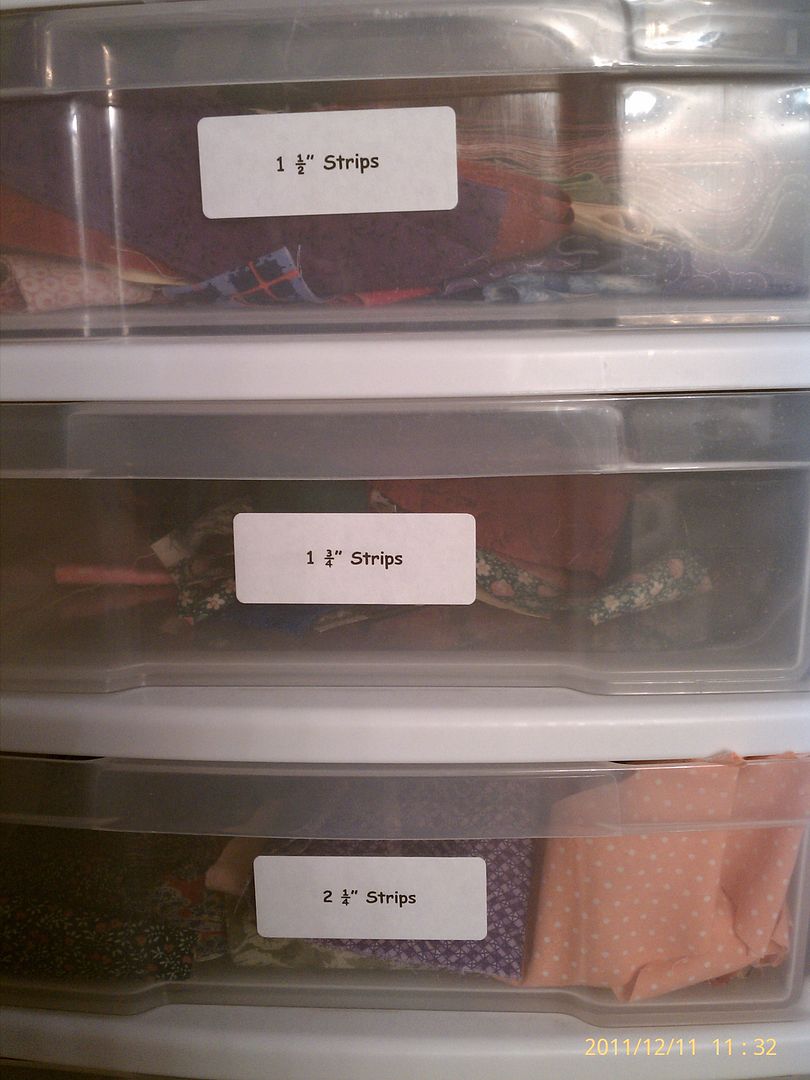
If it's less than 4 1/2",  I'll cut whatever size strips I can get out of it,  and add them to the strip bins with the strips I just cut for re-supply.  Anything less than 1 1/2" will go into my "String Bin"

Here is a picture of my results... 


I still have a stack of fabric to return to my stash shelf.. (the ones on the right).  
I have a stack of 25 fat quarters to grab when needed. 
I have strips to add back into the strip bins to use as needed.   Each little folded roll is 5 fabrics. 

I choose to do this with groups of 5,  because then I can easily count to 10 when cutting.  I use a 60 mm  rotary cutter,  (make sure it's nice and sharp).   5 single layers is my limit for strip cutting.  Many quilters feel more comfortable with just 3 - 4 layers at a time.  

When sub-cutting units,  or trimming blocks,  I do not cut this many layers.  

I use the "5 stack"  technique when cutting my colored fabrics as well.   If the pattern calls for Assorted Blues, for instance,  I pull blues just like I did my whites,  press,  make a separate FQ for use later,  and pin 5 together for cutting for the project.  When the project is done,  I'll  unpin and return to the bins.

Tuesday, December 26, 2017

On Ringo Lake Week 5 update

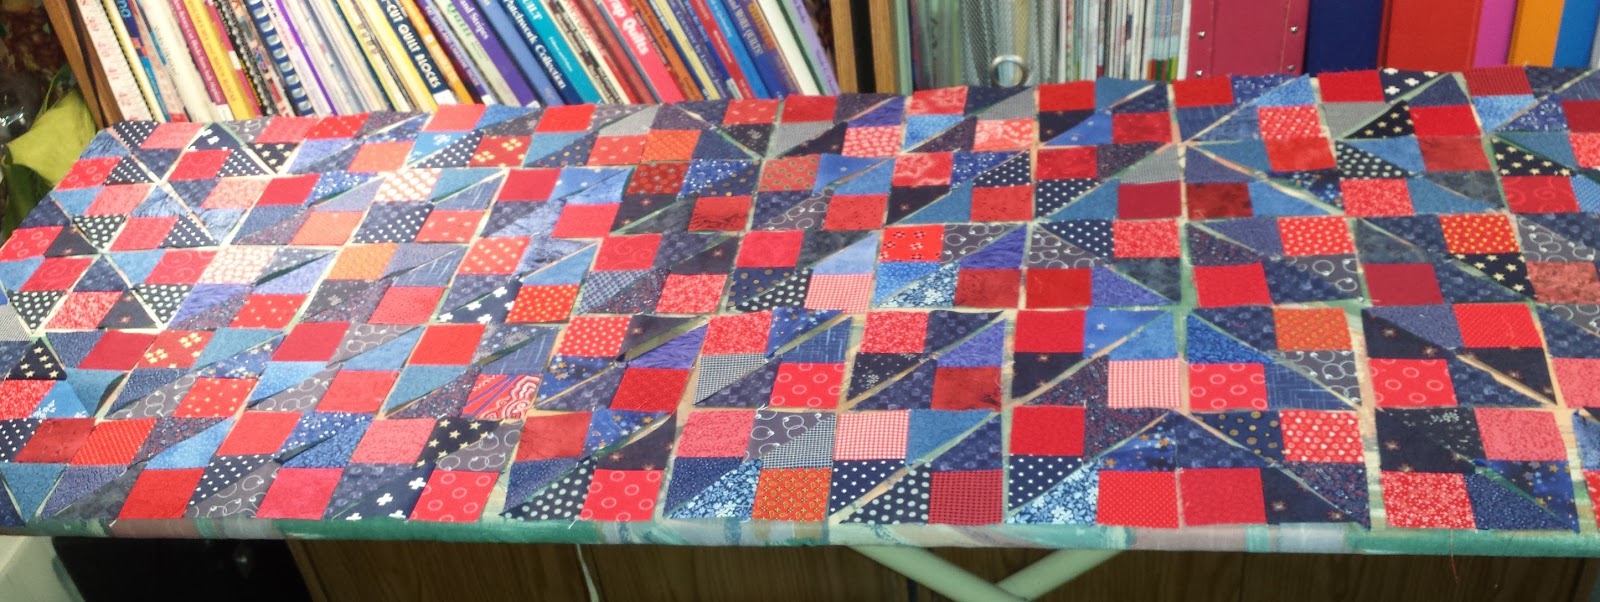
I am all caught up!    I'm loving this project.  It was exactly what I needed for therapy.   My colors are coming together nicely,  if I have a wish for what color is up next it would be more of Bonnie's aquas,  or my reds.  

I am linking up to Bonnie's Linky party for the week at Week 5 Linky Party

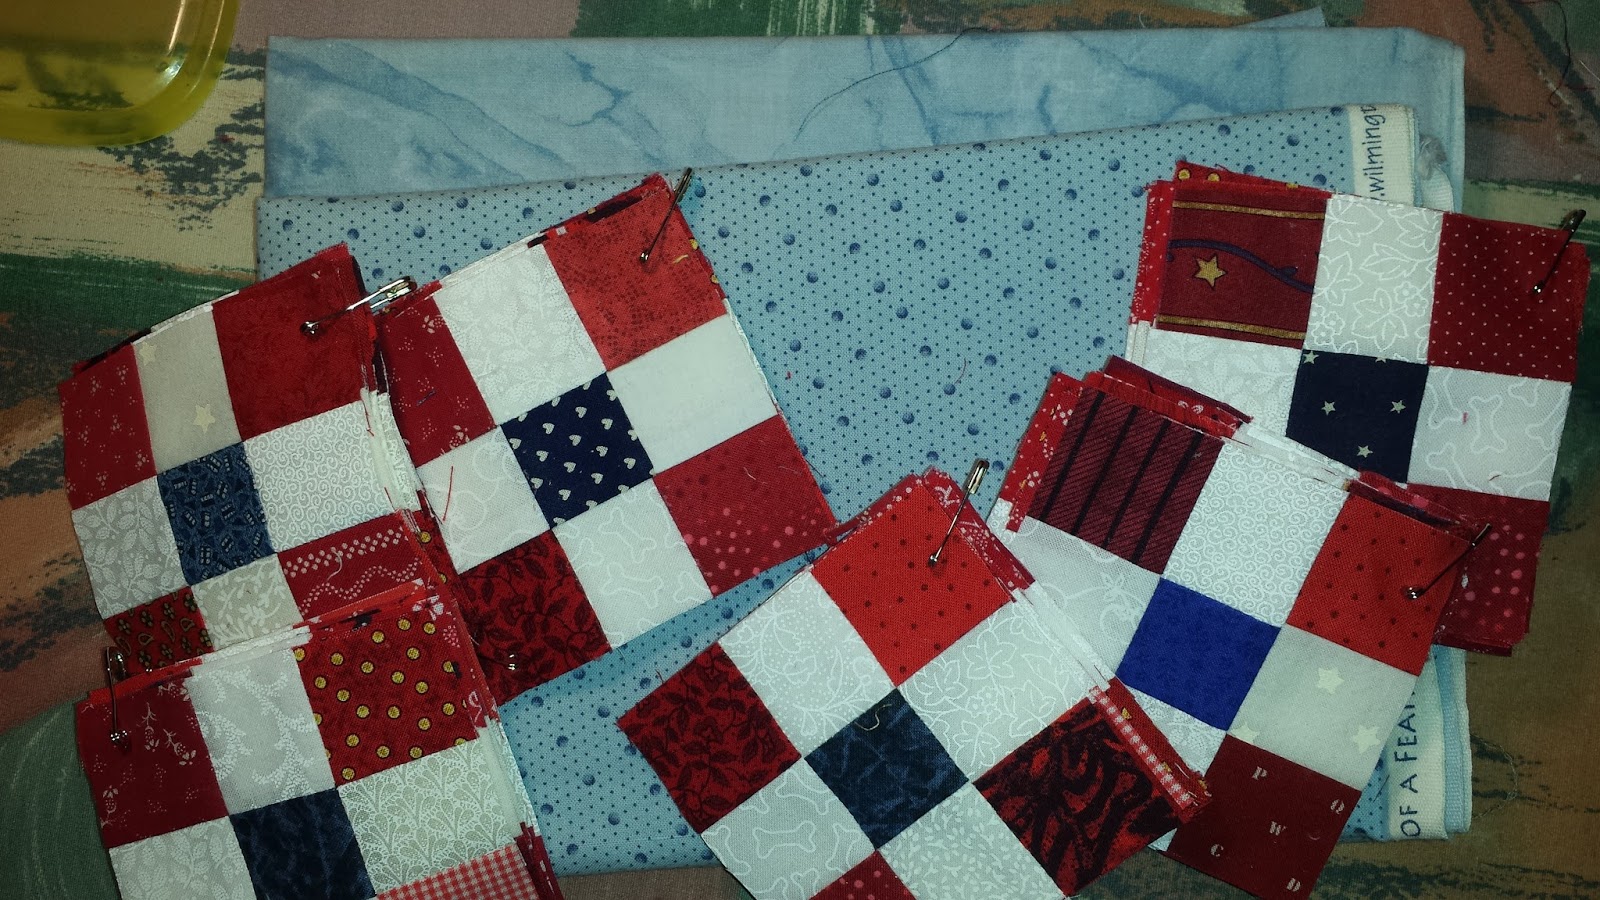
Here is clue #1  - Darling little nine patches


Here is clue #2 -  Flying Geese! 


Clue #3 -  Diamonds in Squares...  Going in opposite directions... 


Clue #4 - Some winged squares....  


 And finally...  clue #5  - Another gaggle of Flying geese. 


Up to this point,  I have cut entirely out of my scrap drawers, and scrap saver system....  The only yardage I have cut into was 4 fat quarters of the lighter blue that I purchased for this project and 2 pieces of lighter blue yardage.   I also had to re-supply my white on whites from stash yardage for the flying geese wings for clue 5.     It is amazing how having that variety of strips and pieces in your scrap system allows for such a wide variety!  Thank you Bonnie for giving us this valuable information on your website and Blog.   

Sunday, December 11, 2011

If It's Organized... Is it Still Considered Hoarding ? ? ? ?

Ok... I'm obsessive.... I'll admit... but there are times when I even question myself...

I started straightening up from about 6 months worth of projects from around my machine area.  This means that I take all the little scraps and bits... and begin sorting into Bonnie's scrap user system.  Bonnie Hunter's Scrap Users System Tutorial   I've been trying to do this now for about a year.... but all the pieces were in ziplock baggies in a drawer.  (not very easy to get to.... for either sorting or using)....  As I was cutting squares and bricks the other night,  I decided I really needed another way of doing this if I was ever going to use it.  

Later that night,  it dawned on me, that I had a couple of those drawer sets that you get at the hardware store for sorting nuts and bolts.  I've had these forever.... it was what I used for thread storage.... (we'll get to that just a little later).....

So... yesterday morning, while working on my second cup of coffee.... I decided to go empty the thread bins... so I could dust them out and start putting my pre-cut squares away......

The bins turned out to be just the right size!  And they are clear on the front.... so I can sort of see what's in them....

Drawer set #1

Drawer Set #2
Here is a picture of one of the drawers 


Drawer of  2 1/2" squares
I even stacked some twosies together so I can just grab a stack and stitch when I want to make four patch units....

twosies... ready to stitch!

These two little units sit perfectly ontop of a shelf that holds some of my papercrafting supplies... (*Believe me.... that is an entirely different post.... ) Just to the left... are my larger scrap drawers that hold pieces that are about a FQ or smaller....

Scrap drawers

I have a drawer for everything....
I tried plastic shoe boxes several years ago... but I found it hard to get into them..... I pick up these drawer units when they are on sale..... I've figured out how to take them apart and stack them together in taller units..... (Don't even start in on how much I've invested....  my DH might be reading my blog secretly... LOL)  But remember... I did say I ALWAYS buy them on SALE! 

And where would I be without IKEA shelves?  
It's sort of sorted by color..... and overflowing..... and I shouldn't have to buy fabric for a very long time!

Now.... back to the thread story.....

If one has 293 spools of thread,  is it too many?   As I was unloadin the thread out of those cute drawers... the word "HOARDER"  crept through my mind.... 

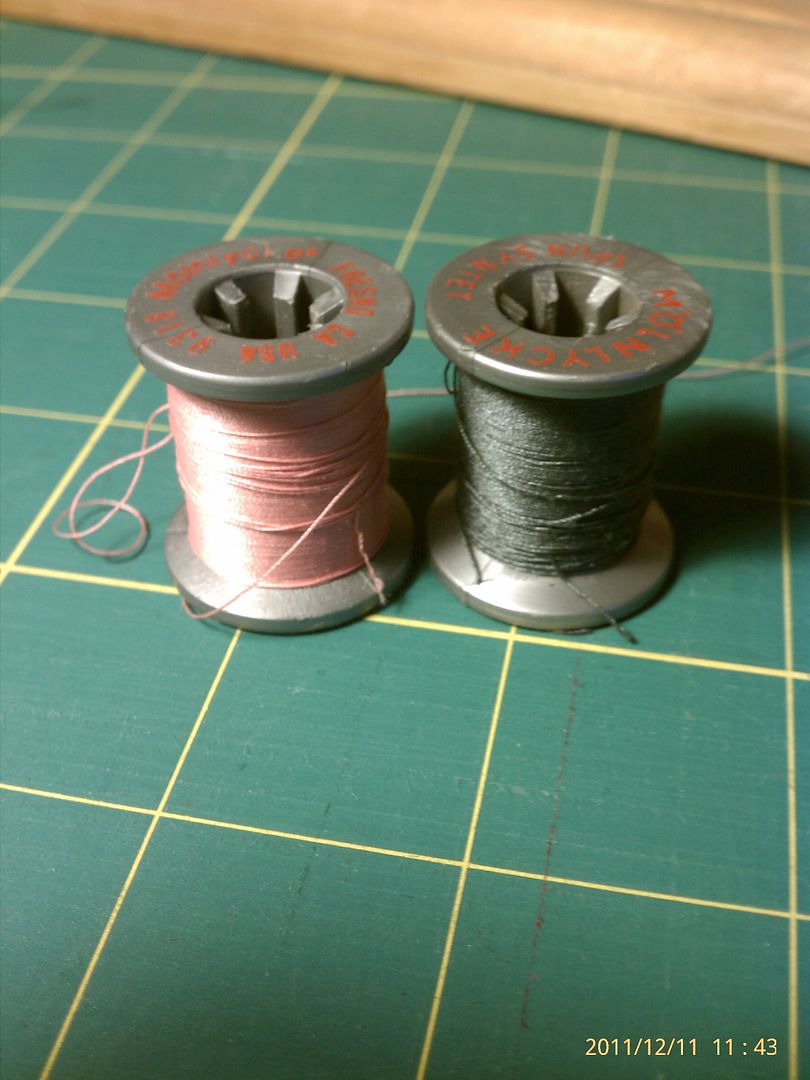
I have some spools that I can pinpoint exactly when and where I purchased them.... It was 1980, in Bend, Oregon... at the sewing machine shop where I purchased my first new sewing machine....  There were no quilt shops then.... in fact... I can't remember if Bend even had a fabric store other than the few bolts that were in the sewing machine store.... If I remember right... I had to drive to Portland to buy fabric....  Maybe there was a House of Fabrics?   or the fabric section at the Ben Franklin Drug store.... I sewed all my own clothes then... so you would think I would remember.... but alas... it doesn't come to mind clearly.    Any how.... these spools of Molynyke thread were from there.....


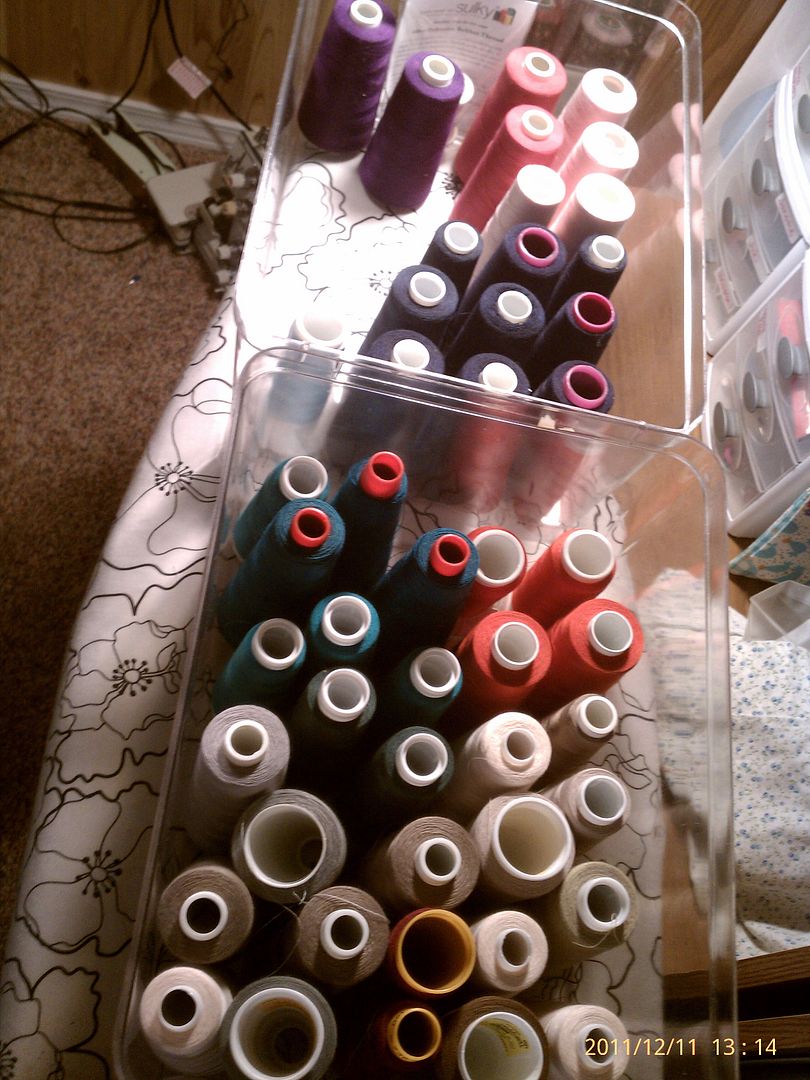
I have a serger... and so I've accumulated several sets of thread on cones for that.... I must have purchased 4 of every color..... because I have this...
Serger cones

And just how much white hand quilting thread does a machine quilter need?   I found this batch at a yard sale one time, and thought I needed it.... but really... 36 spools?   I got an even better deal than the price listed on the spool ends.... I think I paid $5.00 for the entire lot! 
 Now.... just how much dark green thread should one girl have?    I ask sarcastically?  Maybe I just wasn't organized enough and couldn't find the green I already had?   Maybe I thought I needed that specifically different shade of dark green?   I can explain why I have three spools..... One for for my Viking machine.... and two were for the serger..... so that I could stitch a seam  and then serge with the same color of thread..... (Did I mention that I can be obsessive? LOL)...   that does not explain why I have the two serger cones as well though....


The spools in this picture have never even been started.....  still factory sealed....


And just in case someone thinks I've been wasteful.... here are some spools to prove that I never throw anything away !!!!

I found this thread holder at a garage sale this last summer.... thought it might come in handy.... It's two sided... and has a carry handle on the top... It will hold 120 spools of thread


 So today... I gathered up all the thread I could find in the house.... and sorted.... I put all the serger cones together... all the hand quilting thread together.... all the rayon and variegated thread together....  Then... I sorted by color groups.... red,  brown, blue,  gray.... etc.
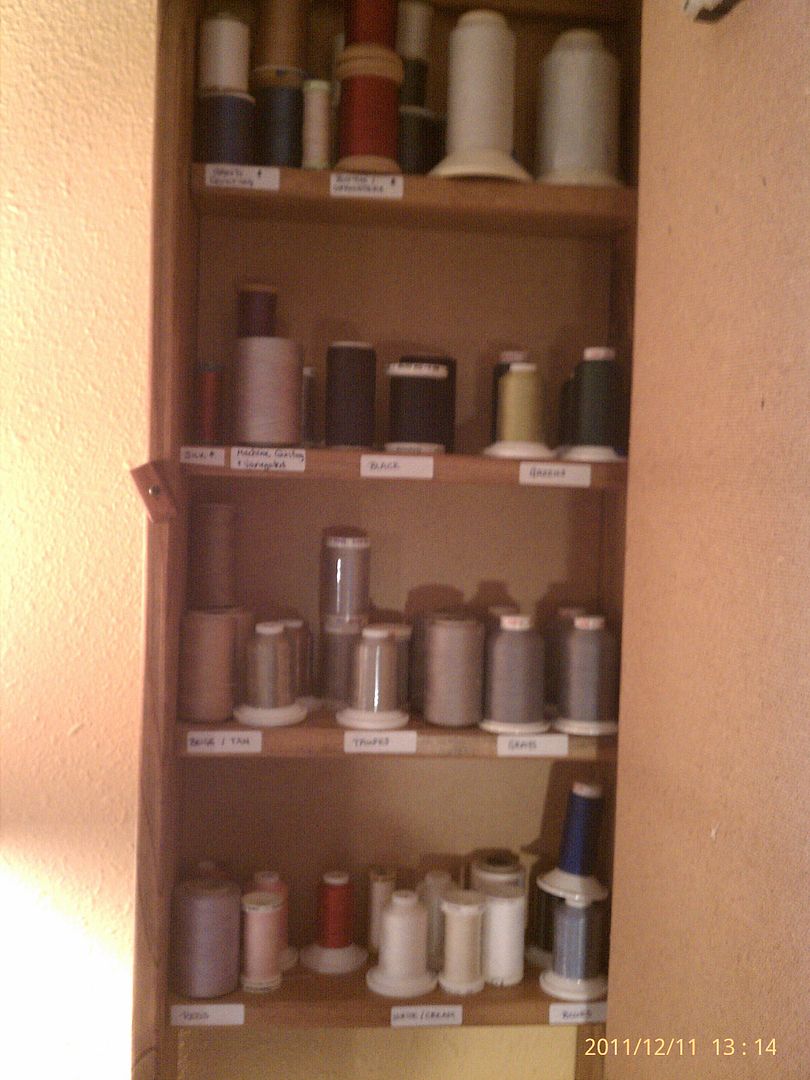
Small spools went onto the thread rack... and the larger spools went into this little shelf on my wall.

All in all... it's now organized.... and my goal is to use it up!    I make enough quilts for charity purposes,  that I should be able to use up some of these dips and dabs..... when piecing.....  I know... some is poly... some poly-cotton... some all cotton.... but as long as it doesn't snap when I tug on it... it should work just fine! 
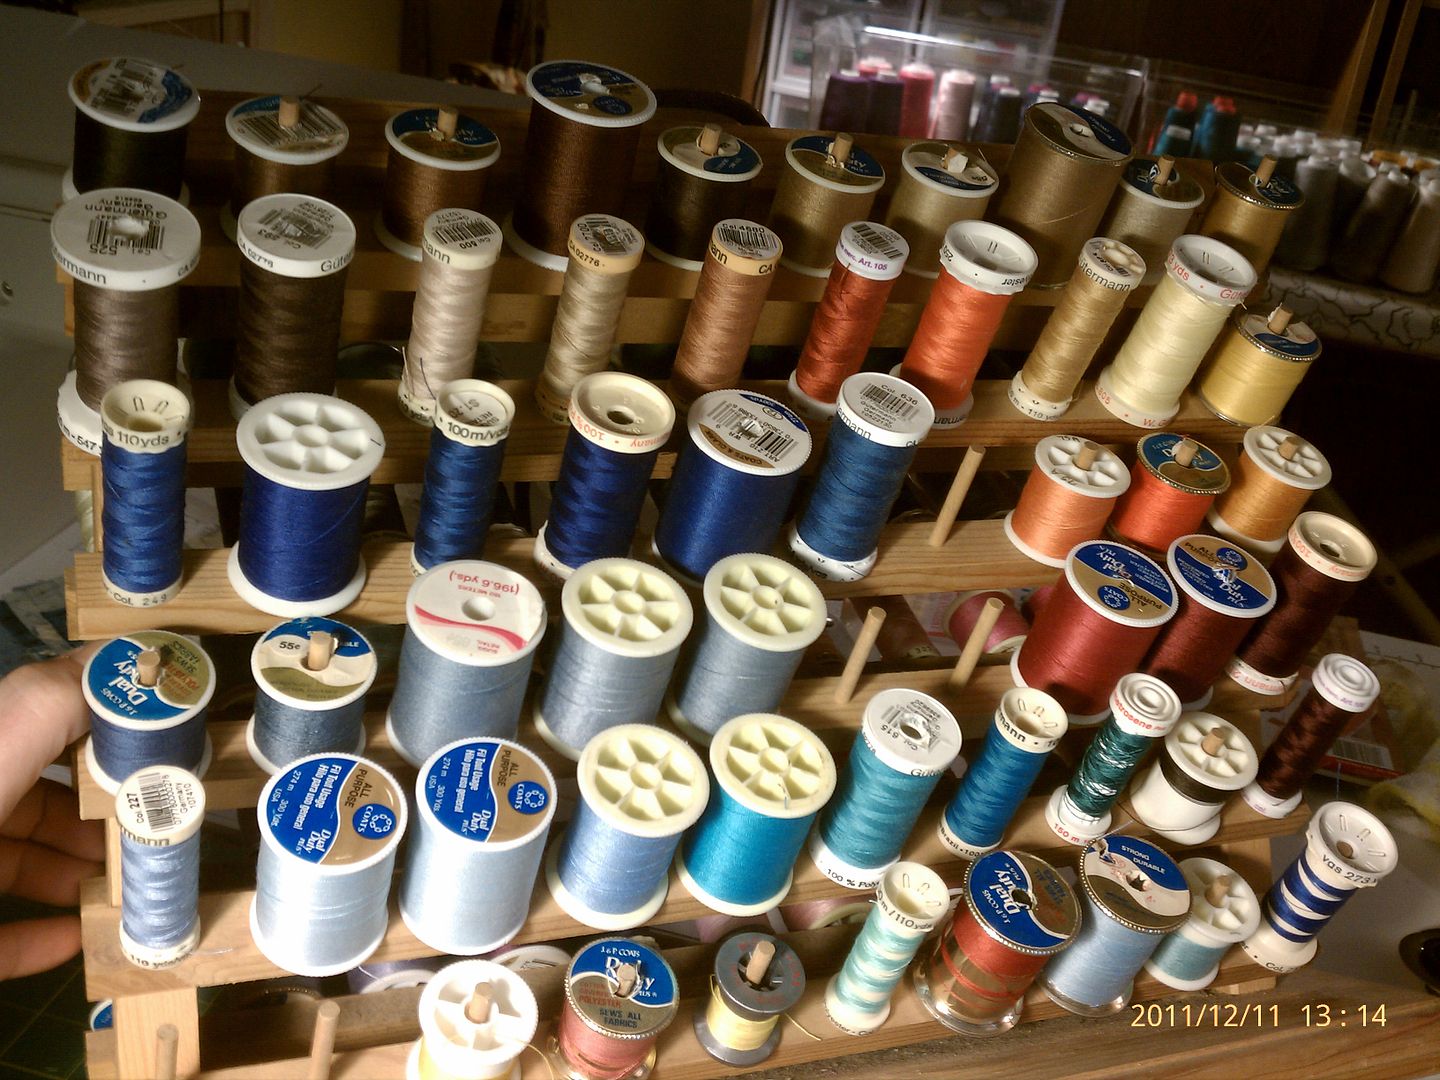


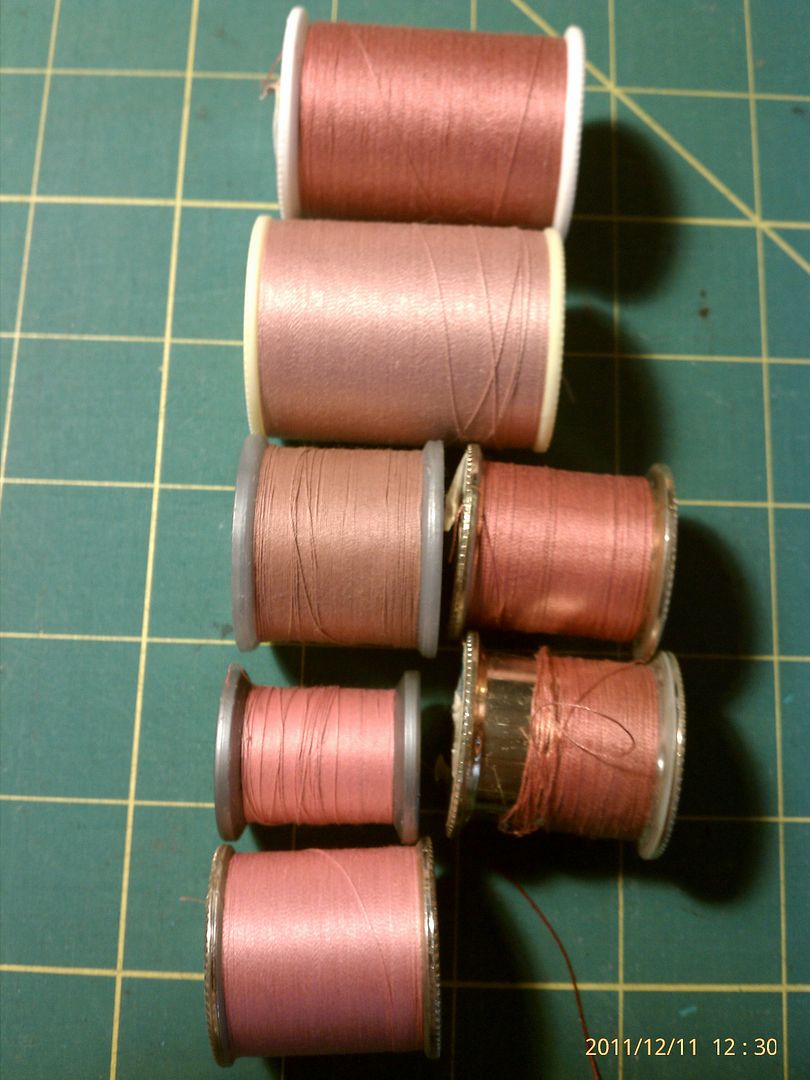
After all.... I don't see myself needing  6+ spools of rose pink for a project anytime soon


Have a great week everyone!