Showing posts with label use it up! de-stashing. Show all posts

Wednesday, December 27, 2017

Scrap and Stash Management - A Revisit

I've posted before  in Jan. 2015, about my stash and scrap management.  I believe you can find the previous posts both here ...   and  again here.  

While working on the current Bonnie Hunter Mystery, "On Ringo Lake",  I was amazed at how easy it was to go to my bins of pieces and strips a pull from them for variety.  I made it all the way through part 1 without cutting into the yardage in my stash.  In fact, much of it came from my 1 1/2" squares that were already cut.  As you can see in my picture, that I all but wiped out  my reds and whites.  
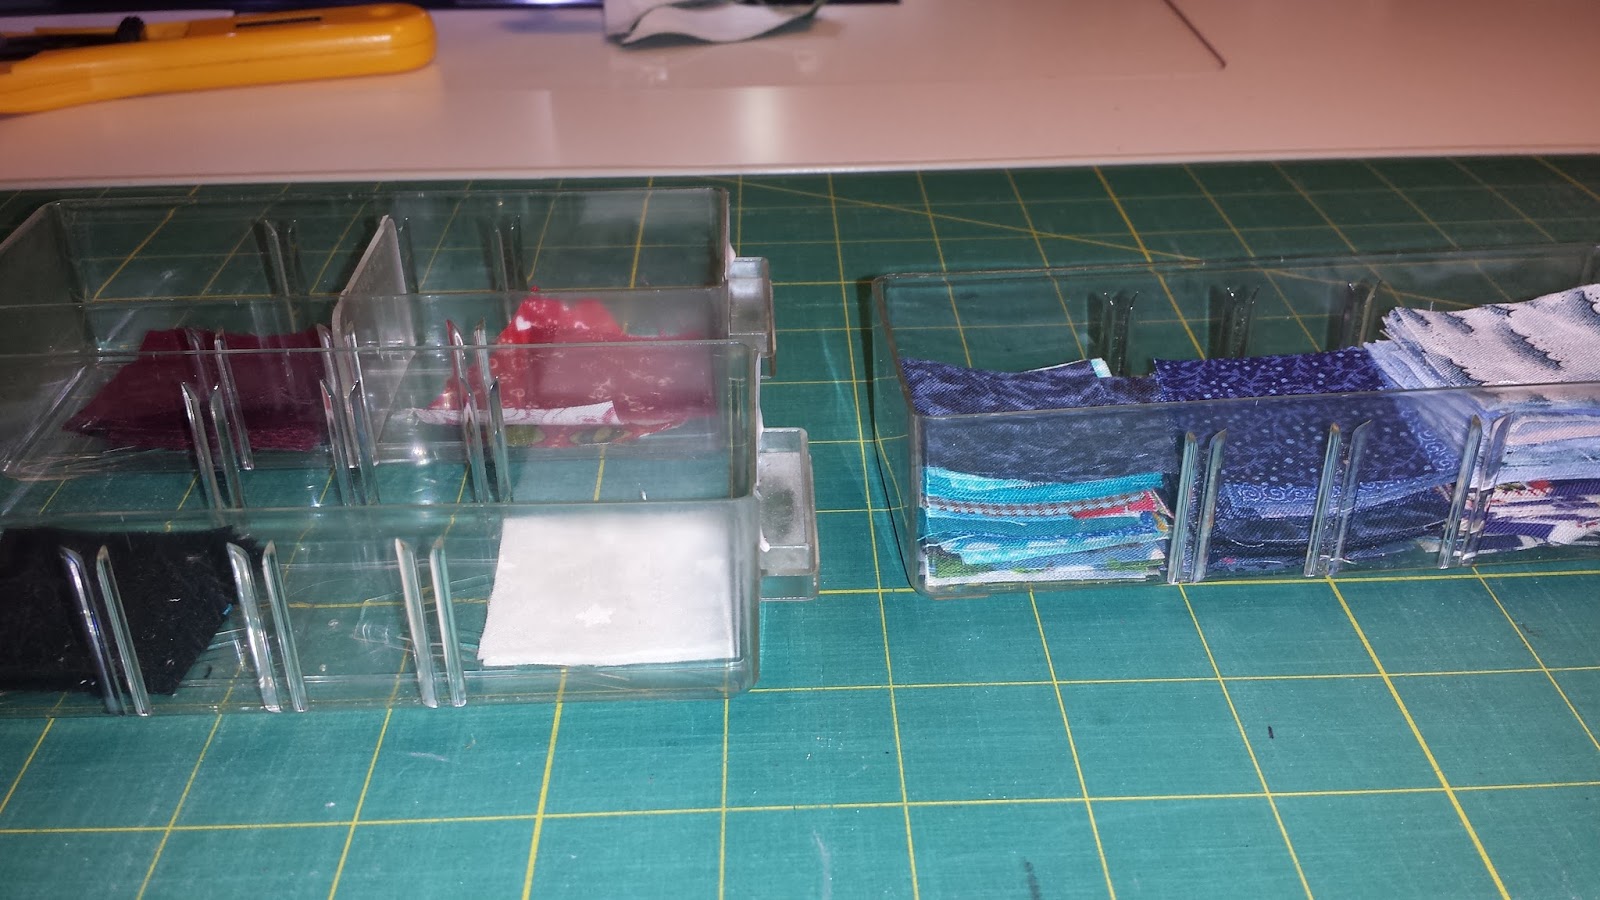


I did purchase a handful of fat quarters in the light blue I'm using for the corals that Bonnie is using,  and I cut 2 fat quarters from some blue yardage on my shelf.   The two lighter blue pieces under my step one units.  (Since is is going to be a Quilt of Valor, I am trying to steer clear of girly looking florals, and most of my lighter blues were just that... girly florals!)  I didn't have any strips of those two in my strip bins.  Other than that, Through step 5, all of my color pieces have come from strips or smaller scraps. 
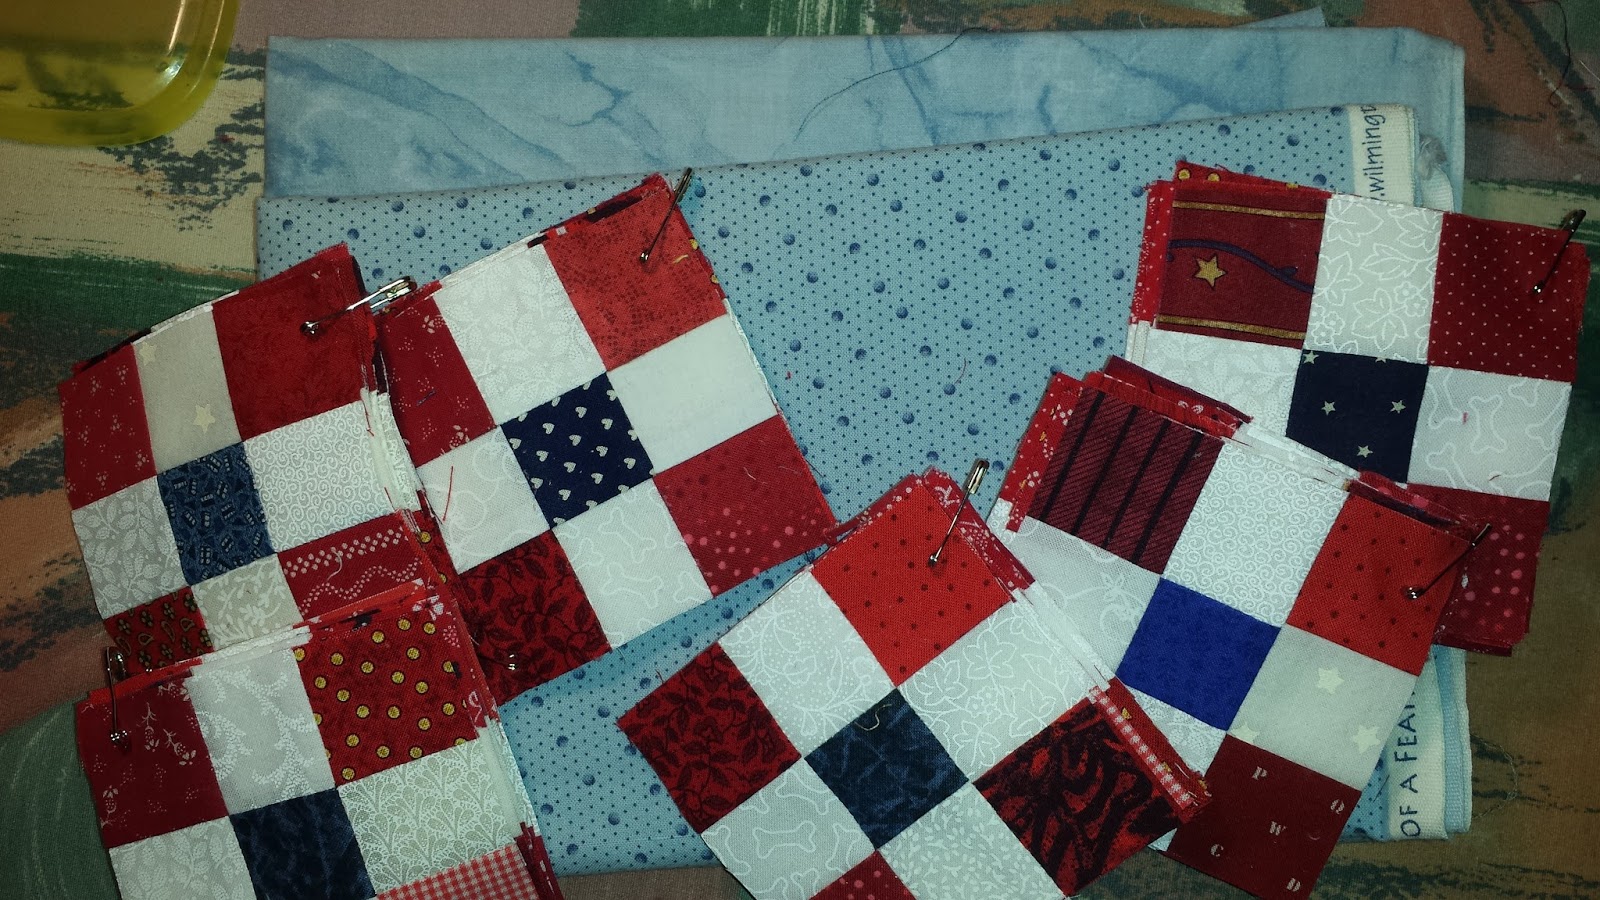


Here is where my "revisit" part of this post comes in.    

As I was getting ready to cut  for clue #5 last week,  I realized that everything left in my whites/ creams bin is on the creamy, beige side.... I've used up all the whiter pieces that were in there.  Yeah for me!  but this means I need to re-supply.  


 Now,  creams and beiges are often my backgrounds of choice,  but I really wanted a brighter white feel to the background pieces in this project.  So I took a couple of hours, and re-stocked my whites on whites. 

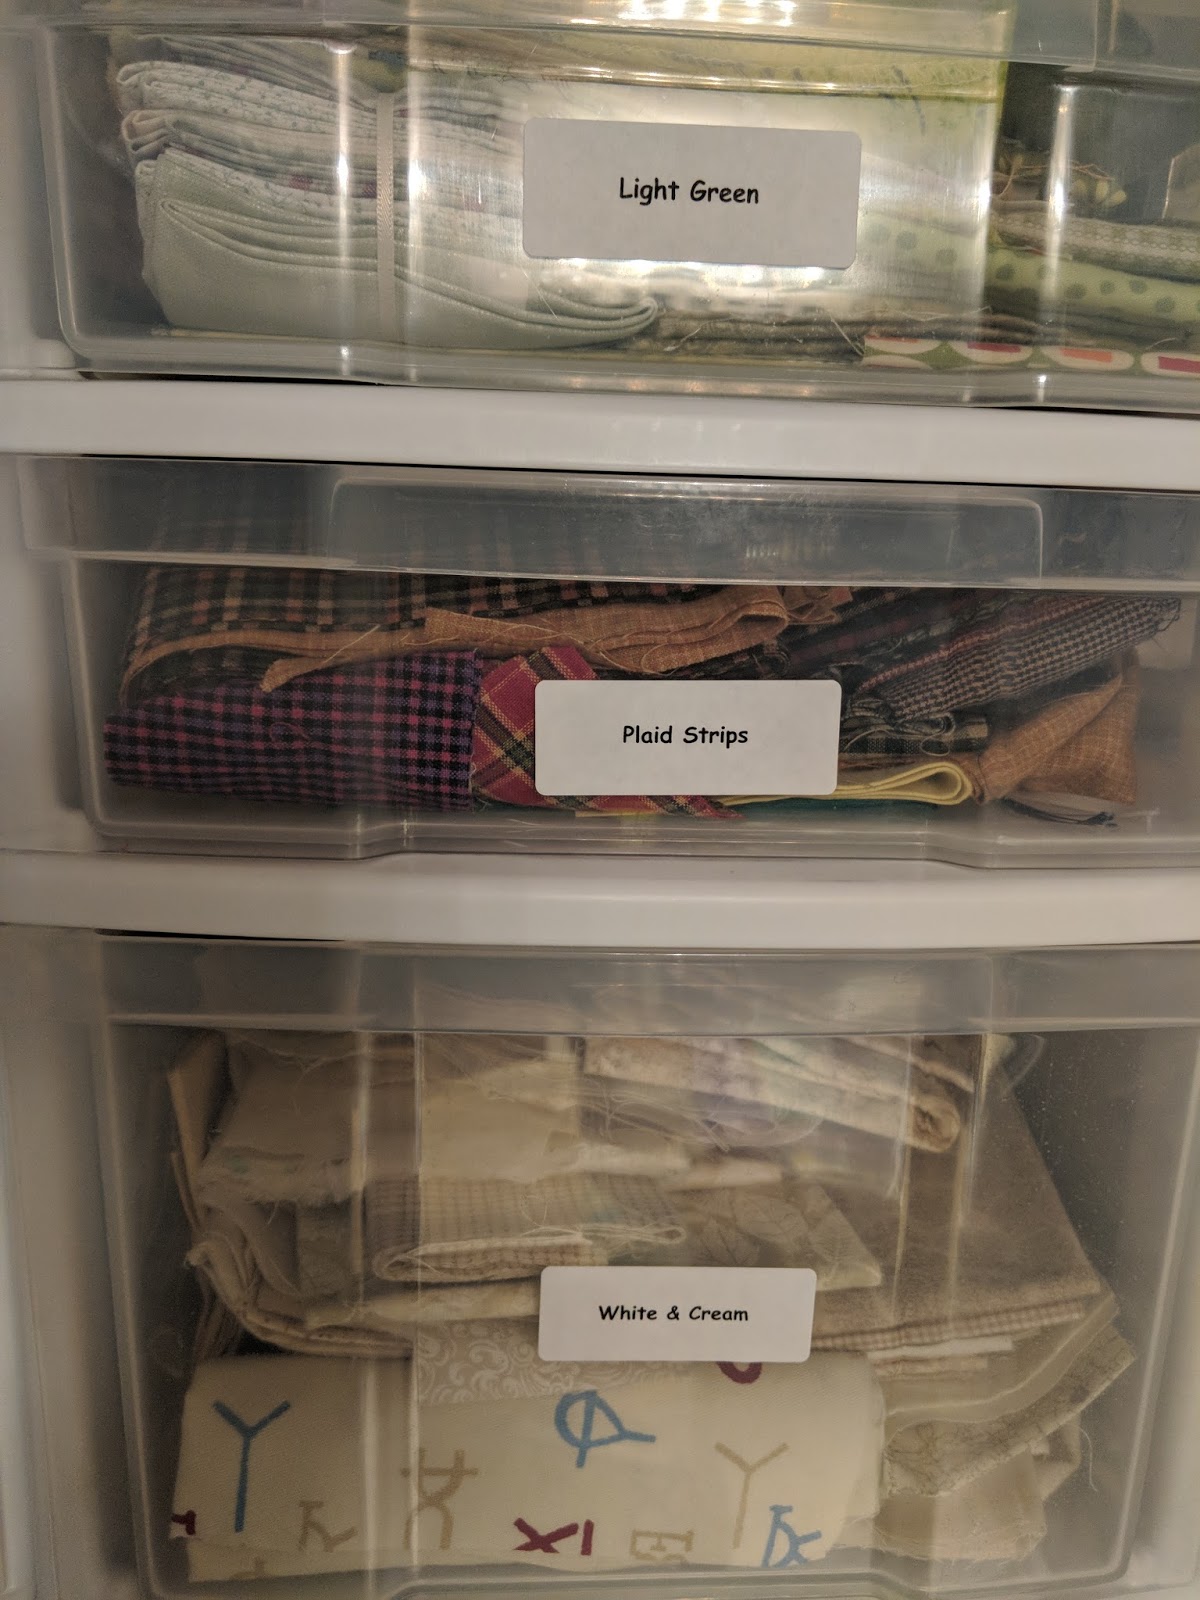
I purchase fabrics when I find a great deal!  Especially if it's not going into a current project.  I have been really diligent about this the last couple of years.... In fact, I can honestly say that I think this past year, I've probably purchased less than 10 yards of fabric! (I'm practicing for retirement... LOL)   As you can see from this previous stash photo,  I'm not in need of anything to speak of...   See that stack of Whites near the bottom left?  Yep.. that one.. the middle part of the next to the bottom row.... That's the stack I'm working with today... and this picture was taken in Jan. of 2015...  Those are my whites on whites. 


It is a daunting task to think about pulling each of those fabrics,  and only cutting one strip off of each.   So thinking proactively,  I decided to work the pile systematically. 
I opened up each piece,  some measuring a yard,  some up to 5 yards. 


  • Step 1.  Press out the fold lines on one end, so that I could cut a half yard from one end. 
  • Step 2.  Cut the 1/2 yard off.  
  • Step 3.  Refold the remaining yardage, hopefully on the original fold lines, so that I don't have to re=press the entire piece. 
  • Step 4.  trim the fold line, resulting in 2 Fat Quarters.   One fat quarter got put aside in  a pile for later pressing and refolding. 
  • Step 5.  Once 5 fat quarters were pressed, (I like to use a little sizing or starch),  I laid them out in a stack that I'll call  a "5 stack".  Making sure that the salvage edges were straight, and the pieces were smooth.  
  • Step 6.  Now,   use about 4 of my flat flower pins, and pin about 1/3 of the way down the stack of fat quarters, to keep them from shifting.  (the use of starch or sizing in the previous step helps with this too). 


  • Step 7 -  I knew I needed 2" strips for my current project, so I cut one of those first.  
  • Step 8 - Now the planning part comes in... I also cut another 2",  1 1/2",  2 1/2"  and 3 1/2" strip to put into the strip bins for another day.   
  • Step 9 -  This left me with about 6" of my "5 stack" left.  I haven't cut the 3 1/2" strip yet from the photo above.   
Note - If you look closely in the photo above you can see the difference between my "clean cut" edge at the top,  and the uncut edge at the bottom of that striped set. 
  • Step 10 - press and refold the pile of fat quarters that I set aside earlier.  These will go into the fat quarter drawers to be pulled out to play another day.  I may not have to pull my entire stack again for a couple of  years.  
The remaining portions of my "5 stacks"  will stay pinned like this until I finish all my cutting for this project.  If I need a different size strip,  I'll cut from each of these stacks rather than grabbing from the strips I just cut for re-supply.   If I need  3 1/2 inch strips for the next clue,  I'll use these stacks.  

Then ,  I'll see what is left.  If I have more than 4 1/2 inches left,  I'll unpin, and refold them to go back into that bin marked "whites and creams"... which contains pieces smaller than a fat quarter.    

If it's less than 4 1/2",  I'll cut whatever size strips I can get out of it,  and add them to the strip bins with the strips I just cut for re-supply.  Anything less than 1 1/2" will go into my "String Bin"

Here is a picture of my results... 


I still have a stack of fabric to return to my stash shelf.. (the ones on the right).  
I have a stack of 25 fat quarters to grab when needed. 
I have strips to add back into the strip bins to use as needed.   Each little folded roll is 5 fabrics. 

I choose to do this with groups of 5,  because then I can easily count to 10 when cutting.  I use a 60 mm  rotary cutter,  (make sure it's nice and sharp).   5 single layers is my limit for strip cutting.  Many quilters feel more comfortable with just 3 - 4 layers at a time.  

When sub-cutting units,  or trimming blocks,  I do not cut this many layers.  

I use the "5 stack"  technique when cutting my colored fabrics as well.   If the pattern calls for Assorted Blues, for instance,  I pull blues just like I did my whites,  press,  make a separate FQ for use later,  and pin 5 together for cutting for the project.  When the project is done,  I'll  unpin and return to the bins.

Monday, March 27, 2017

Stash Report 3/27/2017

Here is my latest stash report. 

I'm linking with Judy Laquidara's blog 


Since my last report  on 3/12: 
  • Completed my Round Robin from 2010.   The quilting and binding are finally done!   It's new name is:  "Life is Good!".  See the whole story here....  Fabric from my stash:  7 yards. For the outside borders,  backing and binding.   I used 2 yards of Hobbs 80/20 for batting
  • Completed top for homespun lap quilt 45" square.   used scraps of Warm and natural  batting equaling approximately 1/2 yard @ 90" wide   * backing  already accounted for with previous green, gold, rust lap .. but top is 2 yards. 
  • One doll quilt 1 yard total of fabric...  and scraps of batting  the back was a scrap of the backing used on the lap top completed above.

Fabric 2017

     Fabric Used Since last report :  10  yards 
     Fabric Used year to Date: 52 5/8 yards
     Fabric Added since last report: 0 yards
     Fabric Added Year to Date: 8 yards
    

     Net Fabric for 2017:  Net 43 3/8 yards Used 


Batting  2017: 

     Batting used since last report: 2  yards of Hobbs 80/20 for RR quilt 

     Batting used year to date: 7 3/8 yards used from bolt ....
           PLUS  8 doll quilts, 6 laps (45" squared), and one table runner  from my
           bins of batting scraps approx 4 yards worth 
     Batting added since last report: 0 yards
     Batting added year to date:  40 yards (Jan purchase) 
    
     Net Batting for 2017: increase of 25 1/8  yards 

Sunday, February 12, 2017

I'm still digging...


     This "clean up" project I started just keeps giving!   I feel like I'm on an Archeological dig,  working my way back through history. 


4 lap quilts heading to our guild meeting tomorrow!   Finally... some sunshine to photograph these in.  


     I started quilting back in 1974,  while in college.  My sister-in-law and I took our first quilting class together,  when the Bi-Centennial quilt revival was getting started.   We're talking cardboard templates and scissors!  No rotary cutters, long arm machines,  or rulers with grids.
   
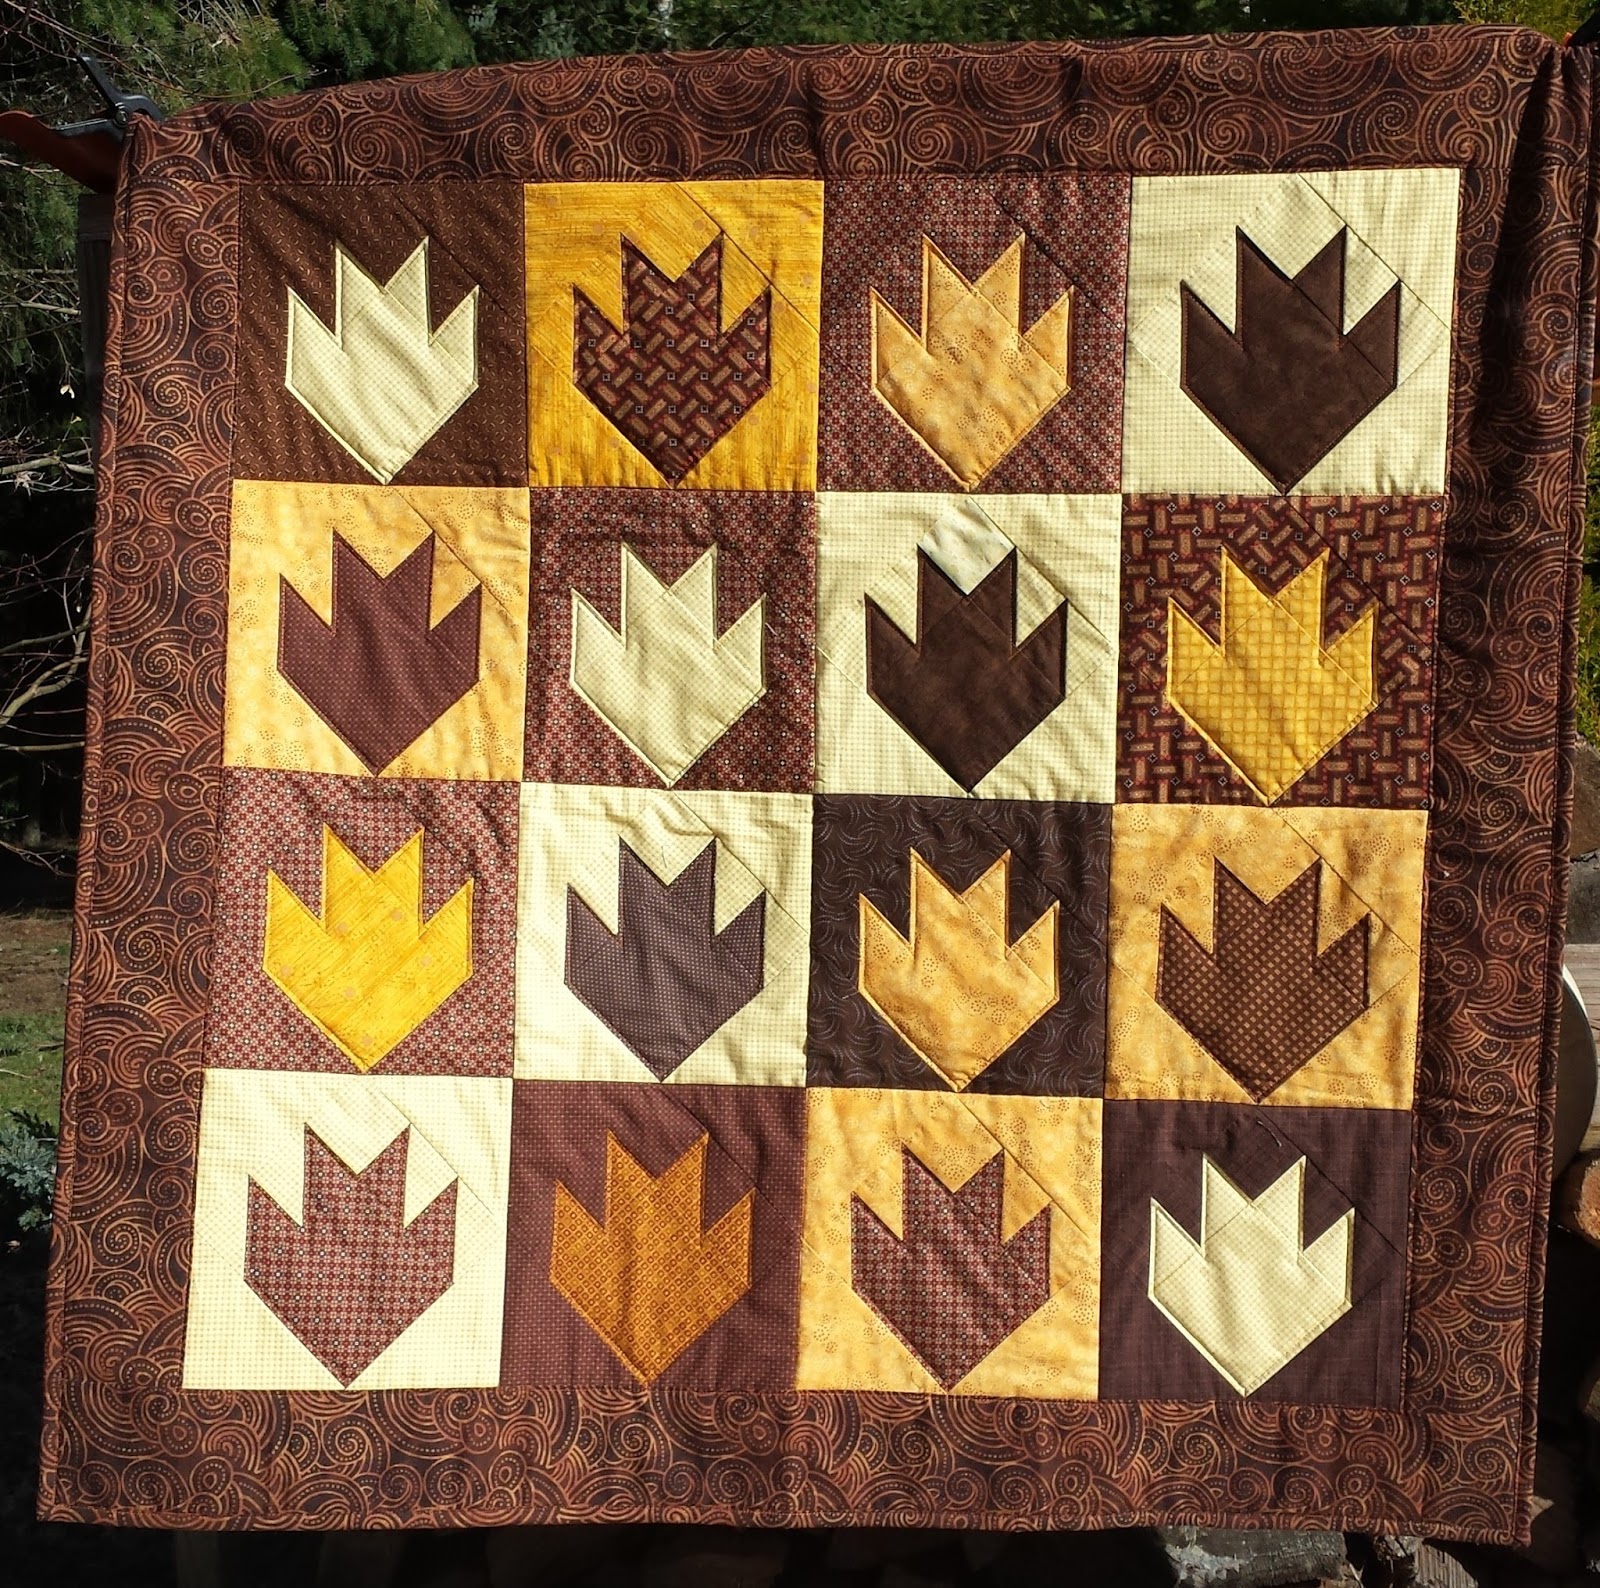
45" lap quilt from rejected project blocks 


     We've come a long way, Baby!  I've finished college, moved away, moved back home, moved out again, met my hubby and we've moved 7 times in 31 years.  I still have some of that original stash hanging around from those early days.   I'm determined to use it up!

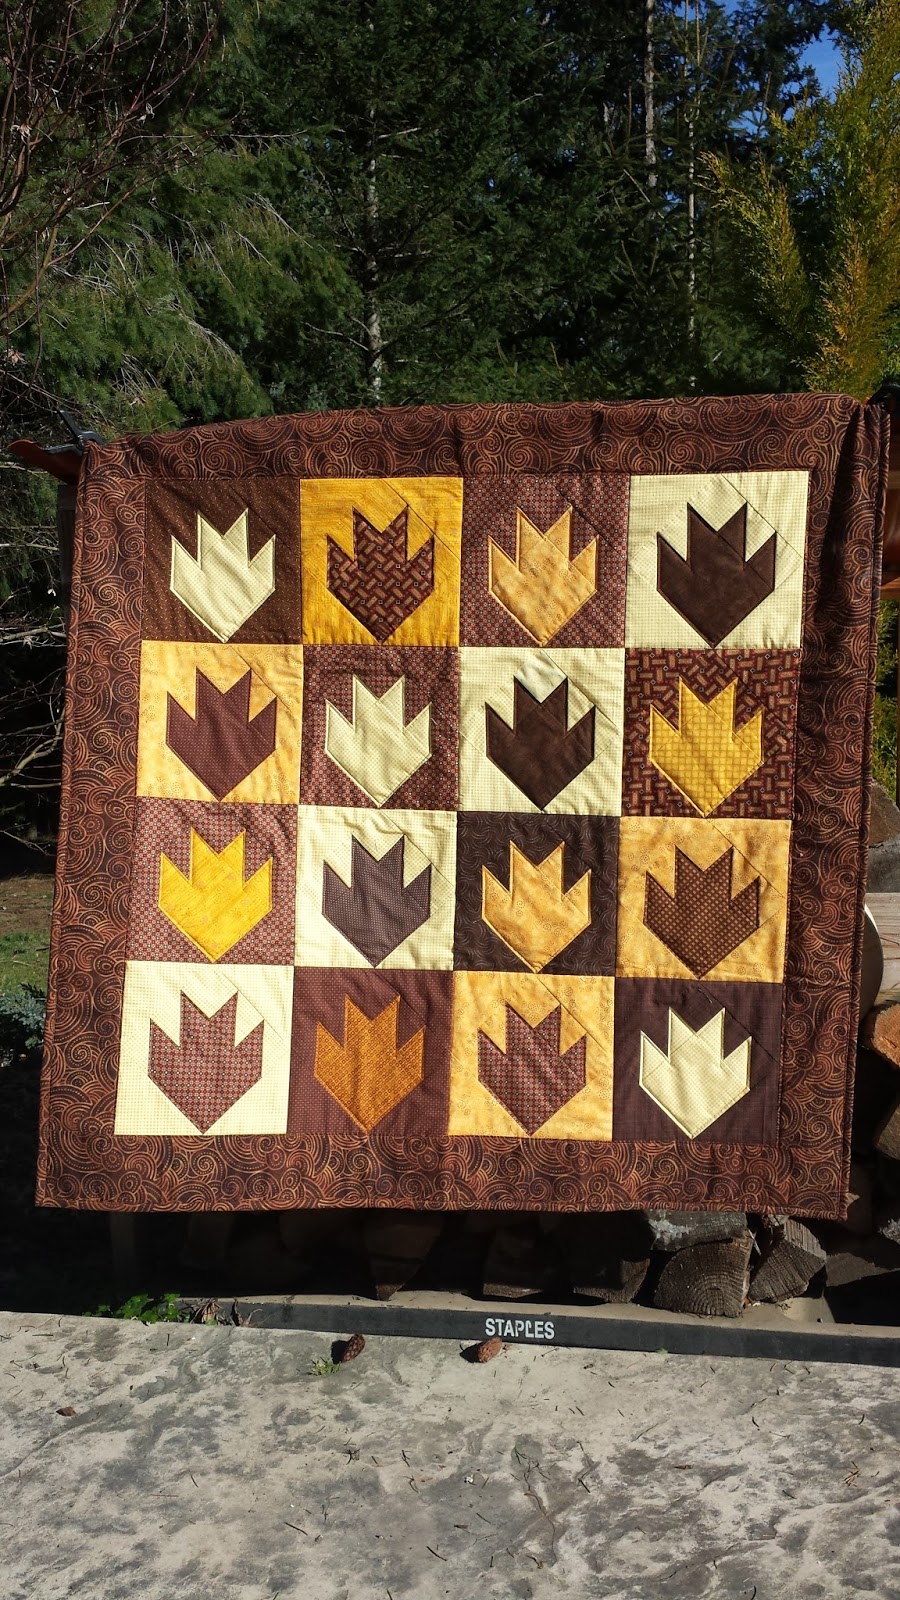
45" lap made from blocks donated to a group I quilt with. These were leftover from a twin size quilt I finished in 2016.  Finally used them all up!  Yeah!  I had fun quilting this one with a random overall loop and daisy design.  The back is made with some leftover pieces of blues that backed the original twin.  double win!


     I have tamed scraps that were piling up and overflowing the box at the end of my table.  We had company for a week last month, and we moved everything out of the center of my stash room, to put up the queen size air bed.  Three weeks later, I'm still sorting and putting away small bits and pieces.  Having 10 snow days off of work gave me plenty of time inside to sort and play while hubby watched movies across the room. 

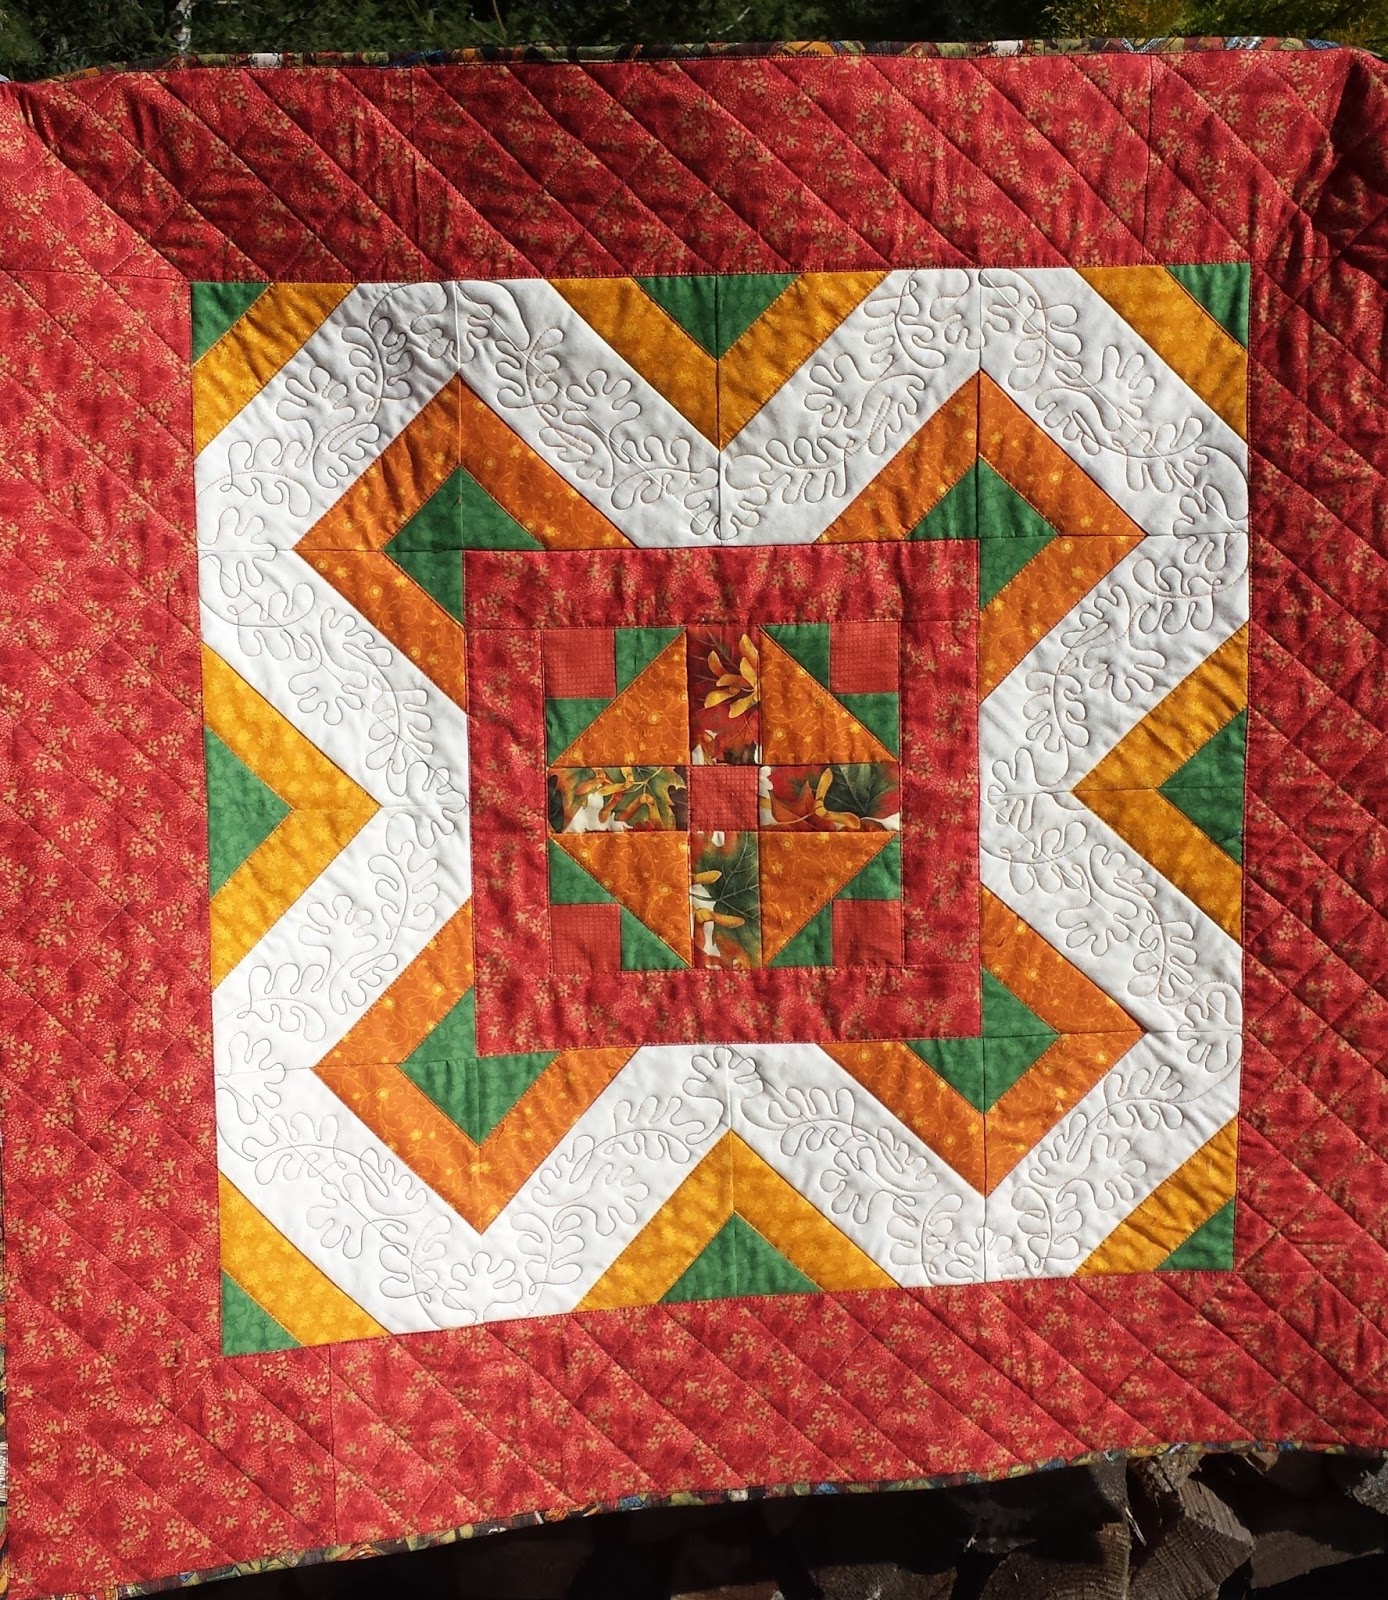
12 rejected blocks from a previous 2009 project.  45" lap quilt. The white areas just kept telling me to put something leafy and scroll-like there.  

     So far,  I've un-earthed: Leftover blocks from several quilts, some blocks that have been given to me to "do something with",  and several "small block components" such as small half square triangles,  tiny 9 patch and 4 patch blocks.   I've pressed and trimmed to common, usable sizes. 

  •  Irish chain quilt - 15 leftover chain blocks - 
  •  blue/ white blocks - enough for alternate blocks for a QOV 
  • 35 black / white blocks  leftover from a quilt in 2014
  • some Yellow brick road blocks -enough for a youth quilt if I made 2 more...
  • 98 half square triangles from a project in 2003!  (You know, those flip and fold triangles... these are 3 1/2"  so there are enough there for a lap quilt
  • Same pattern, different quilt,  I only have 67 from the second quilt. I can add to these with some of the fabric still in my stash to make another lap quilt 
  • Rejected blocks from a mystery quilt, that I re-made with different fabric 
I've played with some of these as I've worked through them, just to keep them moving through the pipeline.  In the last 3  weeks I've finished tops and done the quilting for: 

 Toy n Joy Doll quilts   going to our guild meeting tomorrow night 

  • 5 doll quilts (mostly using up the odd 4 or 6 blocks from previous projects)  These are all about 24" square.
  • 1 lap quilt 45" square  made with blocks that I rejected in the middle of a project in 2009.  They  got me so close, I only had to add borders. 
Study in Pinks and Blues -  45" square.  I'd like to say there isn't any more of these fabrics in my stash, but if I did, I'd be telling stories.  


My orphan block bin has shrunk!  My drawer of misc. pieces/ etc is 1/2 of what it was 3 weeks ago.  I'm making progress, and bagging these in like size / or color groups to do something with SOON! 

I also found UFO's!  (not on my official UFO list) 

  • two baby quilt makings from 14 years ago 
  • two home made kits for donation quilts in red/ white/ black
  • the beginnings of a Quilt of Valor (28  6 1/2" friendship stars).. there is a quilt in the making now, I've planned it out on EQ this evening. 
  • 2 more Thomas the Tank Engine baby quilts, all cut, ready to sew. 
  • All the blocks for a large lap for a dear family friend that my hubby rejected.  (He said they were too bright and busy for the intended recipient) 
I'm not done!   there's more,  I'm sure of it!