|
| Middle of August and Still going strong! |
I’ve always loved container gardening! You may have seen my tutorial about the exchange planters I am doing this year. I’ve had several people ask me in the past how my planters look so full and lush all season.
Here’s what I do. Click on the pictures for a larger view!
1. I exchange at least half of the soil in a container each year, with new potting soil. Where does the old half go? Well, usually some of it has washed out through numerous waterings all summer. Also, when I pull the old plants out, there is the soil that is clinging to the roots. The other part of the half that I pull out goes to a pile I like to call “Dirt Heaven”. It gets mixed in with the compost or to help lighten up clay soil around the yard. After all, it’s bark, vermiculite, perlite, and peat for the most part. So I usually dump the entire pot out into the wheelbarrow.
2. Think of it as “Soil lasagna”… when filling the pots, use equal parts of old soil, new soil in layers until the pot is about 2” from the top. Mix it well, so that you can’t tell where the two different soils are. (This does work best if the old soil is slightly moist. I always try to water my old pots a couple days before I’m going to work with them. If they are too wet, it’s a soggy mess.)
 |
Remember to pull out those
old tangled root pieces! |
| My “Soil Lasagna”. This is half old potting soil, half new potting soil. It’s about 2” from the top of the pot. (Don’t try to use regular garden soil for container plants. It just doesn’t drain right, and you’ll have a soggy, muddy mess. Please don’t ask me how I know this.)
|
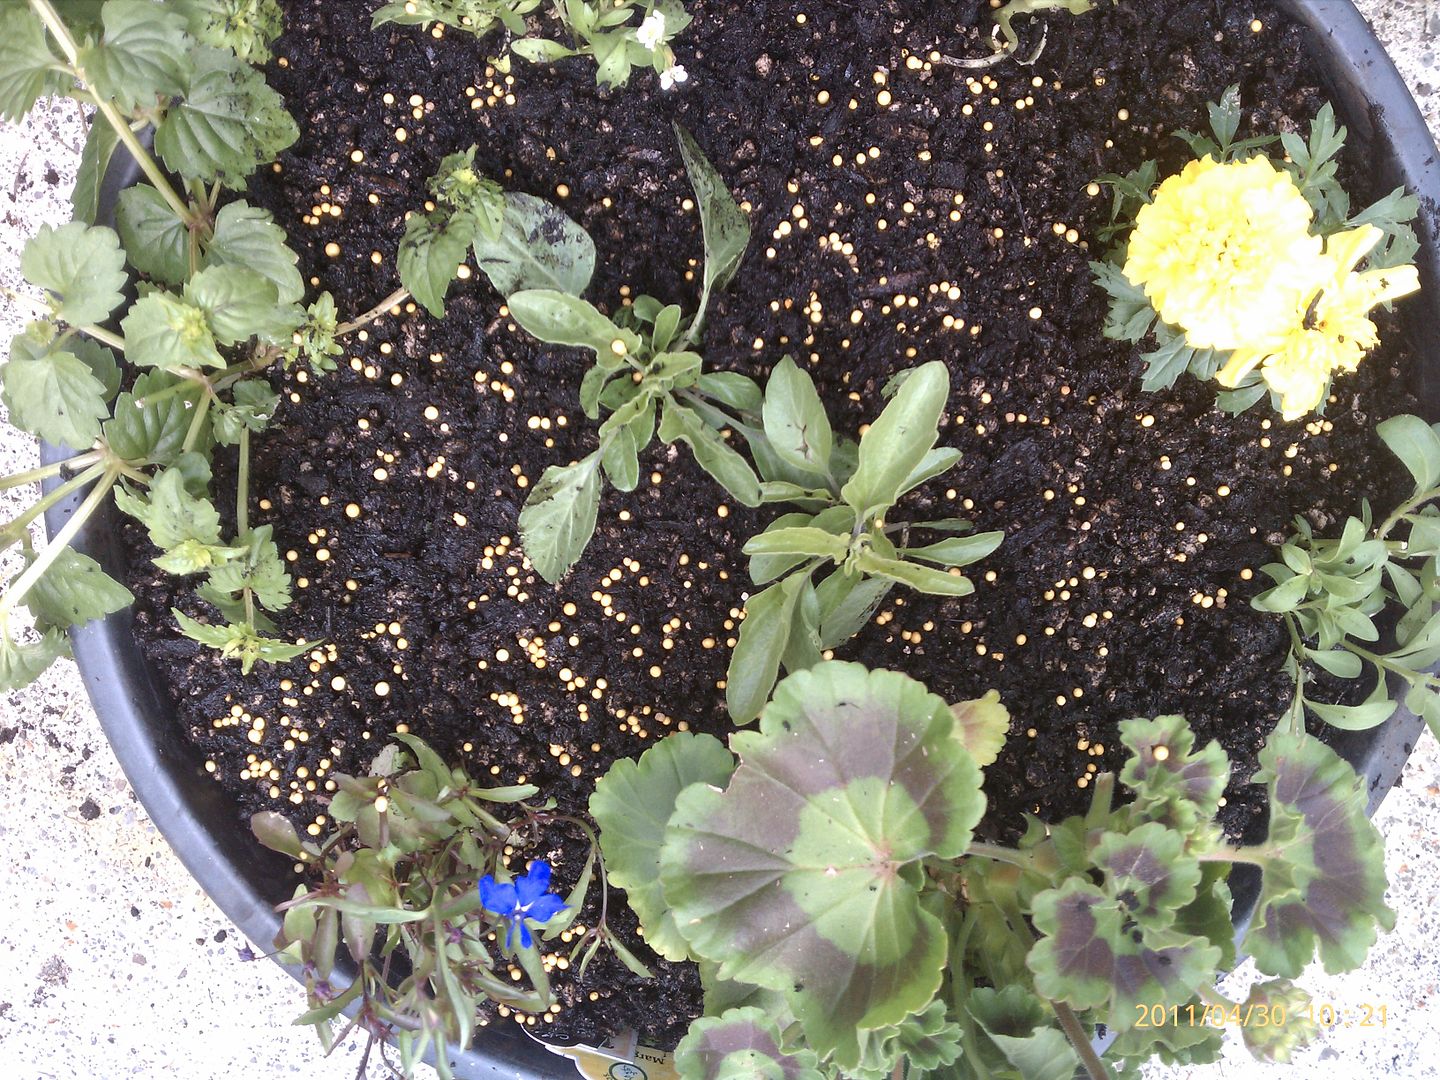
3. Add moisture pellets and a good fertilizer. I personally like Osmocote 14-14-14 for this. It lasts for 4 months…. And fertizes every day.
You can buy potting mix by Miracle Grow ( and other companies )that already has these mixed in, but I like to do it myself. It is about half the price, and I have more control over what goes in. A little of the moisture crystals go a long way, and one jar has lasted me a couple of years or more.
 |
| This is just one brand of the moisture crystals. |
|
 |
Osmocote 14-14-14 A good, all purpose fertilizer |
|
|
|
|
 |
| Follow the instructions on the package . Sprinkle both on the surface… Mix Well! |
|
 |
| Find the plants you want to put into the planter. |
|
|
|
|
Here is a little side tutorial for those not familiar with the moisture crystals.
These little guys will be a lifesaver in the heat of summer. They help hold moisture in the soil, and then slowly dry up, releasing the moisture as they do. (Just remember that if your pot goes totally dry… it will take a very good soaking to plump them back up.)
 |
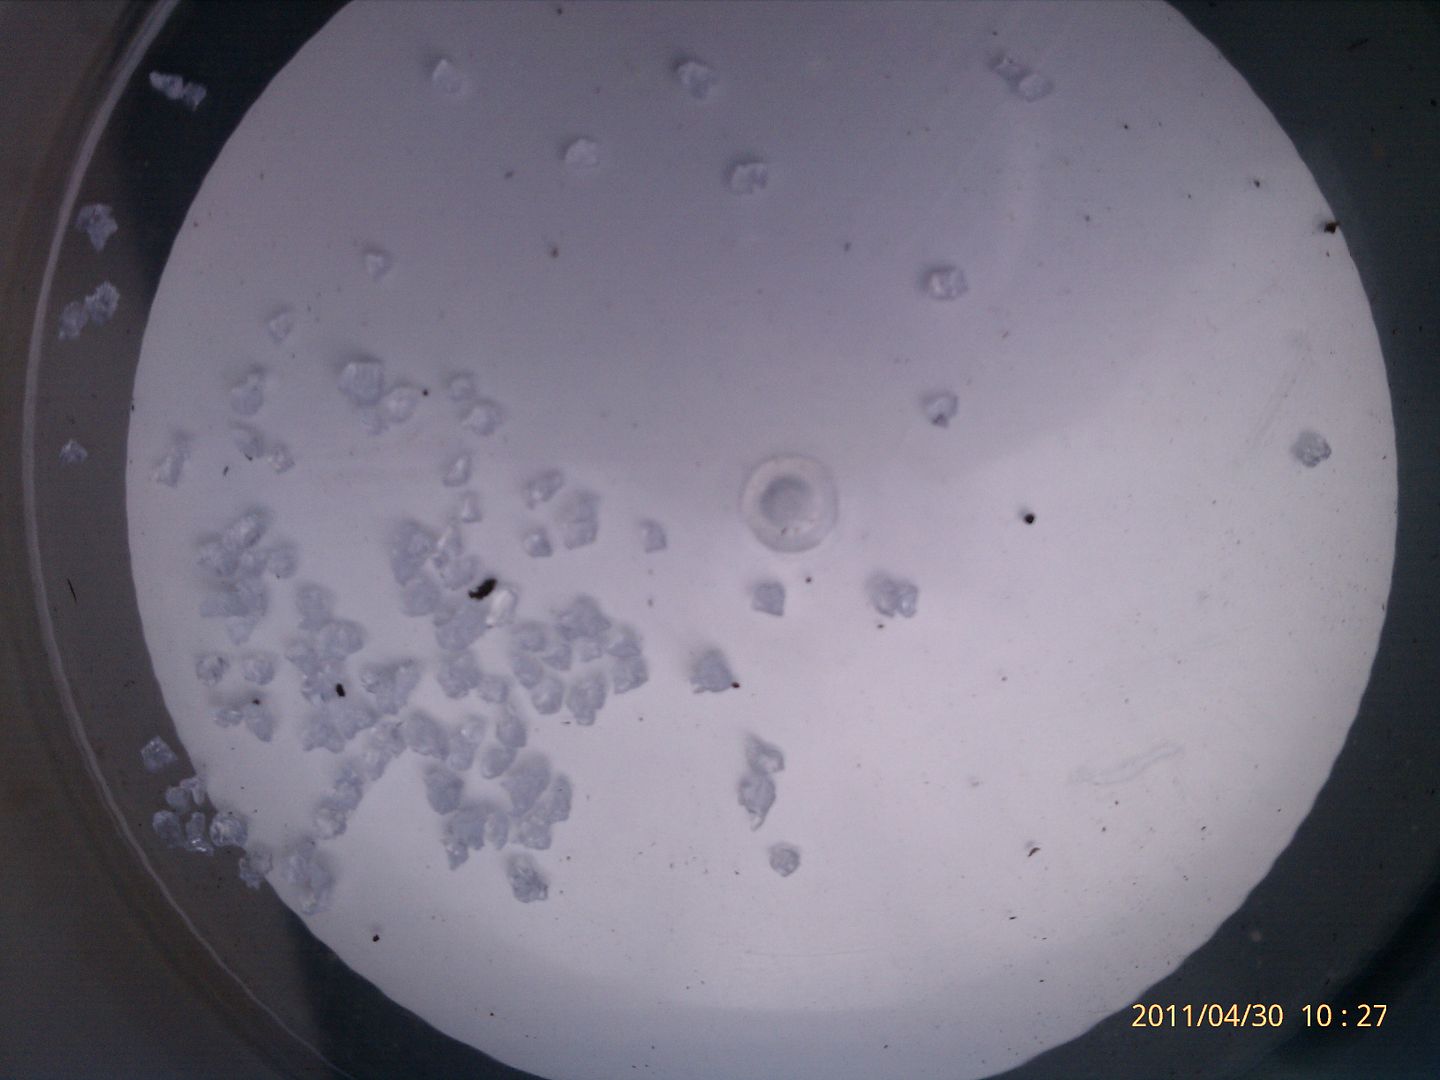
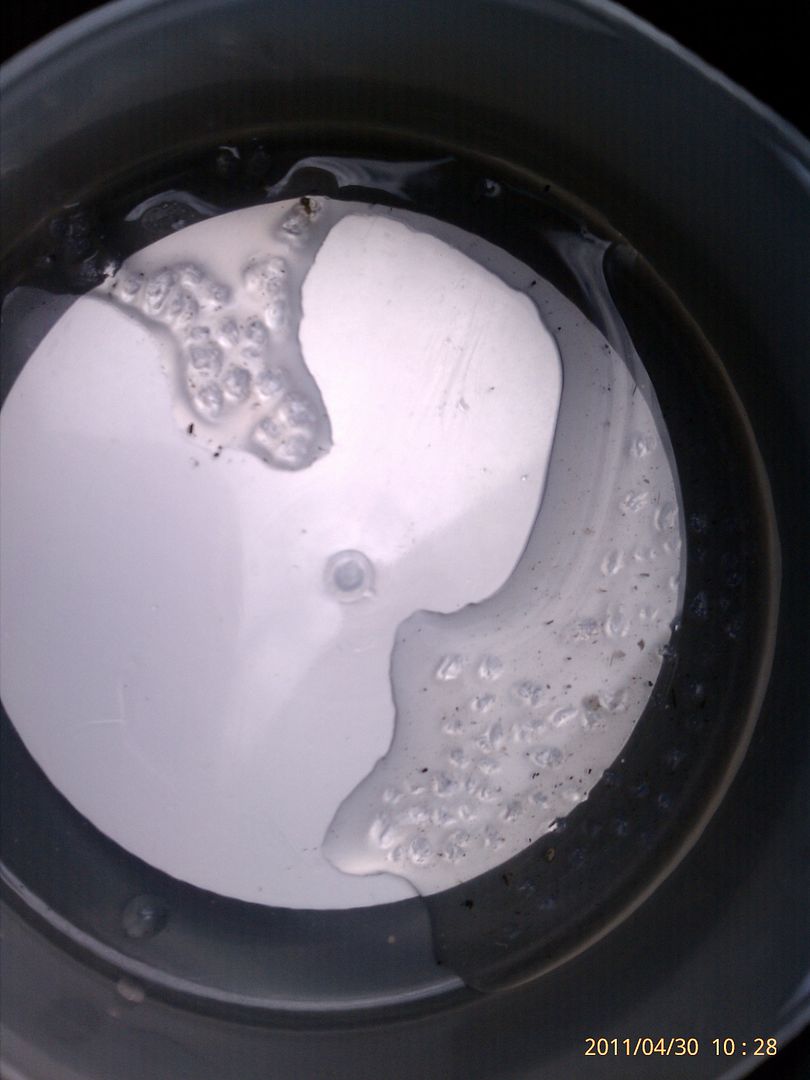
| I put about ¼ teaspoon into this little container. |
|
 |
| I added about ½ teaspoon of water |
|
|
|
|
 |
| I waited about 30 minutes |
|
 |
| See the little “cubes” of gel? That is what they turned into. |
|
Some have asked me why I don’t add the moisture crystals to all the soil… I want my roots deeper than the top 1 or 2” of soil, so if the crystals are lower, it will “invite” better root growth. The other reason is… if you have the crystals in the top, they tend to “float”, and then it looks like “jellyfish” have invaded your planters.
4. Let’s get to planting! I like my pots very full! I never read the spacing requirements when doing pots. {If you have ever looked closely at those beautiful pots at the garden center that cost $50.00 or more, you will notice that they are packed tight!} I can buy a lot of plant starts for $50.00… in fact… I can usually plant 5-6 full planters for that price! It depends on how many premiums I put in, and if I got them all on sale or not.
 |
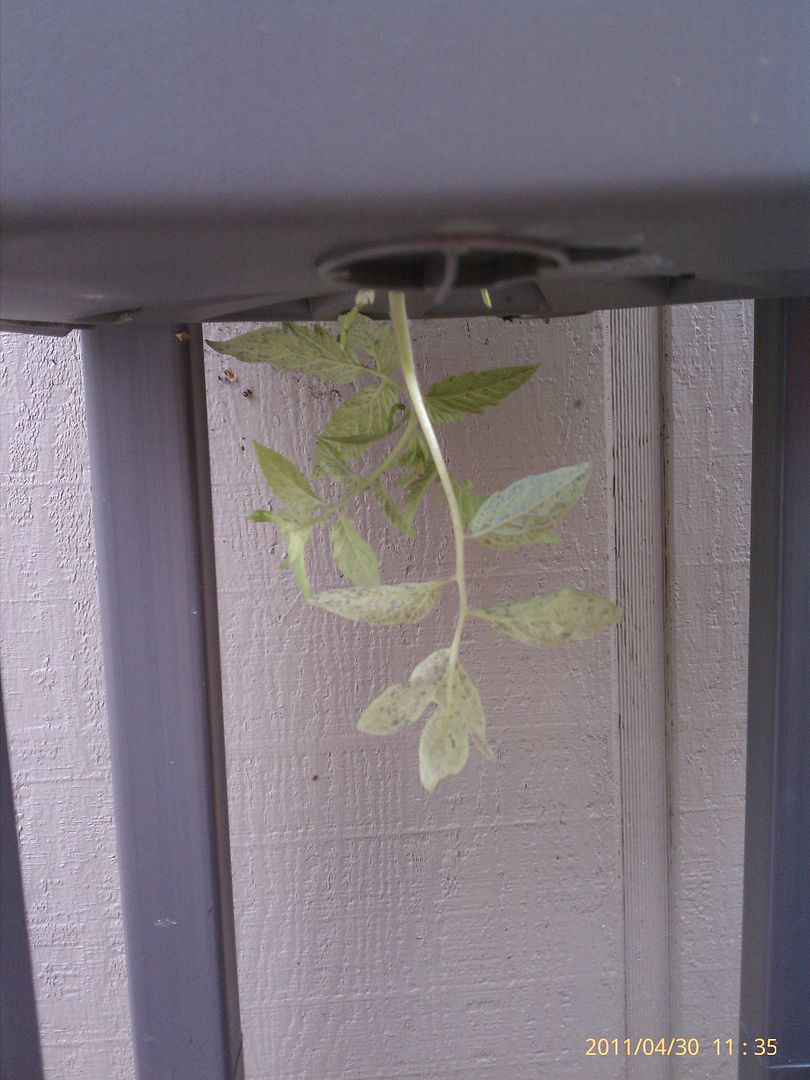
| This planter has a spot for tomatoes or other trailers to grow out of the bottom. |
|
 |
| I am doing Early Girl tomatoes in this one, so the tomato goes in BEFORE I start my “soil lasagna” |
|
|
|
|
 |
| This is what it looks like before building up my soil. See the tomato root ball sticking up in the center? |
|
 |
| I usually start by laying my plants in the general layout I think I want.Taller plants in the back or center, depending on where the planter will sit. |
|
|
|
|
 |
| Then I start by putting a 1" buffer of soil between the plant and the outside of the pot. (Remember that pots can get hot sitting in the sun.) I put all the outside plants in first, remembering the buffer zones along the outside. |
|
 |
| Then I fill in the center plants. |
|
|
|
|
|
|
|
|
|
|
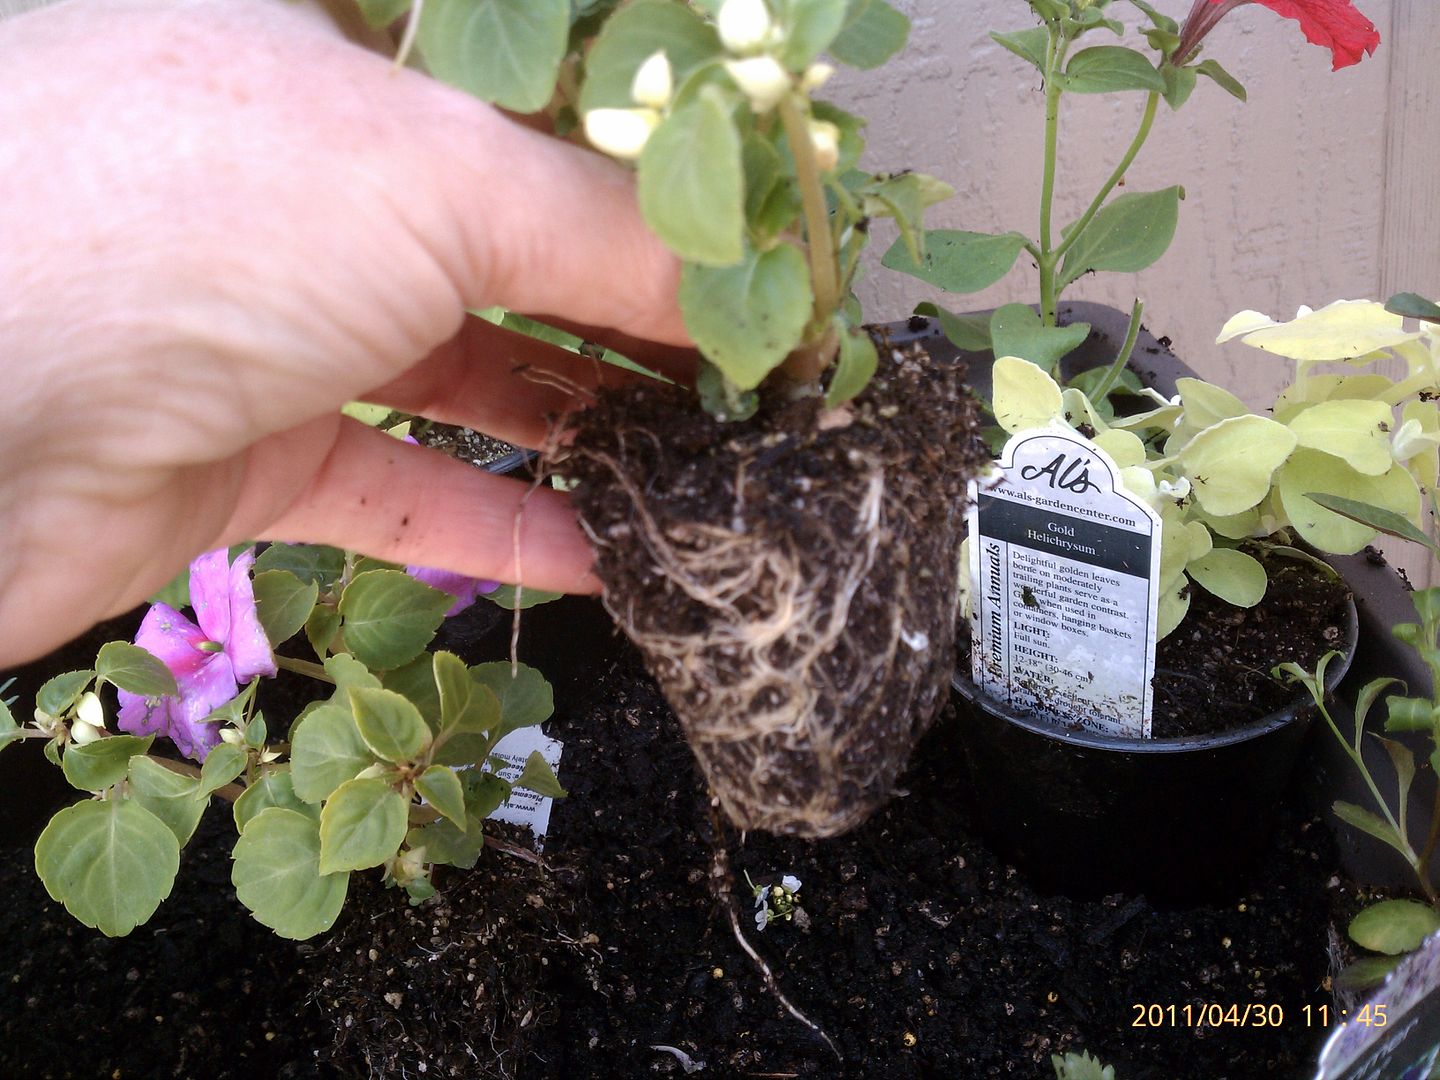
| I fill the soil up to the plant line as I go….
This means that for a large premium 4” plant that I dig a small hole for it.
I try to leave at least 1” between the top of the soil, and the rim of the planter to hold water
Gently pack the soil in around the plants to give them firm support.
|
|
| Now, add a few more of the fertilizer beads to the top. |
 |
| I tuck the pull tags of the plants I used, behind one of the plants at the edge. This way I can remember what's in there, and make notes about performance, etc in my gardening journal. |
|
 |
| Sweep up the loose soil and plant parts BEFORE you water in your planterGive the planter a good drink of water. Check soil level, and if necessary, add more. Water again. |
|
|
|
|
| | |
This planter has:
One midnight wave (I think it’s a scaeveola), One red geranium, one pink bacopa, a lime licorice vine, two white alyssum starts, two midnight blue lobelia starts, two red petunia starts, and 3 impatiens starts. And a 3" tomato start! The first four were all 4” plants and the starts were from tray packs. Cost of plants was less than $10.00
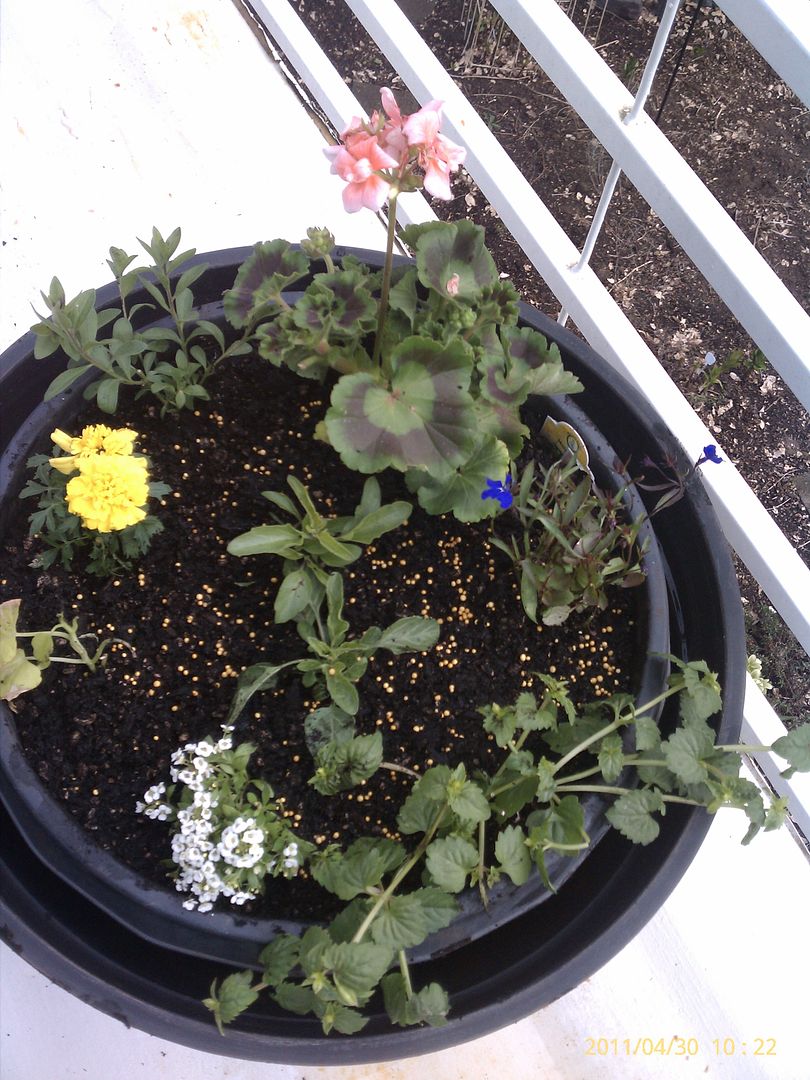
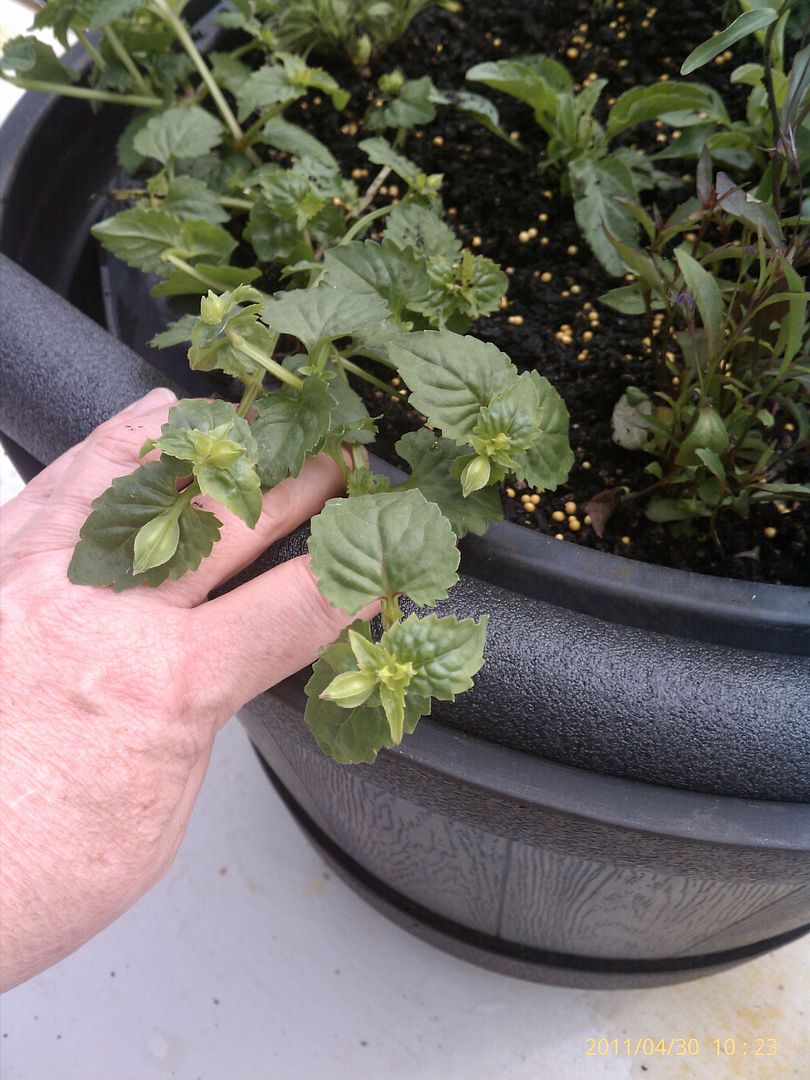
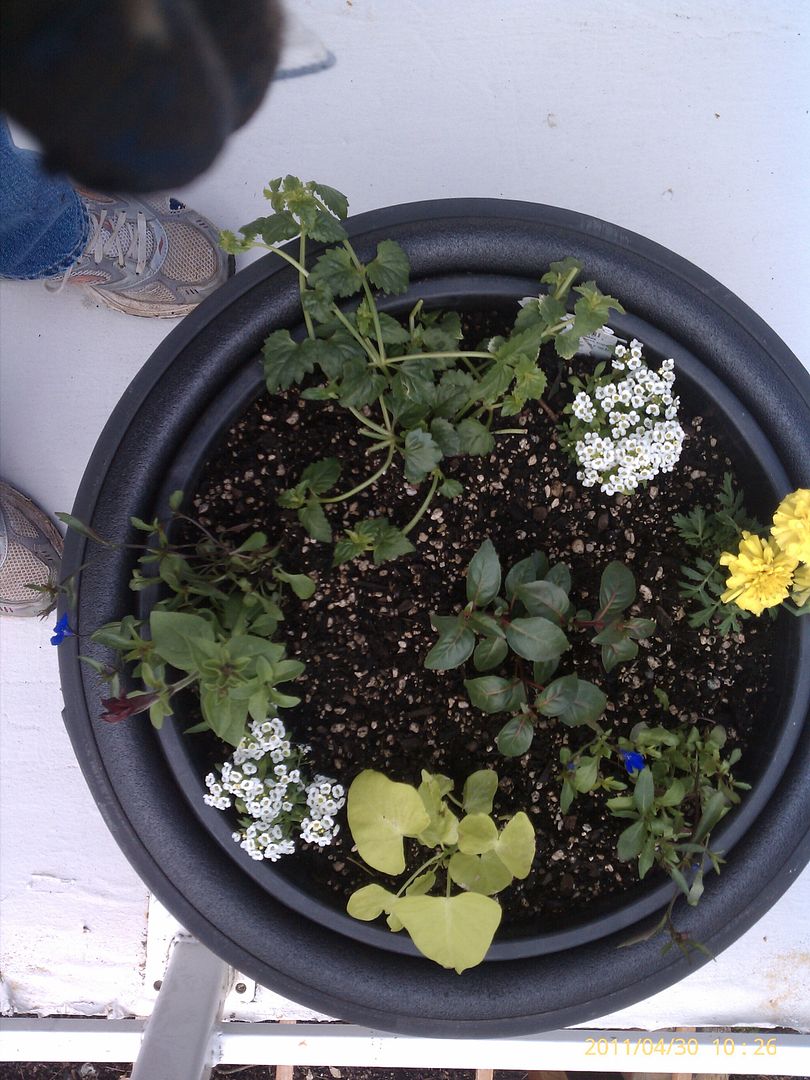
5. I start my planters about 3 weeks before I would put plants out into the actual soil. Usually between Easter and Mother’s Day. The planters with their fresh soil mix are warmer than the soil in the ground, and they have better drainage. Just remember that if you have frost -fragile plants, that you tuck the pots under cover if it’s going to get cold.
 |
| Oops! Frost damage to this little sweet potato vine. |
|
 |
| It’s hard to protect from spring hailstorms though…. This begonia got caught out one afternoon last week. |
|
|
|
|
6. Water on a regular basis. Try to keep the soil damp…. Not soggy, not dried out. If by chance a planter or hanging basket dries out, soak it in a tub of water if possible…. So that those little water crystals can re-hydrate. I usually soak mine for about 2 hours or so if needed.
7. Fertilize ! Fertilze ! Fertilize ! I know.... we used those fertilizer beads, but I always do a liquid water-soluble fertilizer (Miracle Grow, Schultz, Peters, etc.) about once a week when watering. This is where I can be planter specific. Do I want a bloom booster? {use one with a High middle number… i.e.. 15-30-15}. Do I want overall growth? {use one that is more evenly proportioned i.e.… 20-20-20.} They make those great hose end feeders, but I like to do it the old-fashioned way, and mix the powder into a watering can. This way, I get up close to the plants.
By the way… those fertilizer numbers…. Think…. “UP, DOWN, ALL AROUND” and that will make it easier.
First number is nitrogen - for top growth… green growth….
Second number is phosphorous - for roots and blooms…
Third number is potassium – for overall strength and vitality. If plants have been stressed, or have week stems, try to increase this number. Or go with an even proportion until the stress is over, and then return to the bloom booster.
8. Deadhead and Pinch. This is vital to a great looking pot. (or garden in general). I usually do this with my bare hands, but some like to use scissors. As blooms fade, pinch off the dead or wilted flower. If the lobelia gets a little brown, pinch it back or pull that part off. To keep the trailers going, pinch back about 1/4 to 1/3 of the foliage and blooms each week. (as your are fertilizing is a good time.) This way, you never have to really give the entire planter a full haircut, but it keeps generating new growth that looks good. Pinching back, especially early in the season, forces the plant to fill out more. I know, it’s hard to pick off that first petunia bloom, but believe me; it will give you a much better show later if you do.
{Did you know? The only job of an annual flower is to produce seeds for the next generation? In order to produce the seed, it has to flower first! So… if you pinch off the fading flower, BEFORE it goes to seed, then the plant needs to produce another flower! } Yes, you can trick a petunia to flower over and over, all season. But, if you let it go to seed, then it will retire and go to the seed ripening stage, and stop flowering for you.
 |
| This was taken last August…. |
|
 |
So was this one… same planter, but you can see the tomato growing out the bottom! |
|
|
|
|
|
I hope I haven’t bored you today with planting tutorials… just wanted to share my methods and ideas.
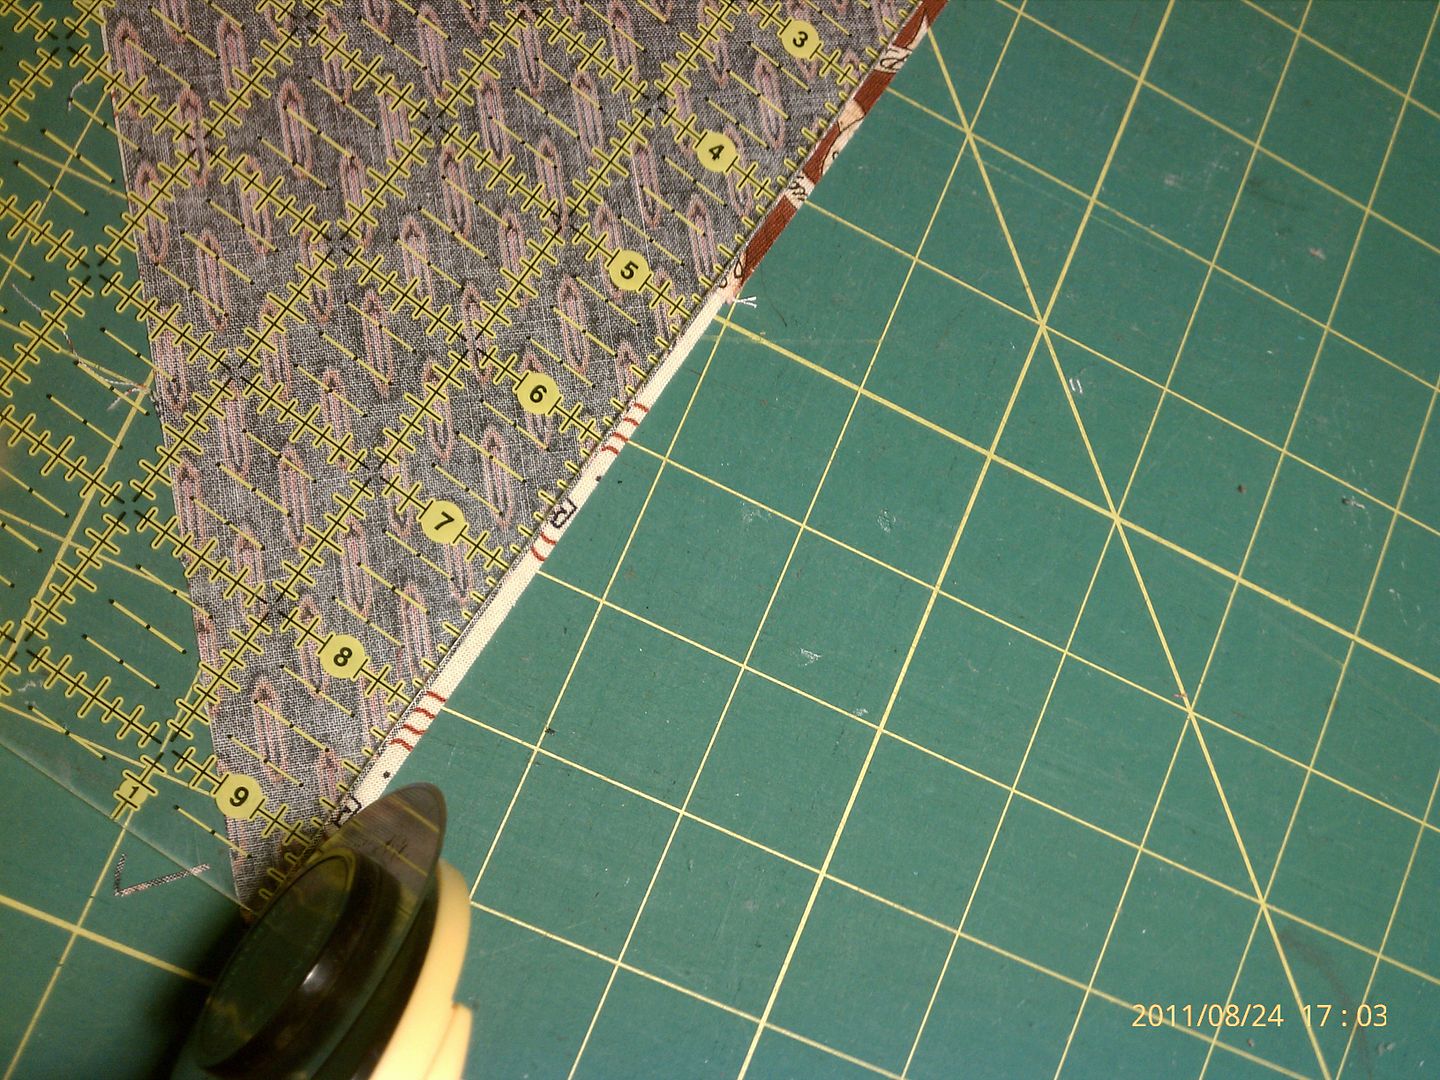
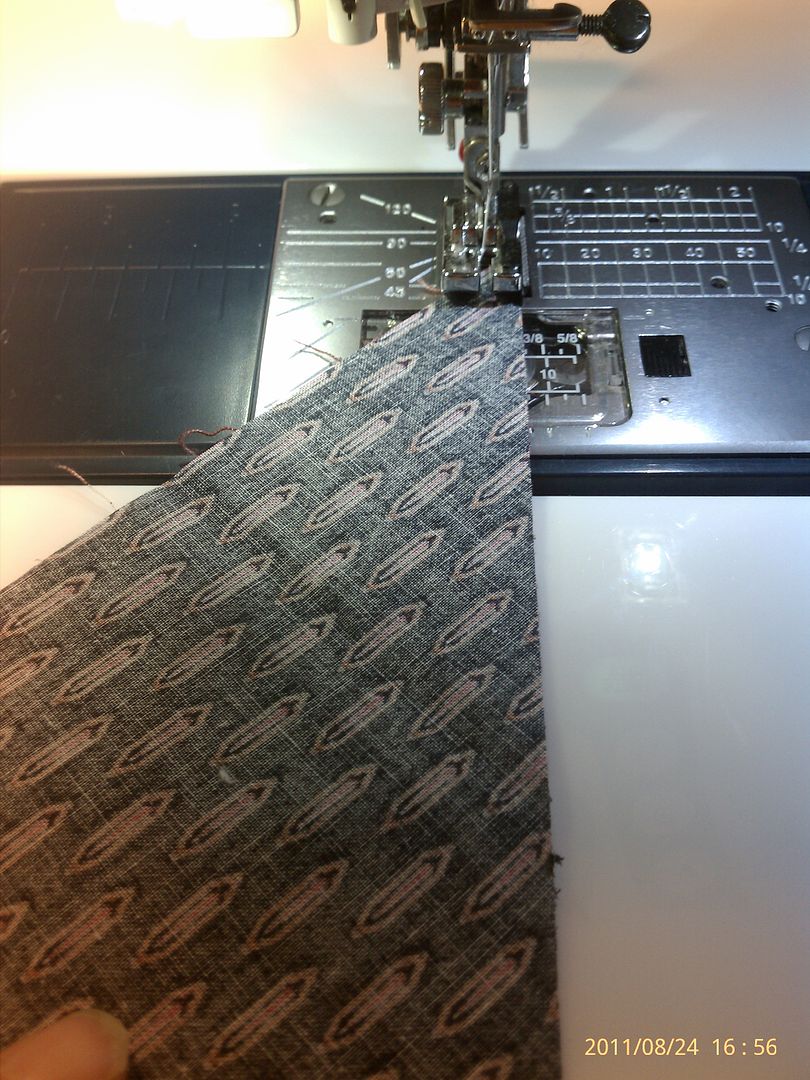
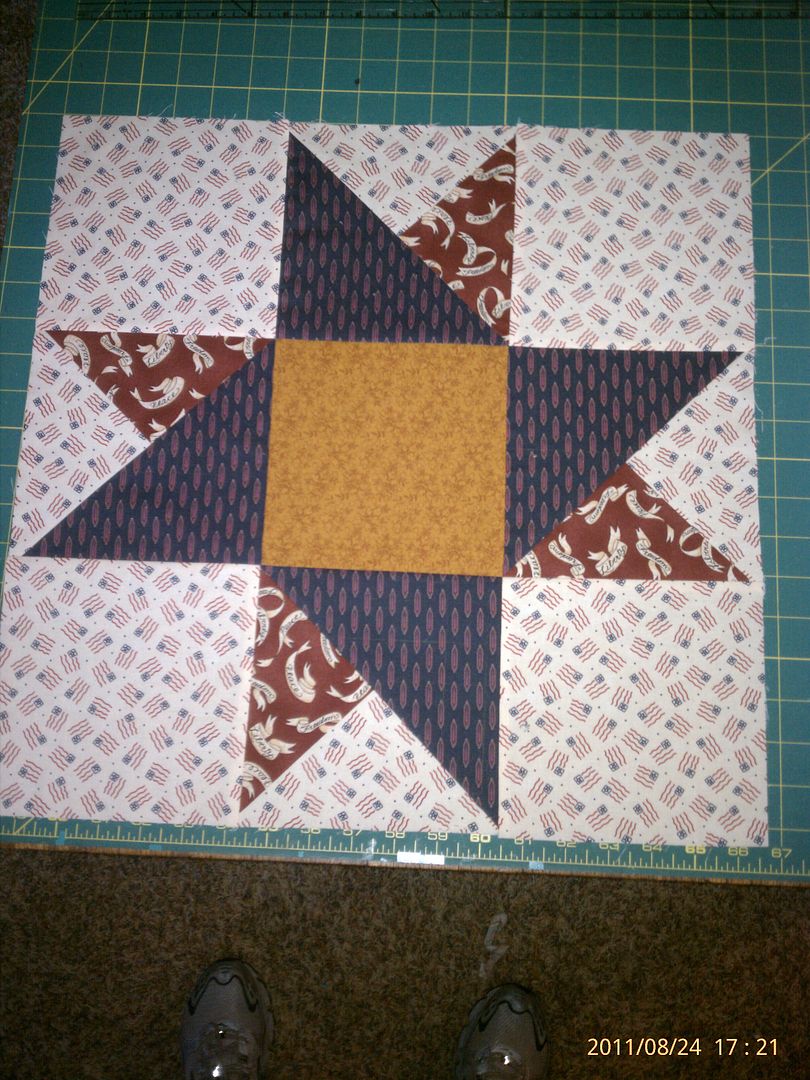 This is a tutorial for making one 18 1/2" Twin Star Block.
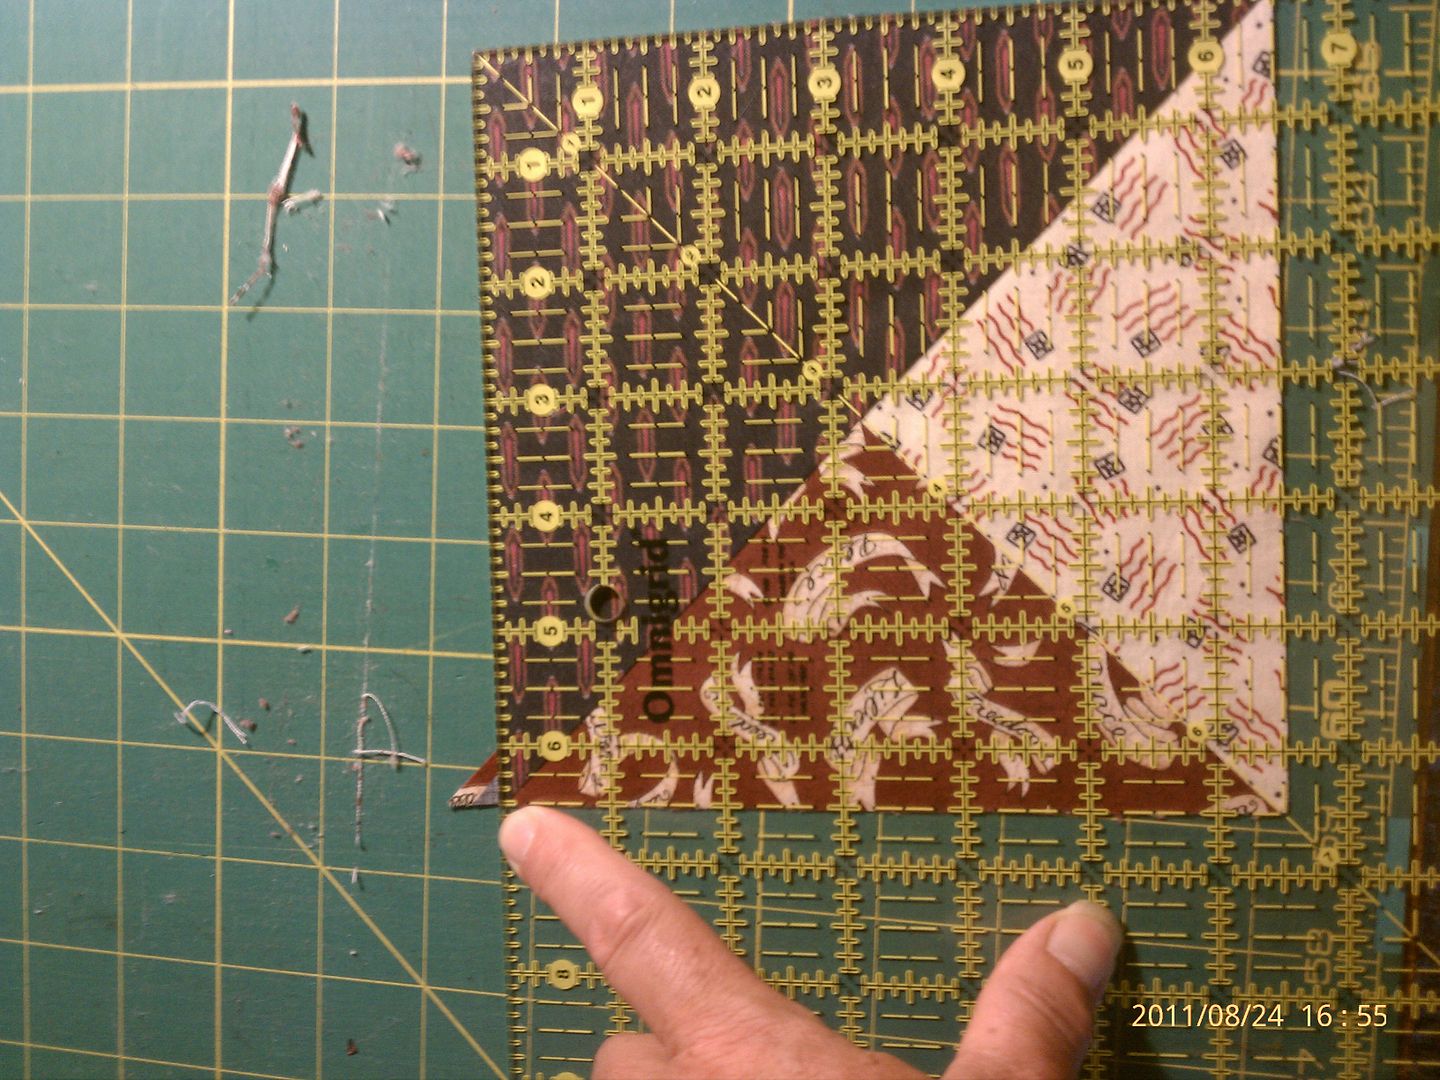
 Now, place a main color HST on top of this unit with right sides together, matching the 90 degree corner and the short sides. Using your ruler, double check to make sure that the short sides of the triangles measure an accurate 6 7/8".