 This is a tutorial for making one 18 1/2" Twin Star Block.
You need:
one square background 7 3/8"
four squares background 6 1/2"
one square for center 6 1/2"
two squares main star color 6 7/8"
one square accent color 7 3/8"
Now, we will cut the two 7 3/8" squares on both diagonals, creating 4 quarter square triangles of each color. (QST)
Take the two 6 7/8" squares of the main star color, and cut on one diagonal to create 4 half square triangles. (HST)

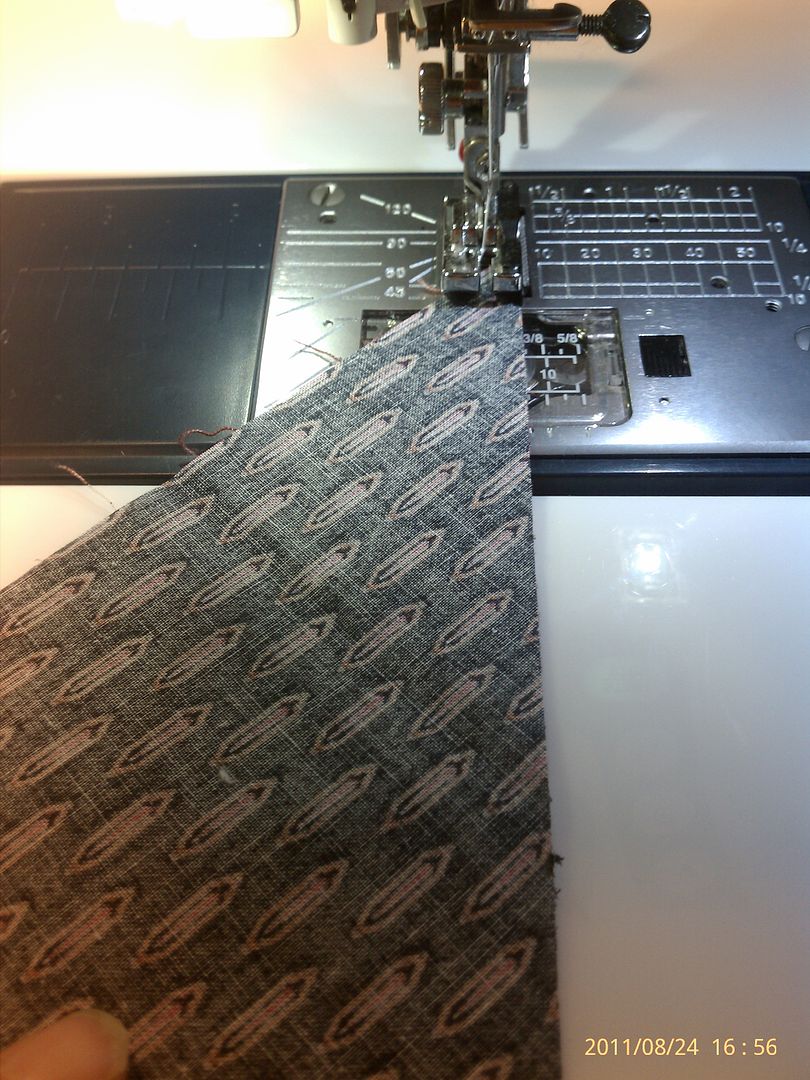
Match a background QST with an accent color QST right sides together. Orient as in the picture above, so that you will start stitching from the flat side of the triangle. Stitch with the background fabric on the top. (this will assure that all your resulting units will be the same)
Repeat to make 4 units. Press towards the darker fabric. Trim dog ears. (Take care, not to stretch the bias as you stitch and press)
The resulting triangles will look like this... with the background on the left side, when the triangle is pointing up like in the picture below.
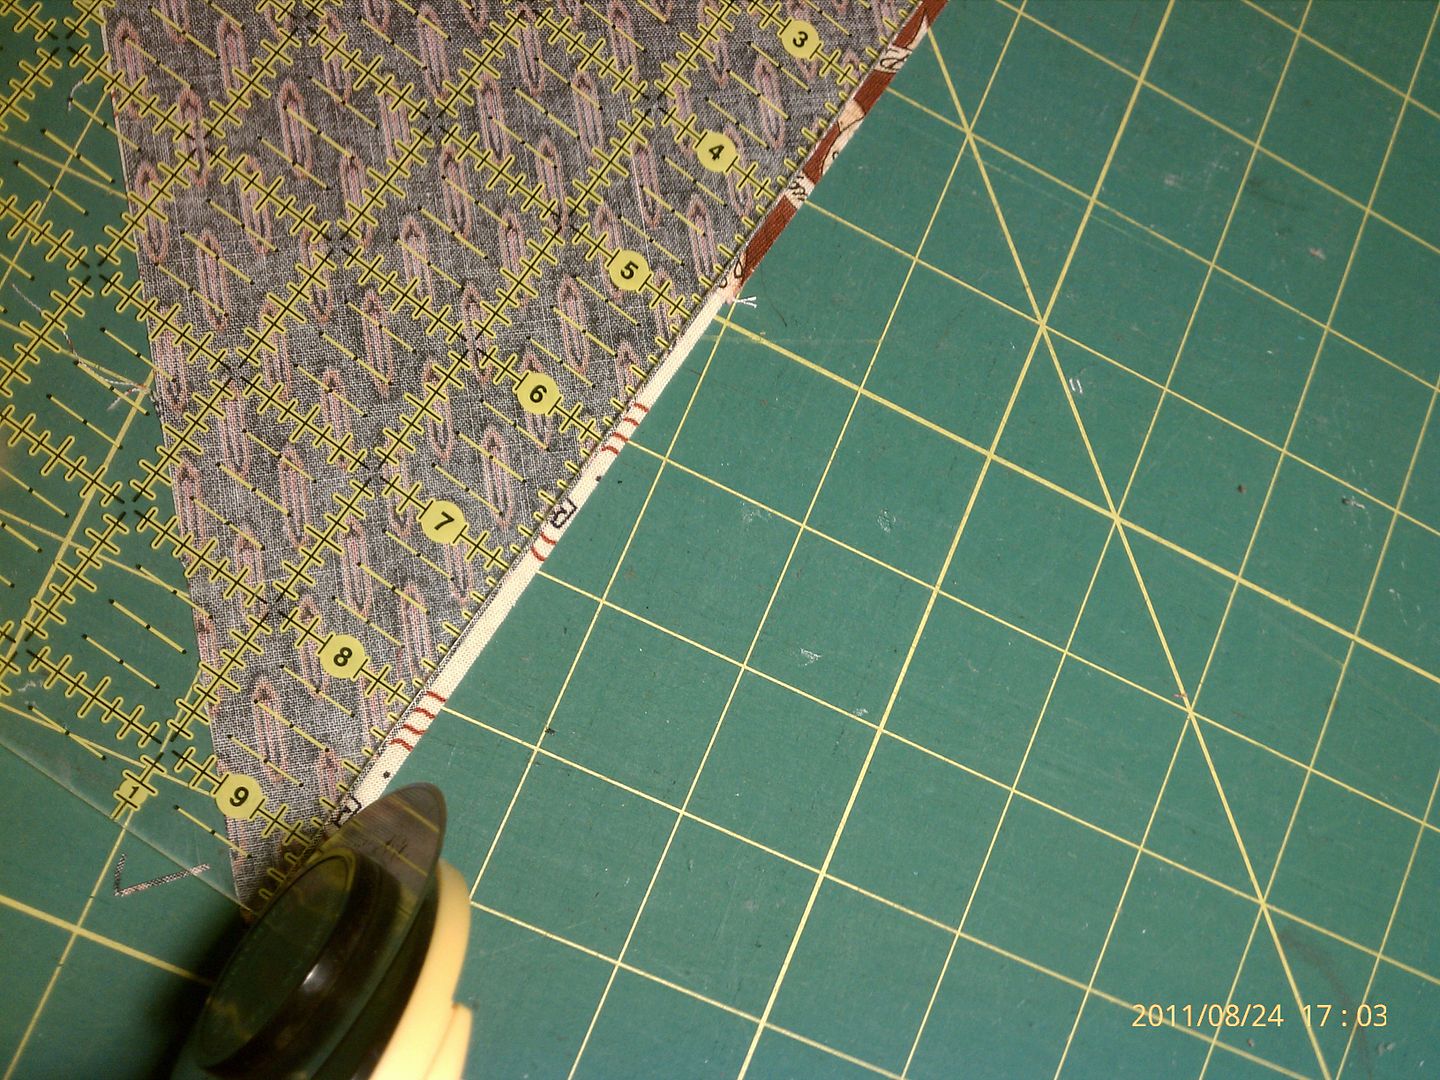
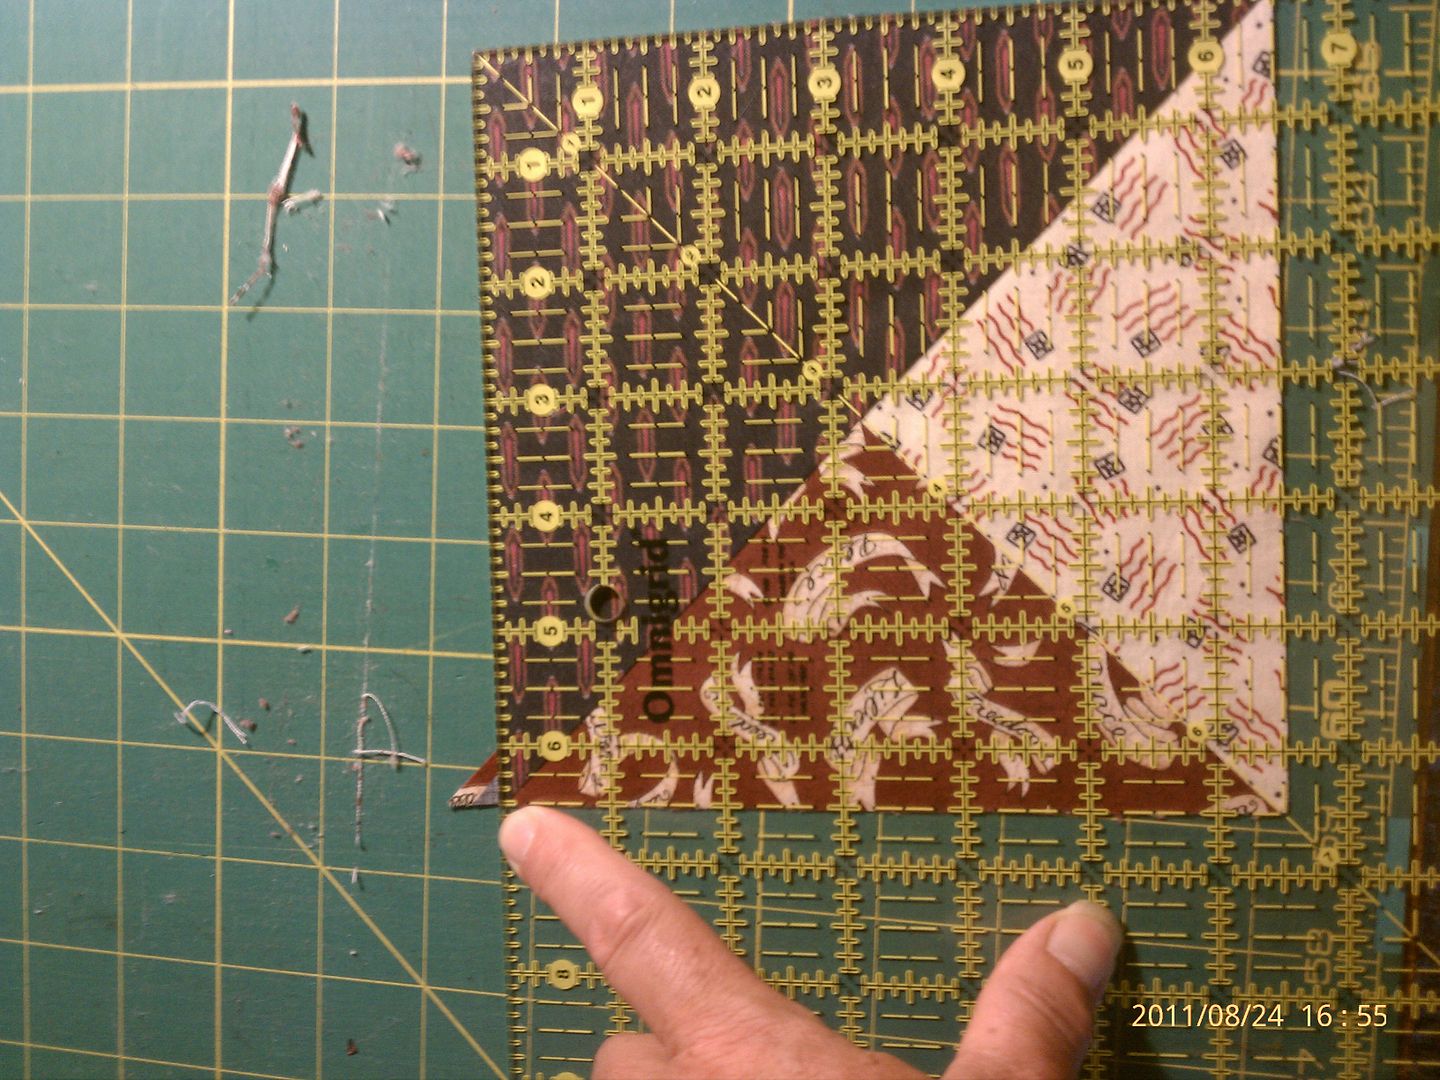
 Now, place a main color HST on top of this unit with right sides together, matching the 90 degree corner and the short sides. Using your ruler, double check to make sure that the short sides of the triangles measure an accurate 6 7/8".
(As you can see, my pieced triangle is a bit larger... I may not have cut very accurately)
I could just stitch this using the blue as a guide, but I'm a bit more compulsive than that, and I prefer to carefully cut this little extra off.
(Sometimes, it may be even larger than this, making it difficult to get a perfect scant 1/4" seam allowance.)
When you have the triangles corrected, you are ready to stitch. Congratulations if you didn't have to adjust any at all!
Stitch the units together on the long edge. This is on the bias, so be careful not to stretch it as you stitch.
Make 4
Press towards the large triangle.
Trim your dog ears, and square to 6 1/2".
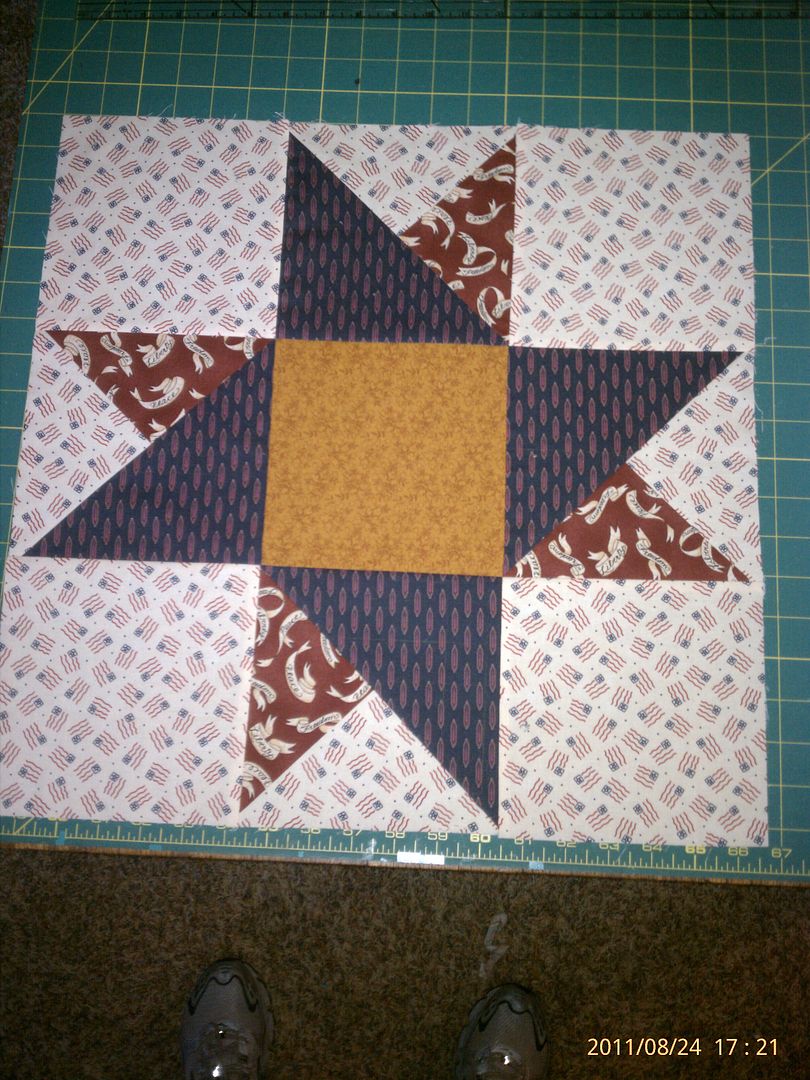
All your units should now measure 6 1/2". Lay them out so that they look like the picture below.

Now we'll stitch it together like a ninepatch block. Too make sure that your star points will be nice and sharp, make sure that the outside edges of your blocks are all nice and even.
Stitch into 3 rows, press towards the background and center squares.
Stitch the rows together. Press. Your block should be a perfect 18 1/2" inches. trim and square if necessary.