Wednesday, December 27, 2017

Scrap and Stash Management - A Revisit

I've posted before  in Jan. 2015, about my stash and scrap management.  I believe you can find the previous posts both here ...   and  again here.  

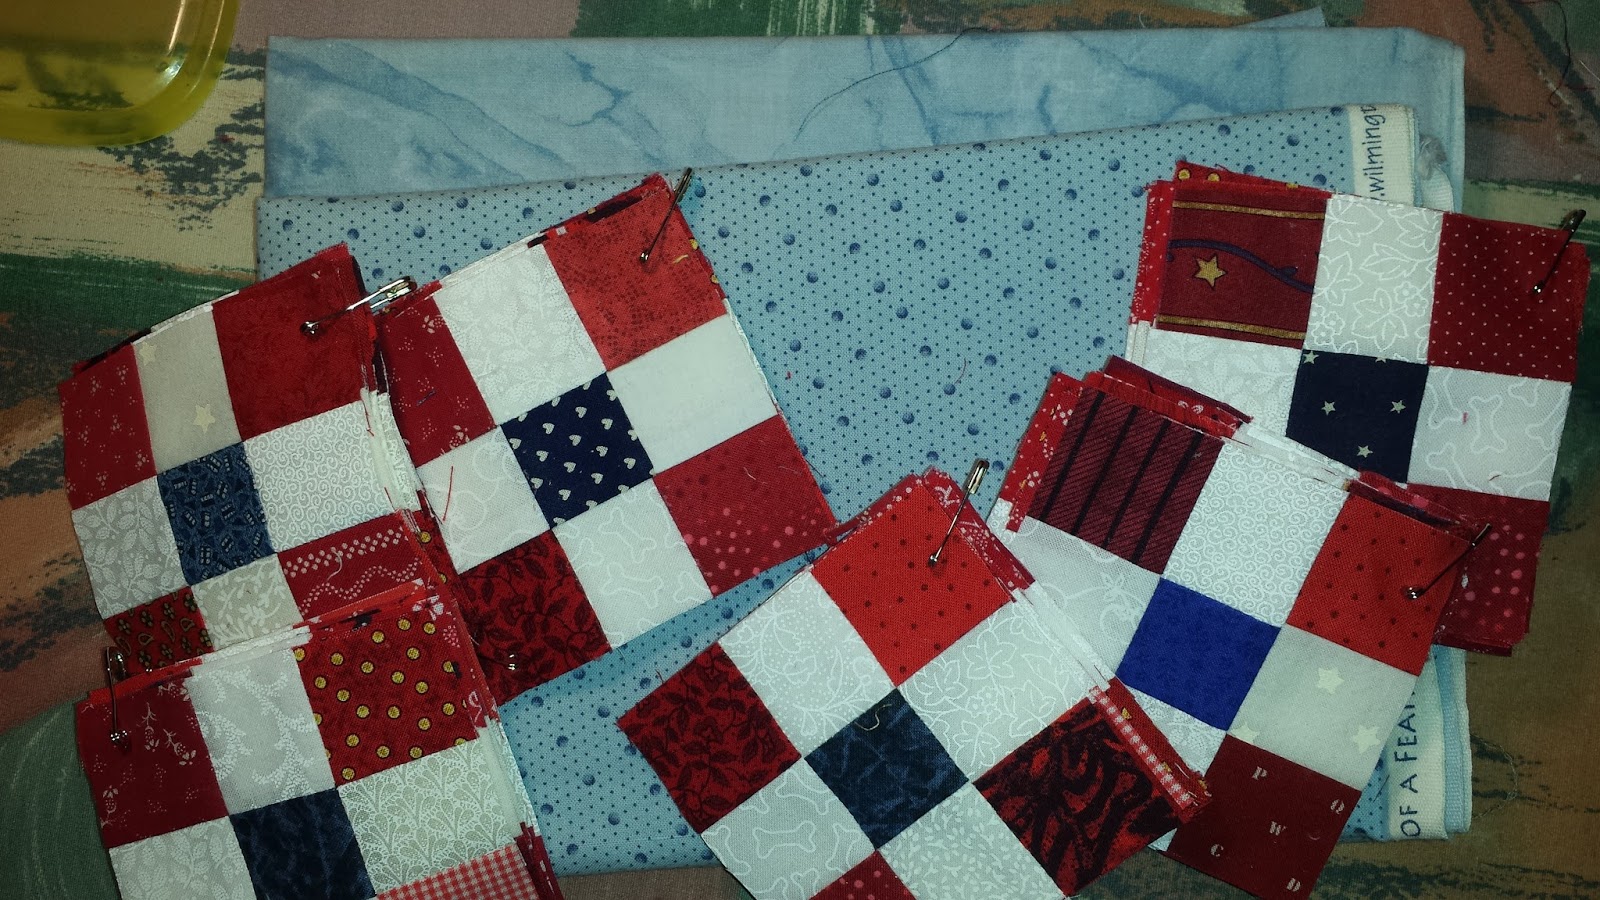
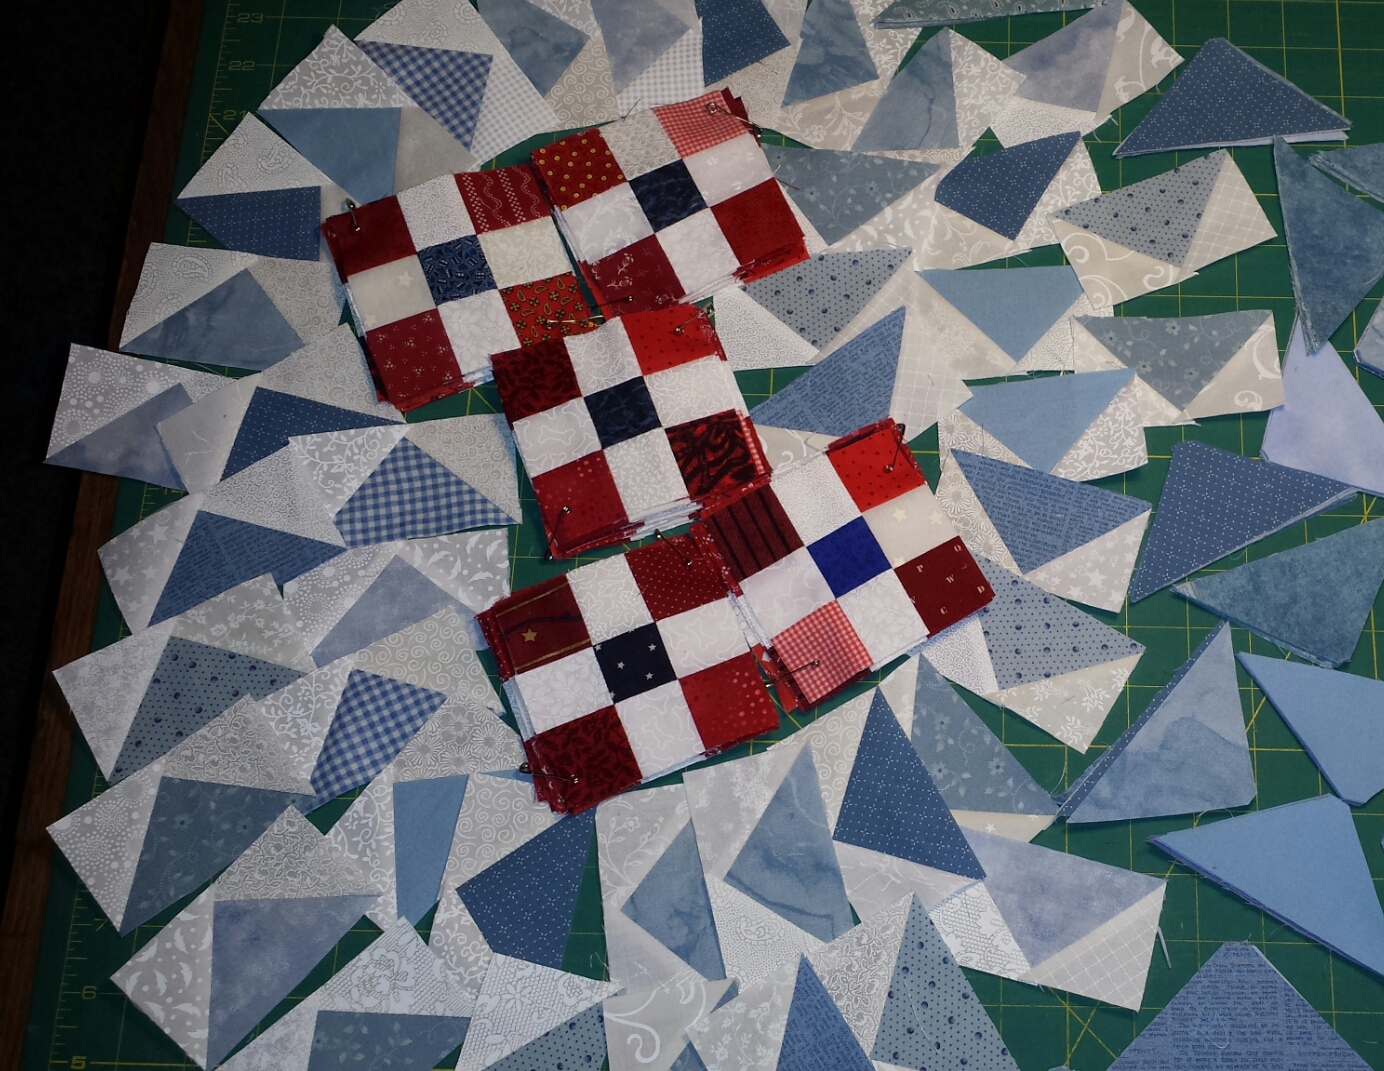
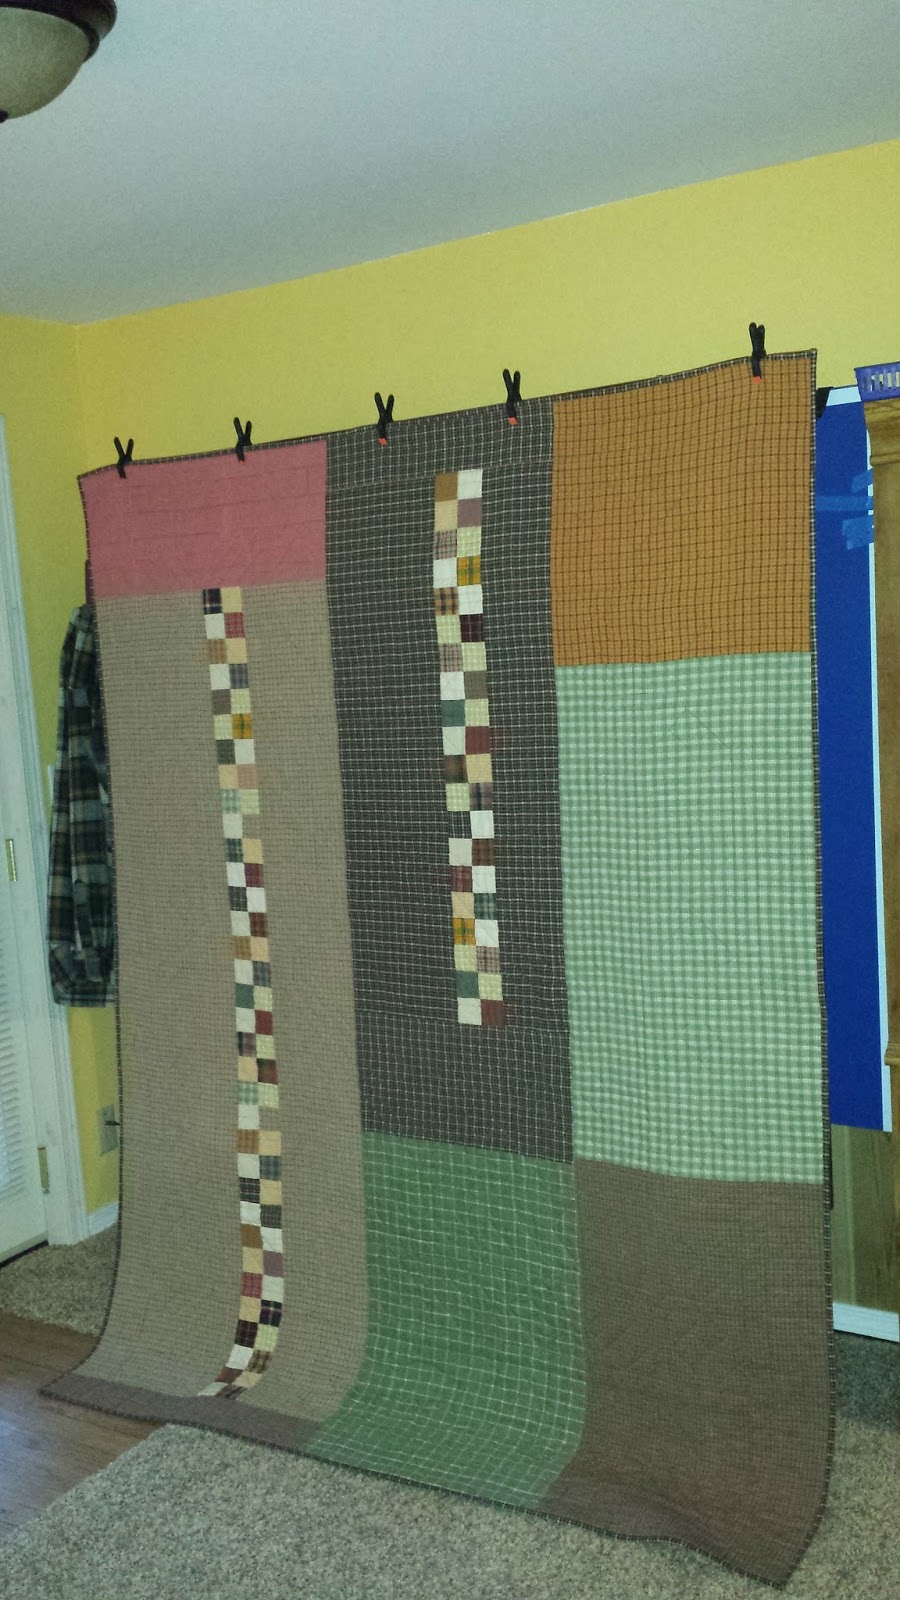
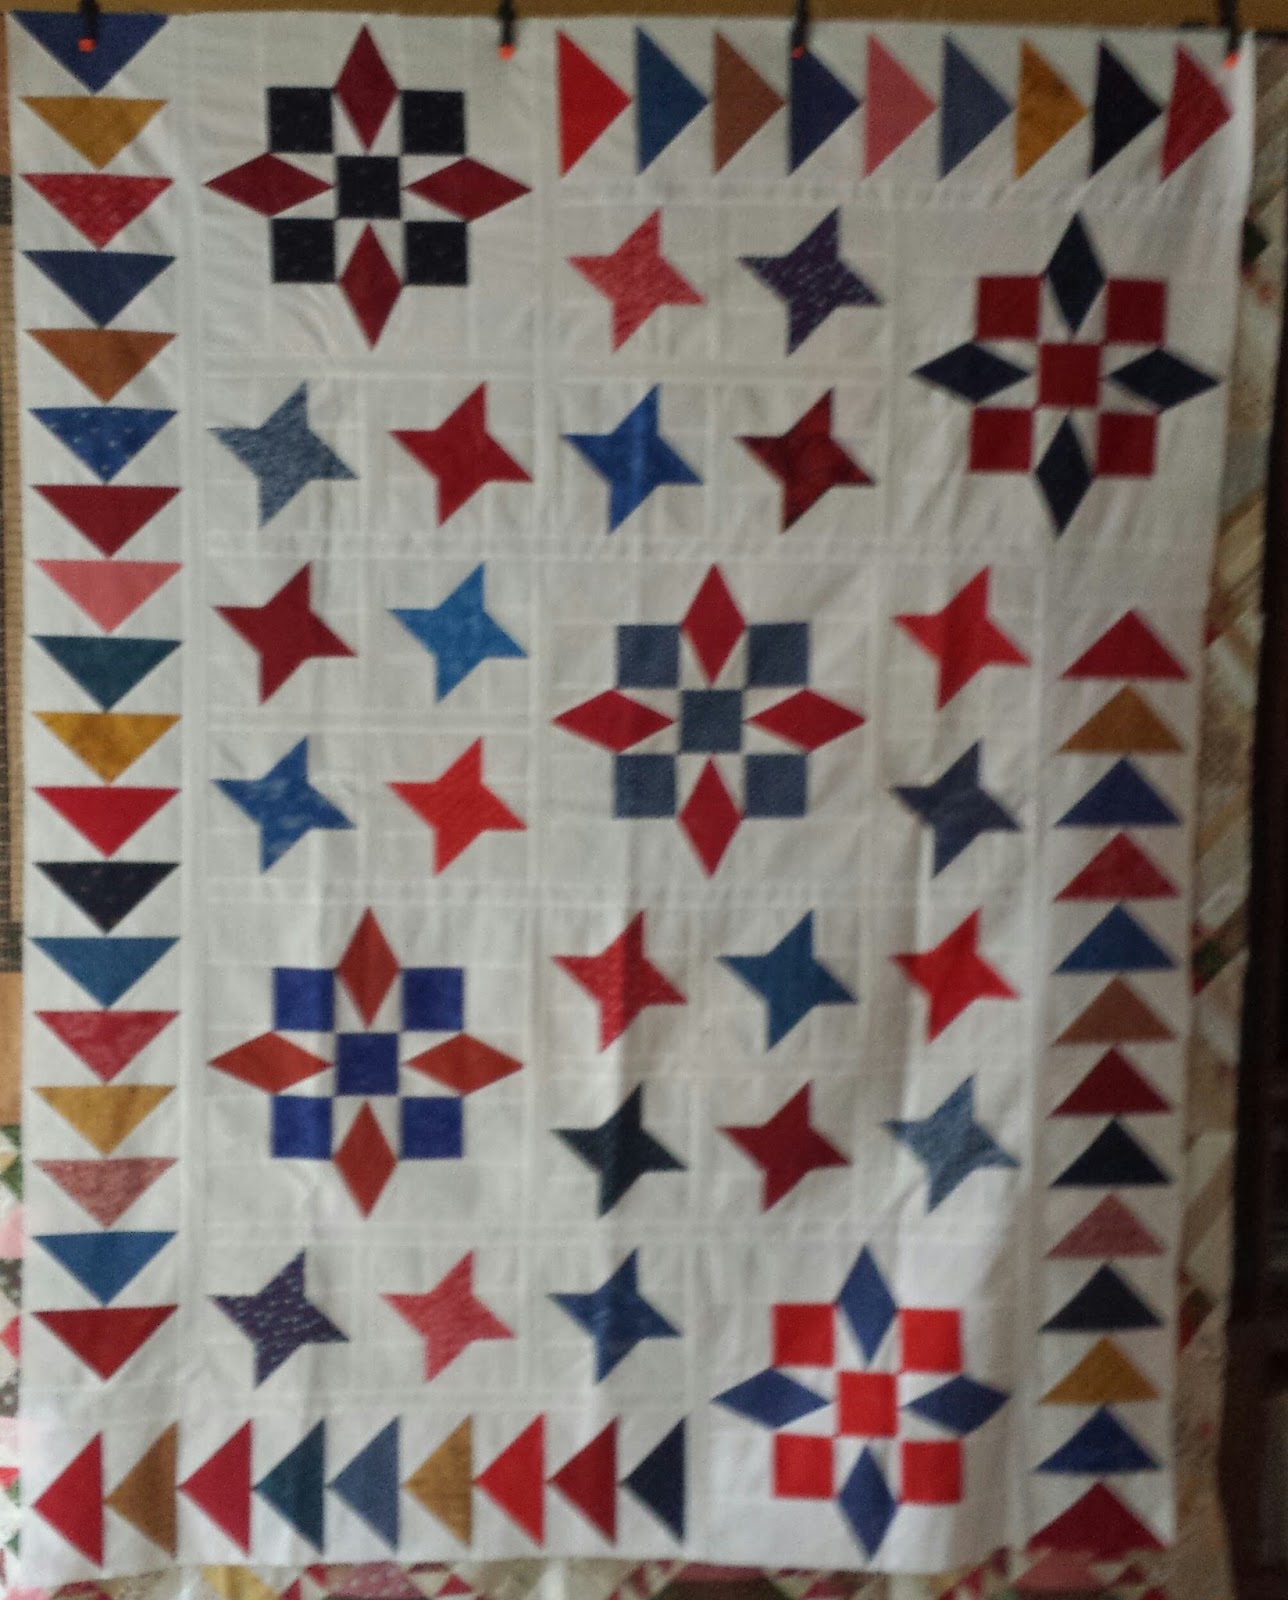
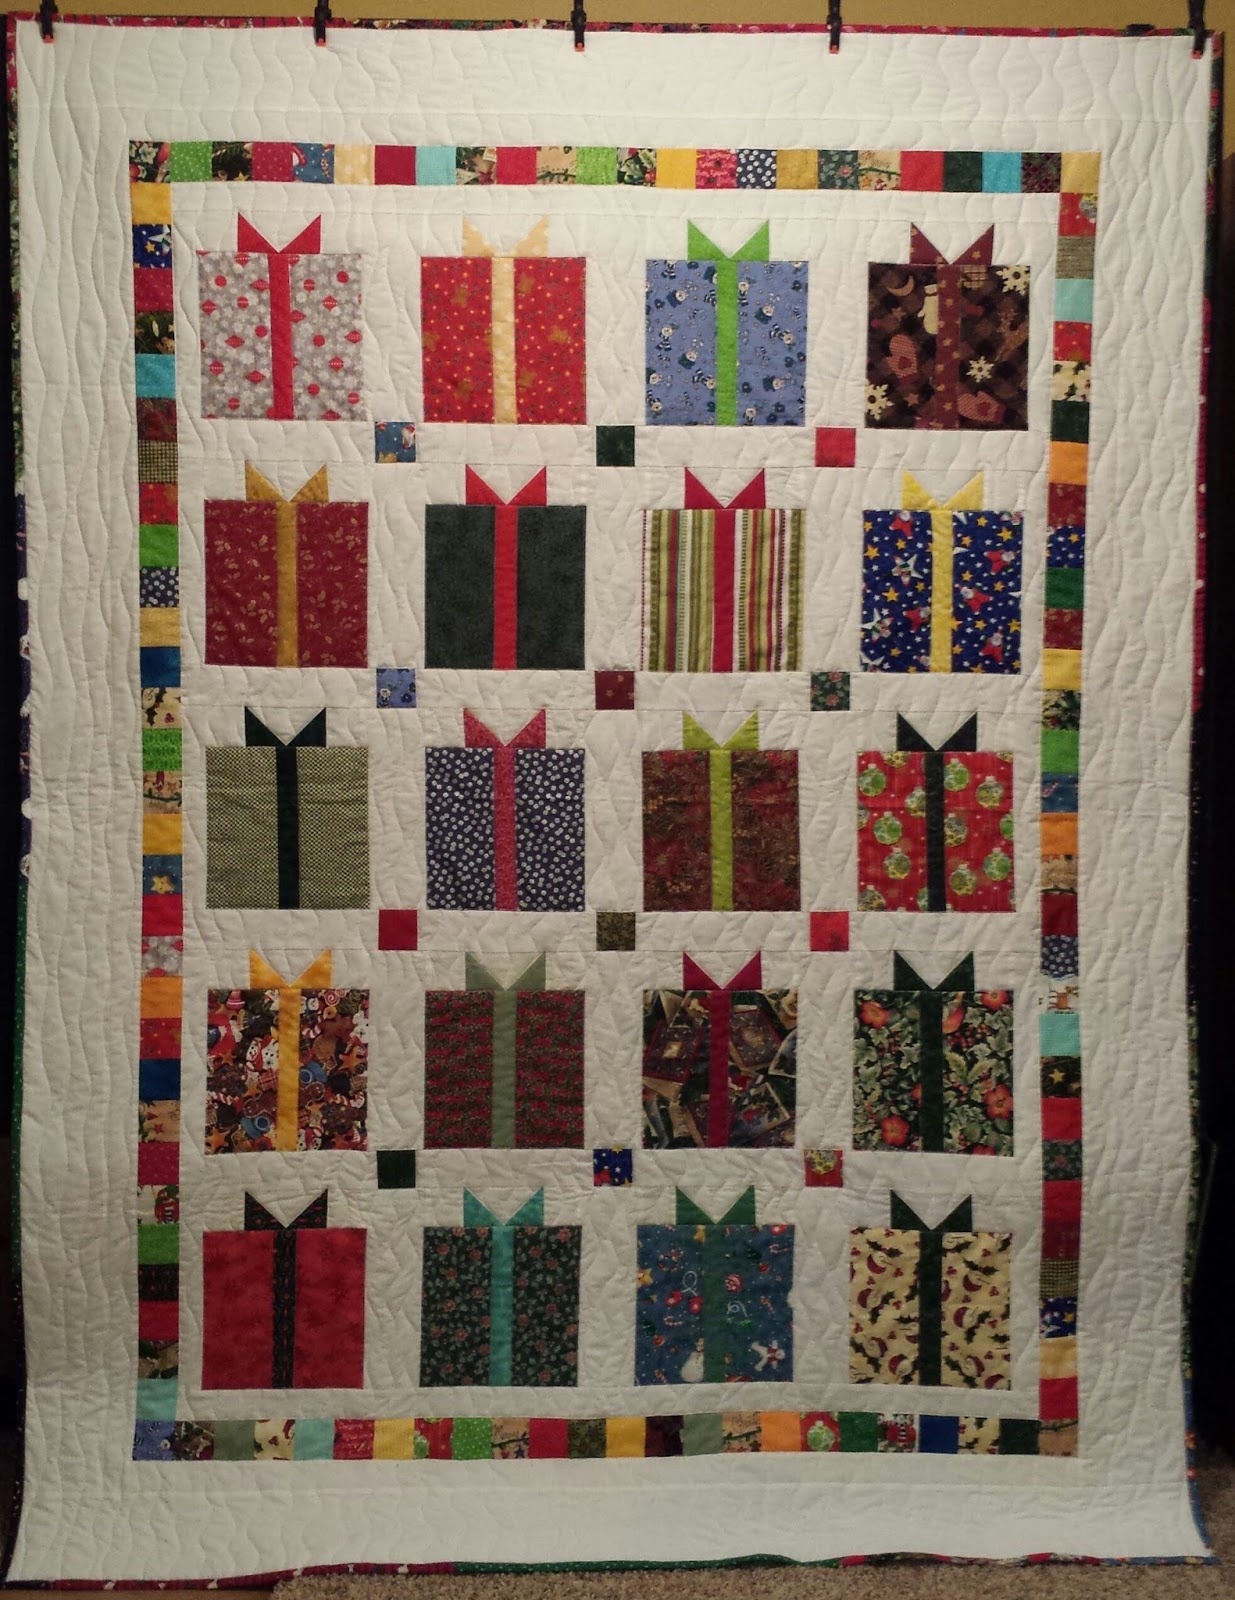
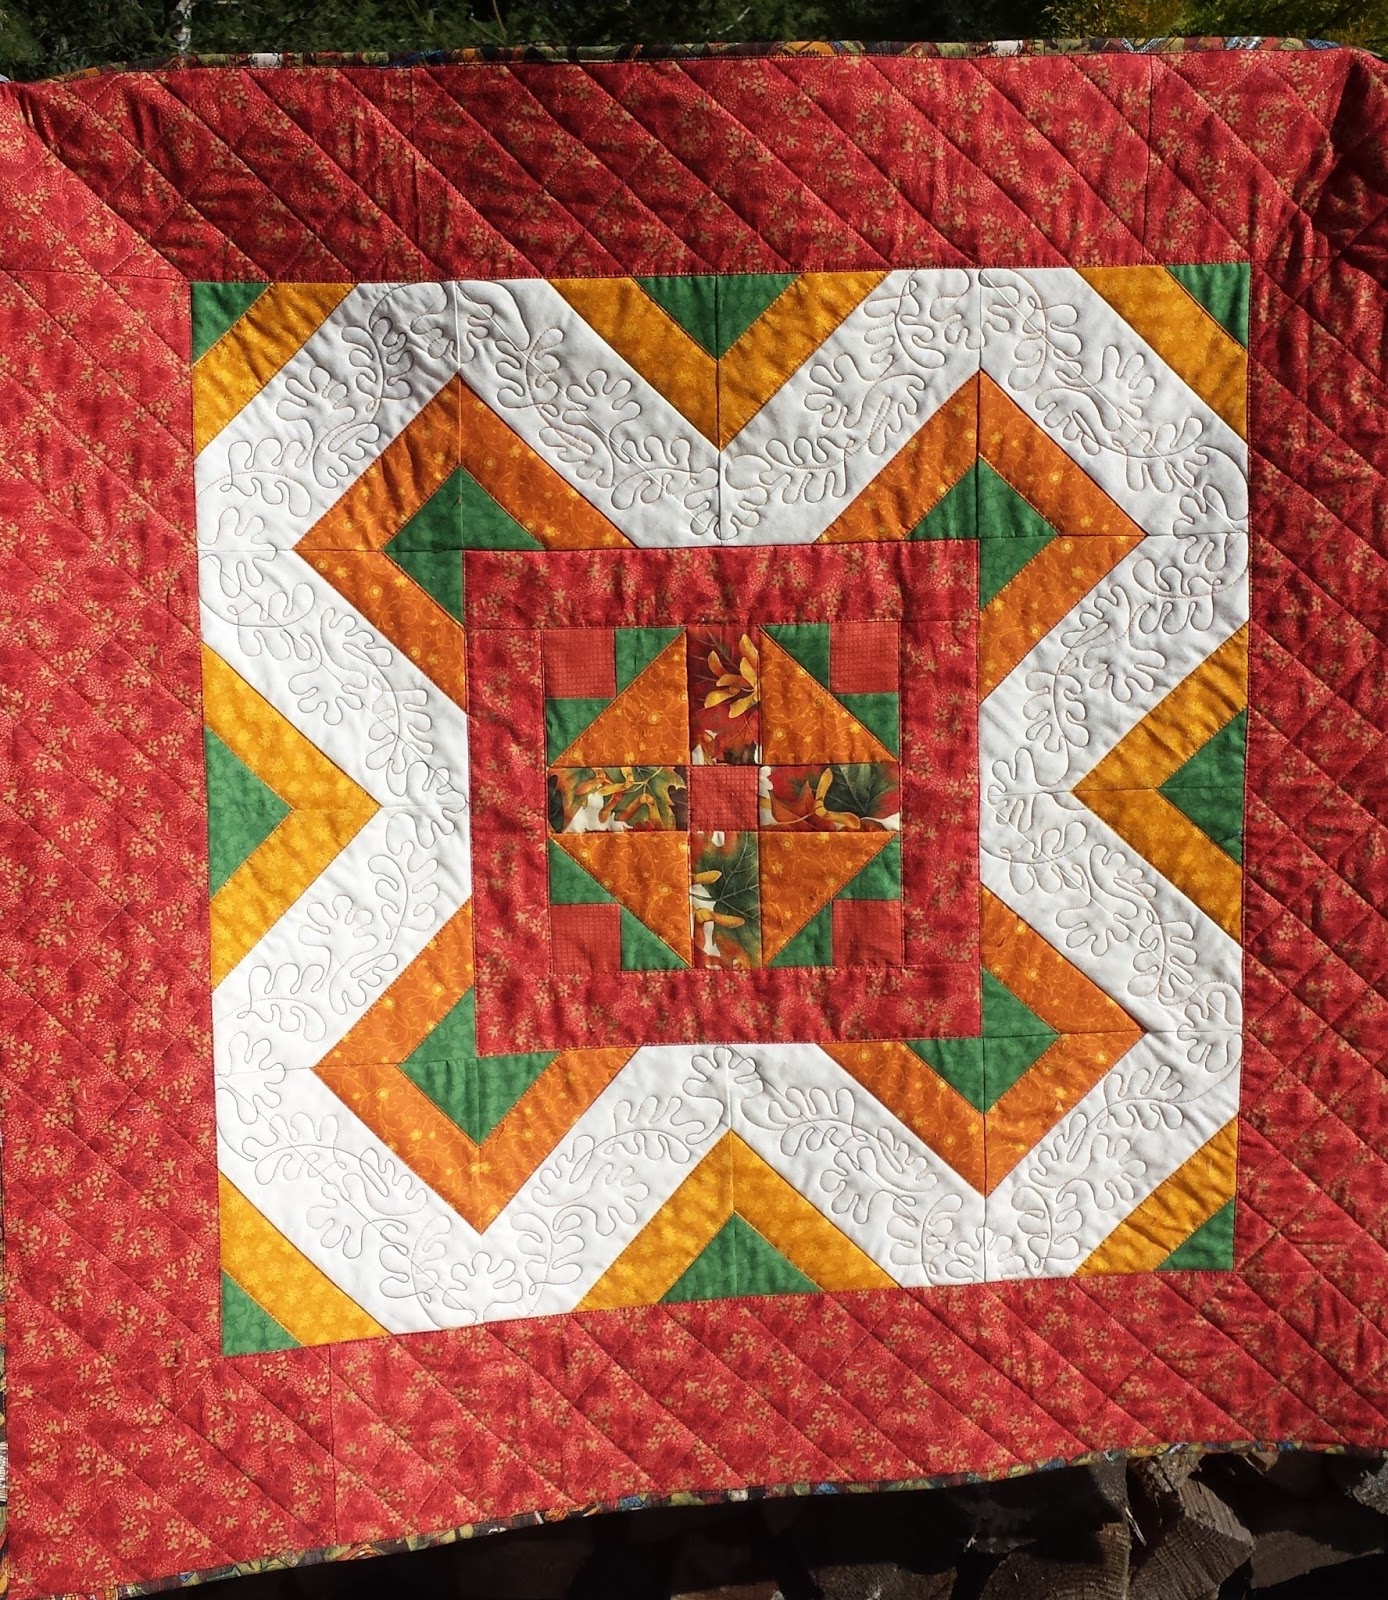
While working on the current Bonnie Hunter Mystery, "On Ringo Lake",  I was amazed at how easy it was to go to my bins of pieces and strips a pull from them for variety.  I made it all the way through part 1 without cutting into the yardage in my stash.  In fact, much of it came from my 1 1/2" squares that were already cut.  As you can see in my picture, that I all but wiped out  my reds and whites.  


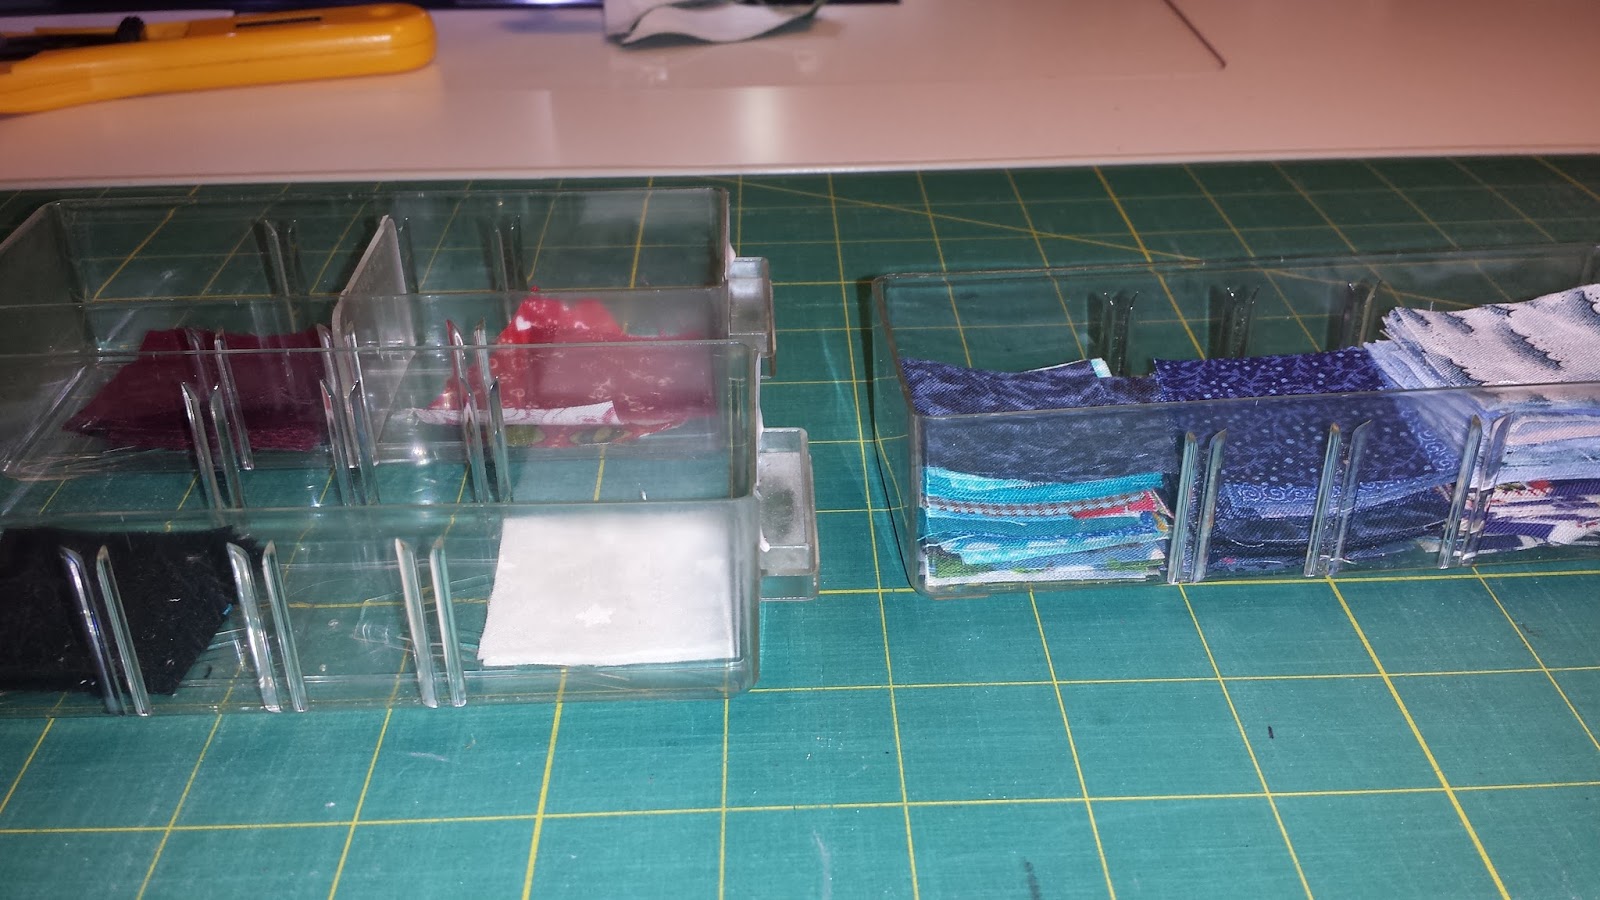
I did purchase a handful of fat quarters in the light blue I'm using for the corals that Bonnie is using,  and I cut 2 fat quarters from some blue yardage on my shelf.   The two lighter blue pieces under my step one units.  (Since is is going to be a Quilt of Valor, I am trying to steer clear of girly looking florals, and most of my lighter blues were just that... girly florals!)  I didn't have any strips of those two in my strip bins.  Other than that, Through step 5, all of my color pieces have come from strips or smaller scraps. 


Here is where my "revisit" part of this post comes in.    

As I was getting ready to cut  for clue #5 last week,  I realized that everything left in my whites/ creams bin is on the creamy, beige side.... I've used up all the whiter pieces that were in there.  Yeah for me!  but this means I need to re-supply.  


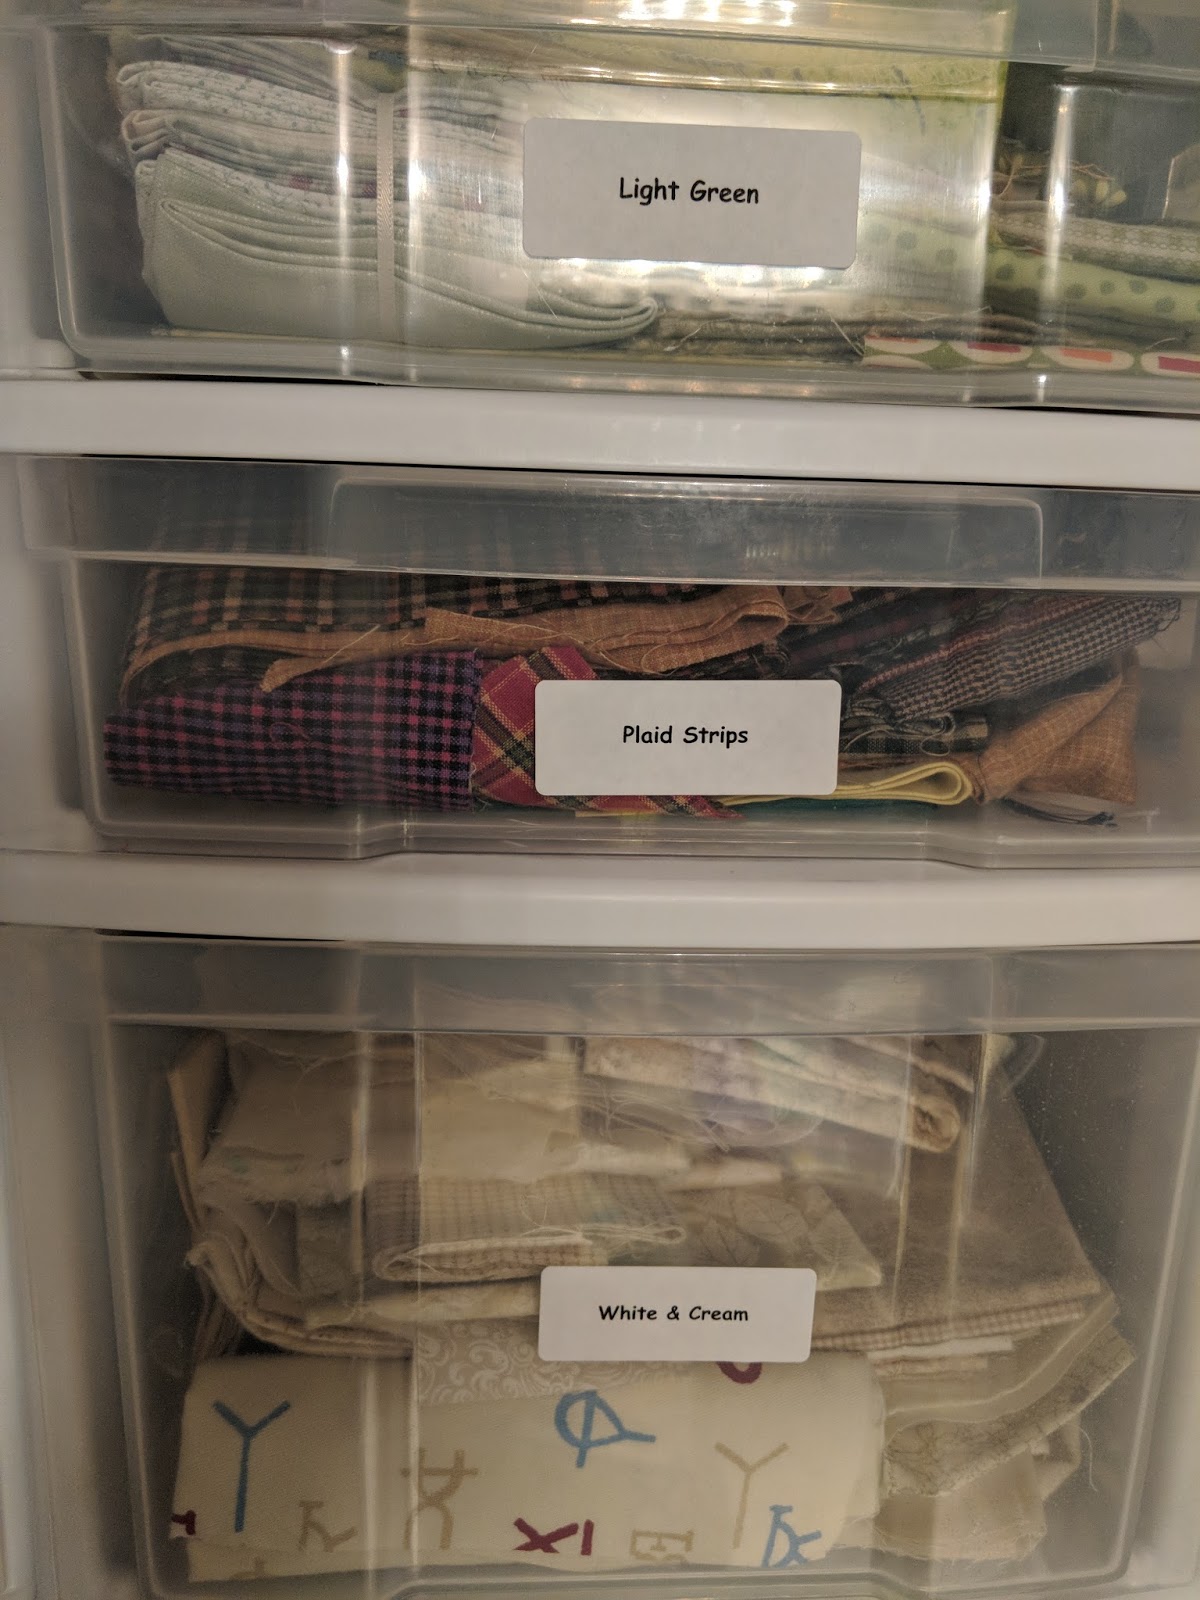
 Now,  creams and beiges are often my backgrounds of choice,  but I really wanted a brighter white feel to the background pieces in this project.  So I took a couple of hours, and re-stocked my whites on whites. 

I purchase fabrics when I find a great deal!  Especially if it's not going into a current project.  I have been really diligent about this the last couple of years.... In fact, I can honestly say that I think this past year, I've probably purchased less than 10 yards of fabric! (I'm practicing for retirement... LOL)   As you can see from this previous stash photo,  I'm not in need of anything to speak of...   See that stack of Whites near the bottom left?  Yep.. that one.. the middle part of the next to the bottom row.... That's the stack I'm working with today... and this picture was taken in Jan. of 2015...  Those are my whites on whites. 


It is a daunting task to think about pulling each of those fabrics,  and only cutting one strip off of each.   So thinking proactively,  I decided to work the pile systematically. 
I opened up each piece,  some measuring a yard,  some up to 5 yards. 


  • Step 1.  Press out the fold lines on one end, so that I could cut a half yard from one end. 
  • Step 2.  Cut the 1/2 yard off.  
  • Step 3.  Refold the remaining yardage, hopefully on the original fold lines, so that I don't have to re=press the entire piece. 
  • Step 4.  trim the fold line, resulting in 2 Fat Quarters.   One fat quarter got put aside in  a pile for later pressing and refolding. 
  • Step 5.  Once 5 fat quarters were pressed, (I like to use a little sizing or starch),  I laid them out in a stack that I'll call  a "5 stack".  Making sure that the salvage edges were straight, and the pieces were smooth.  
  • Step 6.  Now,   use about 4 of my flat flower pins, and pin about 1/3 of the way down the stack of fat quarters, to keep them from shifting.  (the use of starch or sizing in the previous step helps with this too). 


  • Step 7 -  I knew I needed 2" strips for my current project, so I cut one of those first.  
  • Step 8 - Now the planning part comes in... I also cut another 2",  1 1/2",  2 1/2"  and 3 1/2" strip to put into the strip bins for another day.   
  • Step 9 -  This left me with about 6" of my "5 stack" left.  I haven't cut the 3 1/2" strip yet from the photo above.   
Note - If you look closely in the photo above you can see the difference between my "clean cut" edge at the top,  and the uncut edge at the bottom of that striped set. 
  • Step 10 - press and refold the pile of fat quarters that I set aside earlier.  These will go into the fat quarter drawers to be pulled out to play another day.  I may not have to pull my entire stack again for a couple of  years.  
The remaining portions of my "5 stacks"  will stay pinned like this until I finish all my cutting for this project.  If I need a different size strip,  I'll cut from each of these stacks rather than grabbing from the strips I just cut for re-supply.   If I need  3 1/2 inch strips for the next clue,  I'll use these stacks.  

Then ,  I'll see what is left.  If I have more than 4 1/2 inches left,  I'll unpin, and refold them to go back into that bin marked "whites and creams"... which contains pieces smaller than a fat quarter.    

If it's less than 4 1/2",  I'll cut whatever size strips I can get out of it,  and add them to the strip bins with the strips I just cut for re-supply.  Anything less than 1 1/2" will go into my "String Bin"

Here is a picture of my results... 


I still have a stack of fabric to return to my stash shelf.. (the ones on the right).  
I have a stack of 25 fat quarters to grab when needed. 
I have strips to add back into the strip bins to use as needed.   Each little folded roll is 5 fabrics. 

I choose to do this with groups of 5,  because then I can easily count to 10 when cutting.  I use a 60 mm  rotary cutter,  (make sure it's nice and sharp).   5 single layers is my limit for strip cutting.  Many quilters feel more comfortable with just 3 - 4 layers at a time.  

When sub-cutting units,  or trimming blocks,  I do not cut this many layers.  

I use the "5 stack"  technique when cutting my colored fabrics as well.   If the pattern calls for Assorted Blues, for instance,  I pull blues just like I did my whites,  press,  make a separate FQ for use later,  and pin 5 together for cutting for the project.  When the project is done,  I'll  unpin and return to the bins.

Tuesday, December 26, 2017

On Ringo Lake Week 5 update

I am all caught up!    I'm loving this project.  It was exactly what I needed for therapy.   My colors are coming together nicely,  if I have a wish for what color is up next it would be more of Bonnie's aquas,  or my reds.  

I am linking up to Bonnie's Linky party for the week at Week 5 Linky Party

Here is clue #1  - Darling little nine patches


Here is clue #2 -  Flying Geese! 


Clue #3 -  Diamonds in Squares...  Going in opposite directions... 


Clue #4 - Some winged squares....  


 And finally...  clue #5  - Another gaggle of Flying geese. 


Up to this point,  I have cut entirely out of my scrap drawers, and scrap saver system....  The only yardage I have cut into was 4 fat quarters of the lighter blue that I purchased for this project and 2 pieces of lighter blue yardage.   I also had to re-supply my white on whites from stash yardage for the flying geese wings for clue 5.     It is amazing how having that variety of strips and pieces in your scrap system allows for such a wide variety!  Thank you Bonnie for giving us this valuable information on your website and Blog.   

Sunday, December 3, 2017

Bonnie Hunter's 2017 Mystery, On Ringo Lake week 2

I'm linking to Bonnie's Linky party for Clue #2.  Week 2 Linky Party   I'm just about half way through the weekly clue.  It's going quicker than I had anticipated.   I have a busy week ahead of me, and not sure if I'll get around to an evening post later this week.  

Check out Bonnie's blog for instructions... its not too late to join in the fun!  

I love flying geese!  I've cut all my pieces using the Easy Angle and Companion Angle rulers.. using from my 2" strips of blue and white on whites.  I've exhausted the colors I'm using in both colors,  and actually went out and purchased about 5 fat quarters to add to my blue variety.  Since I'm doing this as a quilt of valor,  I'm trying to stay away from prints that are floral or kid's prints....   Looks like this value of blues is one area I can look for more variety when I find good deals out there, especially prints that have a variety of textures.  

The picture is with my step one in the middle of the geese.
  

Monday, November 27, 2017

Bonnie Hunter's 2017 Mystery On Ringo Lake Clue #1 complete

I couldn't resist!   When clue one went live on Black Friday last week,  I fell in love with those cute little nine patch blocks... 

I had originally decided that I was going to sit it out, and finish some UFO's,  but that was my reasoning the last 3 years, and my UFOs are still here, lurking in corners and under tables... LOL   

I decided to do this year's mystery in red, white and blues... and with any luck, I'll have a Quilt of Valor to give to someone special when  it's done.  

Here are my blocks for clue #1 all trimmed and ready to be stitched into something fantastic! 


It's still not too late to join in the fun.   Go visit Bonnie Hunter's Blog...  click on the tab that says "On Ringo Lake". There you will find the  introduction which gives fabric information... and Clue #1 with the instructions for week 1.    On Ringo Lake Mystery Link

I'm linking to the Monday Linky party    so go here to see what everyone else has been up to! 
Monday Linky party for Clue #1

Wednesday, March 29, 2017

March projects and Finishes


It's nearly the end of March,  and I have some finishes!  I also made progress on a few other projects this month.   I'm linking to Judy's blog... patchworktimes.  Check it out to see what everyone else is working on

First, the finishes.... 

It wasn't my March UFO,  but It is a completion...  This is on my 2017 UFO challenge list. 

This quilt had it's beginnings as a medallion for a Round Robin I was involved in with some internet friends in 2010.   It came home to me in August of 2010.  It had some issues with laying flat,  and I wanted it to be bigger.  So it got folded up and placed in my UFO pile, waiting for inspiration and the patience to work on it.  Now we fast forward to the present.  

As I was sorting out my UFOs in early January,  this one  came to my attention once again.   I really do love the homespun fabrics and overall design elements my friends added as they each worked on it.   I decided that even though it wasn't my March number,  that if I was going to finish it this year, I had some work to do to address the fact that it was not square, and did not lay or hang straight.    I took a course of action to fix it, and then once it was to my satisfaction,  I decided it needed one more border.    I blogged about this process  at the end of February ... http://scraphappydenise.blogspot.com/p/1-and-fellows-this-was-internet-forum.html

Finished!  
"Life is Good"    3/27/2017

I worked on the border while I was at our guild retreat earlier this month and got the final border added.  When I brought it home and showed my husband the progress I had made, he mentioned that he would like it to go to our good friends, Ted and Cindy.  We have stayed at their cabin in Island Park, Idaho, which is about 15 miles from the entrance to Yellowstone Park.   Since it was out and ready to go,  I decided to go ahead and get it pinbasted and start on the quilting.   

Homespun fabrics are soft and loose,  so I decided to do ditch work, to stabilize the seams and keep them from morphing over time.    There are lots of seams in this quilt!  Many stops and starts, but it paid off.   The final results are great!  Since I wanted the quilt to be soft and cuddly,  I did not want to put too much quilting into it.    It measures 65 x 82"
Hobbs 80/20 for batting helped create the soft, snuggly effect.  


Back of  "Life is Good" 

The back was pieced with more homespuns, and the leftover four patches from the border.  Once again,  I over estimated while cutting and stitching,  but I used them all! 

WIN!  No orphan blocks were created in the making of this quilt.  


Homespun Lap Quilt  - finished! 

I also finished quilting and binding this lap quilt for our guild's "Comforting Quilts" project.  This is made with some leftover bits from my  orphan bin purge in January.   it is 46" square.   Our Guild has a need for this size for several groups who use them in pallative care units in our city.   This size of 45" approx. finished, is large enough to help cheer up a bed,  be used as a topper for extra warmth, or to be used when sitting in a chair.  It's a great way to use up leftover blocks and bits.  They will ultimately go to the families of the recipients.    


I did a simple ditch stitching on this one as well,  and added some straight lines in the two larger borders to keep it stable over time.   The backing for this was the same that I used on the Fall colored Lap I finished in February.  (With 2 yards and some creative piecing, I backed two 46" laps, and a 24" doll quilt.)    These were done with smaller pieces of batting from my batting bin, stitched together.
   
24" doll quilt 

This little doll quilt was 4 more orphan blocks from my bin purge.  It measures 24" square, and will go to the Toy and Joy Foundation that wraps dolls and teddy bears in quilts before giving to children for Christmas.  

My March Progress on Other Projects: 

Marble Madness:   I blogged about this quilt here in February  http://scraphappydenise.blogspot.com/2017/02/marble-madness.html


Marble Madness II -  Waiting for bottom zig-zag border 

At retreat this month, I got it all assembled, until I ran out of border units.  I have added the final borders.  It's been pinbasted, and is ready to start the quilting.   Since I've entered into our quilt show in early May... There is no time like the present.  I have a plan! 


Quilt of Valor:  

I have a blog post explaining the whole story here   
QOV  Stars and Geese
still needs final borders... 

Got the top assembled at the retreat,  but the border fabric had been given to me, and I decided to wait until I could pre-wash it at home prior to adding the final borders.   The fabric is now pre-washed and waiting....   The color catchers were very dark, so I am glad I made that decision.  This quilt has a lot of white space. 


Tuesday, March 28, 2017

Quilt of Valor - Stars and Geese

I have a soft spot in my heart for Veterans.  (I've been married to one for 31 years.)  The Quilt of Valor Foundation has a mission to wrap each veteran who has been "touched by war" in a quilt.  

Our guild has a group that works on Quilts of Valor once a month, but since I still work, I am unable to go to most of the work sessions.   I usually have at least one QOV project going here at home.   I finished one around New Years, and needed to start something new.   During my "orphan block" purge,  I came across some blocks that had originally been meant for a different Quilt of Valor....  but ultimately did not make it into that particular quilt.  

Here is the story:  

I belong to an internet group that made blocks for QOV for recipients who were personal referrals from members of the group.  We made approx 10 finished QOV over a period of about 3 years.   Members would sign up for the portions of the quilts that they wanted to provide.   The blocks or fabrics would be sent to a "piecer", who would piece the top... and then it would go to the "quilter", who would quilt it and then on to the person who would bind it and stitch the lable.   The last person was usually the person who would ultimately award it to the person they had nominated.   

Sometimes it would be a year, between nomination and design process,  to finished quilt, and we would often have 2 or more projects in one of the phases of completion. 

We designed a quilt for a member of the US Coast Guard using the Coast Guard Star.  


Blocks were to be sent to a member  for assembly.  This member was very active in our group, and was one of the steering members who kept the daily  up-beat banter going on our forum.    Sadly, she was  silently and valiantly fighting cancer.  Being an internet group means we all had a veil of privacy to protect us.  She had told us she was having some health issues,  but I don't think any of us knew just how progressed her illness was. 

Many of us had sent our completed stars and pieces to her for piecing, and then we got the sad news that she had passed away.    We were so sad to have lost her, that is was several weeks, before we realized that the blocks were at her house.   Knowing that her family was also missing her,  we wanted to respect their time to grieve.   It was a couple of months before I reached out to her daughter.  "If you should find some red and blue stars that look similar to this while cleaning up your mom's quilting stuff, they were originally intended for a QOV...." , I wrote.  Her daughter responded, saying that neither she, nor her dad had really faced the quilting area yet, but if she found anything that resembled our project, she would forward it to me.    

We all committed to new blocks, being sent to a new person to piece this quilt, and pressed onward and upwards.   It was nearly 6 months later, that I received a package in the mail with a letter from her daughter.  She had found a large ziplock bag full of stars.  Were these the ones?    By now, we had completed the quilt that was originally planned.   In my thank you note back,  I assured her and the rest of our group, that those stars would be used in a QOV.   

The next several quilts that we started on, were designs that didn't include friendship stars, or the bright white background that these stars have.  

The cost of postage was getting prohibitive, mailing quilt parts all over the county..... and the group never was really the same once we lost this member....  one by one, many of the members left the group to join other quilting groups on other forms of social media.  

Forward to today... 

I came across these blocks and decided they would become my next QOV project.   I used my EQ design software to come up with a design that would use the parts I had received.  
This is the design I came up with.  


 I had enough just enough of the friendship stars!   I would make the larger stars and geese to  complete the top.  

At the National Quilt of Valor Sew Day on February 6th,  I completed the geese and large star blocks.  

I assembled them into the center of the top at our Guild Retreat in early March.  

Today,   the top is waiting for it's final borders.  It will finish at approx 60 x 75. 


Monday, March 27, 2017

Stash Report 3/27/2017

Here is my latest stash report. 

I'm linking with Judy Laquidara's blog 


Since my last report  on 3/12: 
  • Completed my Round Robin from 2010.   The quilting and binding are finally done!   It's new name is:  "Life is Good!".  See the whole story here....  Fabric from my stash:  7 yards. For the outside borders,  backing and binding.   I used 2 yards of Hobbs 80/20 for batting
  • Completed top for homespun lap quilt 45" square.   used scraps of Warm and natural  batting equaling approximately 1/2 yard @ 90" wide   * backing  already accounted for with previous green, gold, rust lap .. but top is 2 yards. 
  • One doll quilt 1 yard total of fabric...  and scraps of batting  the back was a scrap of the backing used on the lap top completed above.

Fabric 2017

     Fabric Used Since last report :  10  yards 
     Fabric Used year to Date: 52 5/8 yards
     Fabric Added since last report: 0 yards
     Fabric Added Year to Date: 8 yards
    

     Net Fabric for 2017:  Net 43 3/8 yards Used 


Batting  2017: 

     Batting used since last report: 2  yards of Hobbs 80/20 for RR quilt 

     Batting used year to date: 7 3/8 yards used from bolt ....
           PLUS  8 doll quilts, 6 laps (45" squared), and one table runner  from my
           bins of batting scraps approx 4 yards worth 
     Batting added since last report: 0 yards
     Batting added year to date:  40 yards (Jan purchase) 
    
     Net Batting for 2017: increase of 25 1/8  yards 

Sunday, March 12, 2017

Stash Report March 12

Here is my latest stash report. 

I'm linking with Judy Laquidara's blog 


Since my last report  on 2/26: 
  • Completed "Flurry"...  quilted, bound,  and ready to bring on the Christmas Spirit next year. Total amount of fabric used...  3 yards of  solid white background === Backing 4  1/2 yards  === binding 5/8 yard  The gift package blocks were from an exchange, so most of them did not come from my stash.  I made 6 of the 20 package blocks...  so I used approx 1/2 yard total for those.      Total fabric used, 8  5/8 yards       Batting used   1 5/8 soft and bright                   
  • I got lots done at retreat last weekend,  but since I'm not finished with any of the projects I worked on, I'll have to wait to count,  but I do have a top 1/2 quilted on the machine right now, so progress is being made!  

Fabric 2017

     Fabric Used Since last report : 8 5/8  yards 
     Fabric Used year to Date: 42 5/8 yards
     Fabric Added since last report: 0 yards
     Fabric Added Year to Date: 8 yards
     Net Fabric  as of last report:  8 5/8 yards used

     Net Fabric for 2017:  Net 34 5/8 yards Used 


Batting  2017: 

     Batting used since last report:  1 5/8 yards soft and bright

     Batting used year to date: 5 3/8 yards used from bolt PLUS  7 doll quilts, 5 laps (45" squared), and one table runner  from my bins of batting scraps approx 3 1/2 yards worth 
     Batting added since last report: 0 yards
     Batting added year to date:  40 yards (Jan purchase) 
     Net Batting as of last report:  - 0 yard 
     Net Batting for 2017: increase of 27 1/8  yards 

Wednesday, March 1, 2017

February UFO Complete!

"Flurry"

It's complete!   I was only one day late, getting the binding done on "Flurry".  This was my #9 quilt on my UFO list,  which was the number drawn for February over on Judy Laquidera's blog.  You can check it out more on Judy's blog, by clicking here.

We were challenged to pick 12 Unfinished projects that we wanted to finish this year.... they were posted and numbered by myself.... but Judy draws a number every month, so we work on them in random order.   

I was part of a block exchange back in the fall of 2015 with 7 internet friends.  We each made 2 "gift" blocks for each of the participants.  I wanted my quilt a bit longer, so I added 4 more blocks.   

I laid out the completed blocks and planned my scrappy border while at our guild's retreat last fall.   It feels good to get another quilt off of my "NEEDS TO BE QUILTED" list.  

I chose to do a loose wavy vertical line type of free motion quilting on this, for an informal, modern look.  This is one I'm keeping to use on the back of the sofa for the Holidays.    It finished at 57 x 75".  

The number that Judy picked for March is #5... which is my "Roll Roll, Cotton Boll",  a mystery by Bonnie Hunter.  The top is pieced,  just needs to be Quilted...  (sounds like a familiar story).  

Sunday, February 26, 2017

Stash Report


 Here is my lastest stash report. 

I'm linking with Judy Laquidara's blog  http://www.patchworktimes.com/2017/02/26/stash-report-february-26-2017/


Since my last report  on 2/12: 
  • I've pieced a lap top from finished blocks... used a small amount of Kona white, but since it's not done yet... I cannot count it.   The Kona white I used, was the end of what do had... and since I need more for two quilts I'm working on,  I had to do some shopping.  I'm proud that I came out with just the Kona White... on sale at 50% off! 
                                 

Fabric 2017

     Fabric Used Since last report : 0 yards 
     Fabric Used year to Date: 34 yards
     Fabric Added since last report: 8 yards of Kona White 
     Fabric Added Year to Date: 8 yards
     Net Fabric  as of last report:  0
 yards used

     Net Fabric for 2017:  Net 26 yards Used 


Batting  2017: 

     Batting used since last report:  0

     Batting used year to date: 3 3/4 yards used from bolt PLUS  7 doll quilts, 5 laps (45" squared), and one table runner  from my bins of batting scraps approx 3 1/2 yards worth 
     Batting added since last report: 0 yards
     Batting added year to date:  40 yards (Jan purchase) 
     Net Batting as of last report:  - 0 yard 
     Net Batting for 2017: increase of 32 1/2   yards 

Saturday, February 25, 2017

Marble Madness!

     Way back in 2007....Oh, wait.... has it really been 10 years?    My sweet hubby asked if I would make a quilt for a dear friend.   Since he collects marbles as a hobby,  I thought that a "Marble" quilt would be a great idea!   

     My fabric stash is on the traditional side,  and I had one piece of batik to my name.   This meant some serious stash shopping was in order.    So off I went!  Hubby asked for a quilt,  and it gave me the excuse to fondle some fabric!  

     Thinking of marbles, and all the bright swirly colors,  that is what I brought home.   I used a pattern in a Fons and Porter "Love of Quilting" Magazine  date unknown, because I don't have the magazine anymore.  

My original blocks looked like this... 


I laid them all out on my design wall,  and Mike told me 
that he thought they were too bright and busy!  

What?  I had like 35 of each of them! 

Good thing I hadn't added the center circle appliqued marble to all the snow ball blocks yet!  Although I had a rainbow collection of circles all cut out ready to go. 


So... Back I went to the fabric store... where I purchased a more subdued beige marble fabric.  A different design to work with, using the colored marble centers, and this is the finished product that we gave our friend, Tom.   

Marble Madness   December 2007

Close up of quilt  


  Tom and myself  December 2007


Looks like we were all pretty happy with the final results... 

Fast forward  10 years,  and in the process of  digging out UFO's and  project remnants I ran across the nearly 70 blocks that I originally made that got discarded.  They are bright... I'll give them that!    

I've finished the top for 45" square lap quilt for donation to our guild last week.  It's waiting for quilting.  

Marble Madness Lap top.  45 x 45   February 20, 2017


 I've also mapped out a quilt on EQ7 that will finish as an almost twin size.  
I needed more Kona White,  seems I've been using a lot of it lately....  the finished product will be donated to a group that gives quilts to previous foster kids who have decided to mentor new foster children. 

EQ design for 65 x 81 quilt 


I'll even be able to use up those bonus triangles from the snow ball blocks!  SCORE! 


Sunday, February 12, 2017

I'm still digging...


     This "clean up" project I started just keeps giving!   I feel like I'm on an Archeological dig,  working my way back through history. 


4 lap quilts heading to our guild meeting tomorrow!   Finally... some sunshine to photograph these in.  


     I started quilting back in 1974,  while in college.  My sister-in-law and I took our first quilting class together,  when the Bi-Centennial quilt revival was getting started.   We're talking cardboard templates and scissors!  No rotary cutters, long arm machines,  or rulers with grids.
   
45" lap quilt from rejected project blocks 


     We've come a long way, Baby!  I've finished college, moved away, moved back home, moved out again, met my hubby and we've moved 7 times in 31 years.  I still have some of that original stash hanging around from those early days.   I'm determined to use it up!

45" lap made from blocks donated to a group I quilt with. These were leftover from a twin size quilt I finished in 2016.  Finally used them all up!  Yeah!  I had fun quilting this one with a random overall loop and daisy design.  The back is made with some leftover pieces of blues that backed the original twin.  double win!


     I have tamed scraps that were piling up and overflowing the box at the end of my table.  We had company for a week last month, and we moved everything out of the center of my stash room, to put up the queen size air bed.  Three weeks later, I'm still sorting and putting away small bits and pieces.  Having 10 snow days off of work gave me plenty of time inside to sort and play while hubby watched movies across the room. 

12 rejected blocks from a previous 2009 project.  45" lap quilt. The white areas just kept telling me to put something leafy and scroll-like there.  

     So far,  I've un-earthed: Leftover blocks from several quilts, some blocks that have been given to me to "do something with",  and several "small block components" such as small half square triangles,  tiny 9 patch and 4 patch blocks.   I've pressed and trimmed to common, usable sizes. 

  •  Irish chain quilt - 15 leftover chain blocks - 
  •  blue/ white blocks - enough for alternate blocks for a QOV 
  • 35 black / white blocks  leftover from a quilt in 2014
  • some Yellow brick road blocks -enough for a youth quilt if I made 2 more...
  • 98 half square triangles from a project in 2003!  (You know, those flip and fold triangles... these are 3 1/2"  so there are enough there for a lap quilt
  • Same pattern, different quilt,  I only have 67 from the second quilt. I can add to these with some of the fabric still in my stash to make another lap quilt 
  • Rejected blocks from a mystery quilt, that I re-made with different fabric 
I've played with some of these as I've worked through them, just to keep them moving through the pipeline.  In the last 3  weeks I've finished tops and done the quilting for: 

 Toy n Joy Doll quilts   going to our guild meeting tomorrow night 

  • 5 doll quilts (mostly using up the odd 4 or 6 blocks from previous projects)  These are all about 24" square.
  • 1 lap quilt 45" square  made with blocks that I rejected in the middle of a project in 2009.  They  got me so close, I only had to add borders. 
Study in Pinks and Blues -  45" square.  I'd like to say there isn't any more of these fabrics in my stash, but if I did, I'd be telling stories.  


My orphan block bin has shrunk!  My drawer of misc. pieces/ etc is 1/2 of what it was 3 weeks ago.  I'm making progress, and bagging these in like size / or color groups to do something with SOON! 

I also found UFO's!  (not on my official UFO list) 

  • two baby quilt makings from 14 years ago 
  • two home made kits for donation quilts in red/ white/ black
  • the beginnings of a Quilt of Valor (28  6 1/2" friendship stars).. there is a quilt in the making now, I've planned it out on EQ this evening. 
  • 2 more Thomas the Tank Engine baby quilts, all cut, ready to sew. 
  • All the blocks for a large lap for a dear family friend that my hubby rejected.  (He said they were too bright and busy for the intended recipient) 
I'm not done!   there's more,  I'm sure of it!