Monday, December 26, 2011

TWO QUILTS IN ONE! FINISHED!!!!!


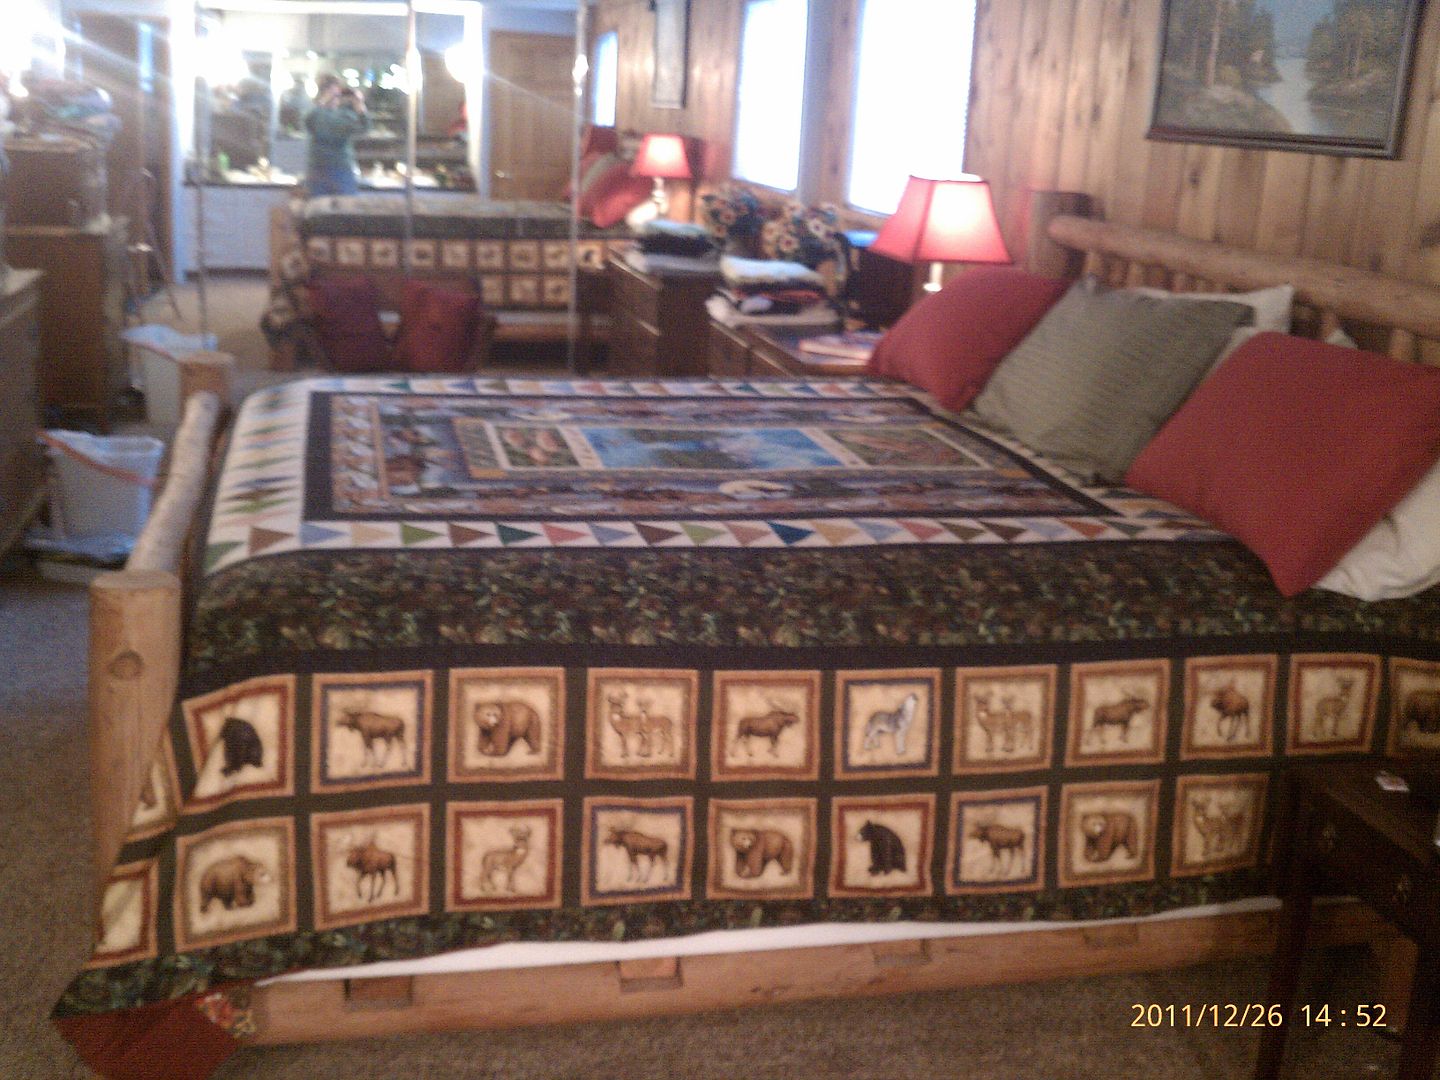
After  more than one setback.... this is DONE!    This is a reversible Duvet cover that I made for our king size log bed..... (oops.. don't mind the wastebasket in the background.... I was on my way out to the garbage, when I decided to take pics.... )  This side is made up of 4 different "panel" pieces, all by different manufacturers.... and two other outdoorsy prints... married together with scrappy flying geese.   It is HUGE.... 104 x 114".....  

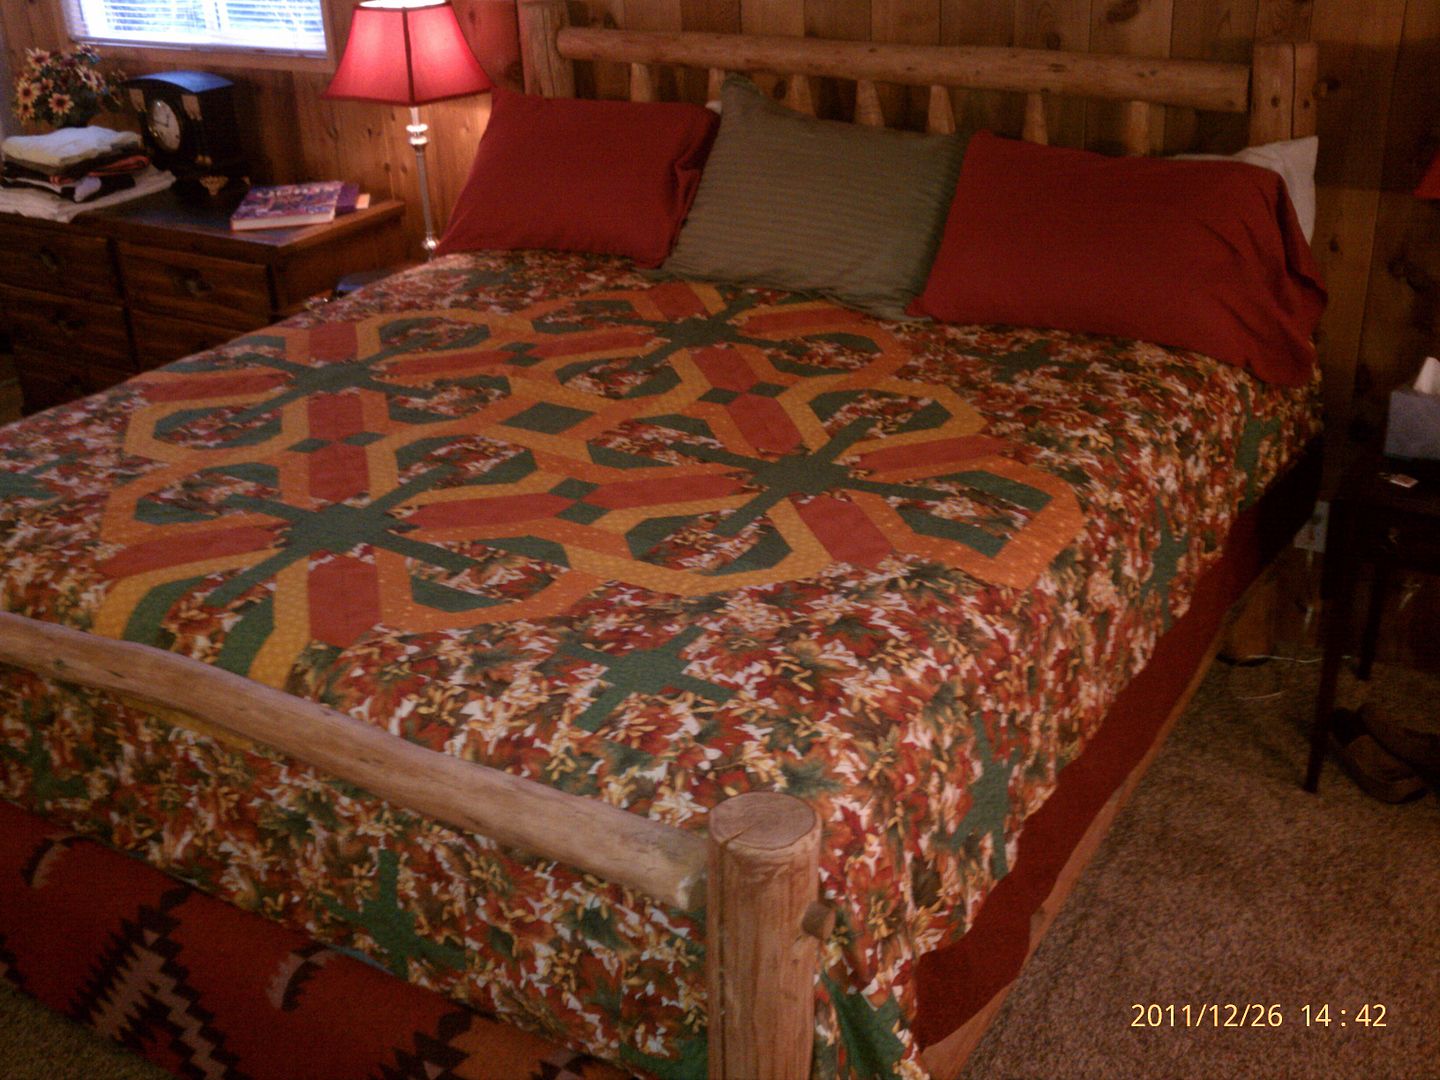
This is the back side..... a mystery quilt I started last December over at the Quilt and Needle.   I added the extra side border of deep red/rust to bring it to the same size as the panel top.

Originally,  I had this..... which I did not like.... I had to substitute the cream fabric for the leaf fabric i ran out of while cutting.   I just didn't like the way the cream popped....


so... I decided to make more blocks with a rust instead.... much better...


Now we're on the right track....   I got sidetracked when it came time to add 2 invisible zippers so I could stuff it with the comforter.....   and then I needed more of the animal print on the other top.... which I had to find and order on line.....  This puppy was so large, that I had to move all my family room furniture out of the way to work on it!   

Since my original plan was a duvet cover.... I was concerned with the seams of either top fraying as the comforter moved around inside.  My remedy was to use a muslin backing on each of the tops... which I spray basted and stitched together.....   I now know I will most likely NEVER quilt a king size with a batting inside on my domestic home machine..... I love my Janome... but even the two layers of fabric w/o batting were difficult to maneuver around.  The spray basting saved my bacon... I'm sure that pins alone would have been a nightmare....  So... all together there are 4 layers of fabric in the cover alone....

When I turned it right side out, and put the comforter that has been on our bed inside,  it was incredibly heavy!     I had originally thought that I would use the comforter during the winter months, and then use it as a "summer topper" w/o the comforter during warm weather... but as of  half way through the night last night,  it will be a summer topper all year through.... I have removed the comforter today.   It was so heavy, I couldn't roll over under it....

This is a picture of the leaf side showing on the bed... it is so pretty!  I'm going to have a hard time deciding which side to have up every day....


Here are some other close-ups... one of the quilting... I used up 5 spools of that green thread I posted about a couple of weeks ago.....

Center of the top...


See the picture above the bed?  Matches pretty good, eh?


Boy, it feels good to get this one out of the UFO pile...... anyone need my old king size comforter?   LOL

Tuesday, December 20, 2011

UFOs... Progress and Plans

It's time to pick my choices for the 2012 UFO Challenge over at Judy Laquidara's site .

I have a huge pile of UFOs that need to be completed.... so I've made my list for 2012. 

You can read my list here.

This is just one pile of projects that need finishing... These are mostly tops waiting to be sandwiched and quilted...  I see one i there that's been there for at least 5 years.... it's the green and red one above the salmon colored backing that belongs to it... this was a mystery quilt... Quilt till you wilt... from several years ago... The quilt shop where we did this has been out of business for at least 5 years....  Where does time go?


I did get a bunch done in 2011.    Since I give them away as fast as i can finish them... I don't have a pile of quilts to photograph.

I only started 3 new quilts that are not yet completed....

I finished up 6 old UFOs that were on my List for 2011....

I won blocks to be pieced in 5 different block lottery / exchanges in 2011 ..

I actually started 4 quilts in 2011 that got finished and delivered... to people I know....

On the giving front...

I pieced and quilted 3 tops from my stash to go to others in need

I pieced 3 tops from blocks that were group contributions or donated in some way

I quilted 6 tops that for donation or group presentation of some kind... (these did not go to anyone I know personally).

When I actually type the list out... I realize I really did accomplish something besides therapy while sitting at my machine this year....


Sunday, December 11, 2011

If It's Organized... Is it Still Considered Hoarding ? ? ? ?

Ok... I'm obsessive.... I'll admit... but there are times when I even question myself...

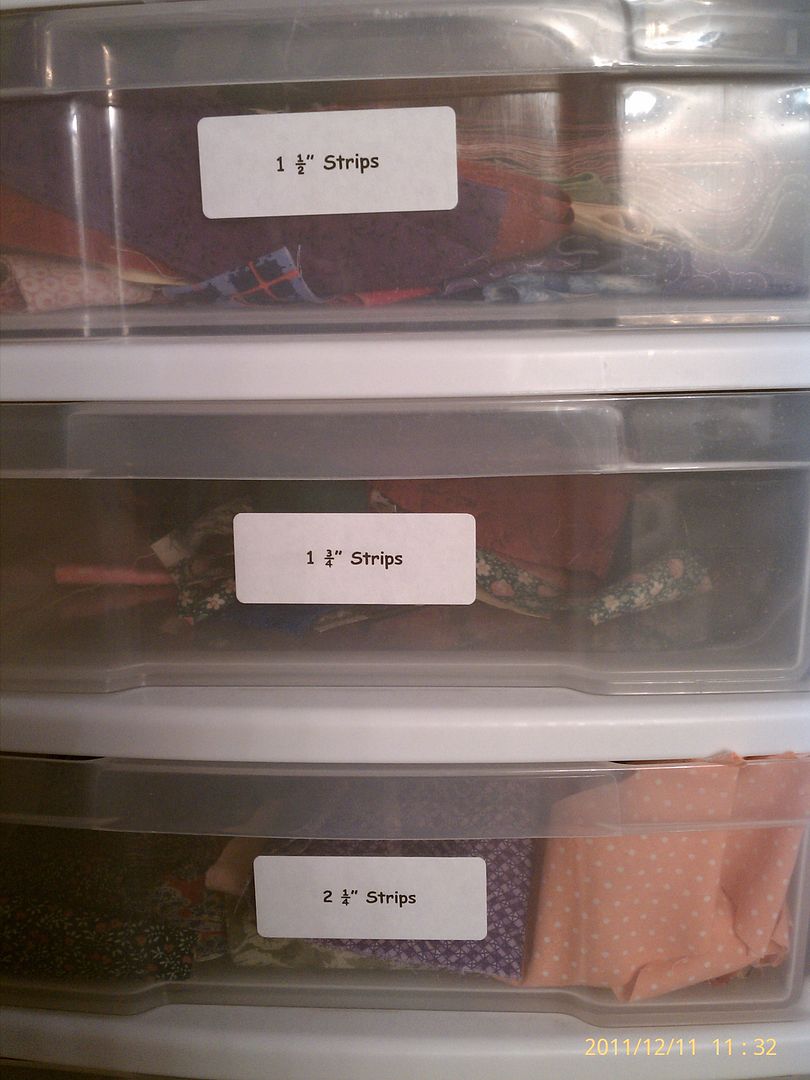
I started straightening up from about 6 months worth of projects from around my machine area.  This means that I take all the little scraps and bits... and begin sorting into Bonnie's scrap user system.  Bonnie Hunter's Scrap Users System Tutorial   I've been trying to do this now for about a year.... but all the pieces were in ziplock baggies in a drawer.  (not very easy to get to.... for either sorting or using)....  As I was cutting squares and bricks the other night,  I decided I really needed another way of doing this if I was ever going to use it.  

Later that night,  it dawned on me, that I had a couple of those drawer sets that you get at the hardware store for sorting nuts and bolts.  I've had these forever.... it was what I used for thread storage.... (we'll get to that just a little later).....

So... yesterday morning, while working on my second cup of coffee.... I decided to go empty the thread bins... so I could dust them out and start putting my pre-cut squares away......

The bins turned out to be just the right size!  And they are clear on the front.... so I can sort of see what's in them....

Drawer set #1

Drawer Set #2
Here is a picture of one of the drawers 


Drawer of  2 1/2" squares
I even stacked some twosies together so I can just grab a stack and stitch when I want to make four patch units....

twosies... ready to stitch!

These two little units sit perfectly ontop of a shelf that holds some of my papercrafting supplies... (*Believe me.... that is an entirely different post.... ) Just to the left... are my larger scrap drawers that hold pieces that are about a FQ or smaller....

Scrap drawers

I have a drawer for everything....
I tried plastic shoe boxes several years ago... but I found it hard to get into them..... I pick up these drawer units when they are on sale..... I've figured out how to take them apart and stack them together in taller units..... (Don't even start in on how much I've invested....  my DH might be reading my blog secretly... LOL)  But remember... I did say I ALWAYS buy them on SALE! 

And where would I be without IKEA shelves?  
It's sort of sorted by color..... and overflowing..... and I shouldn't have to buy fabric for a very long time!

Now.... back to the thread story.....

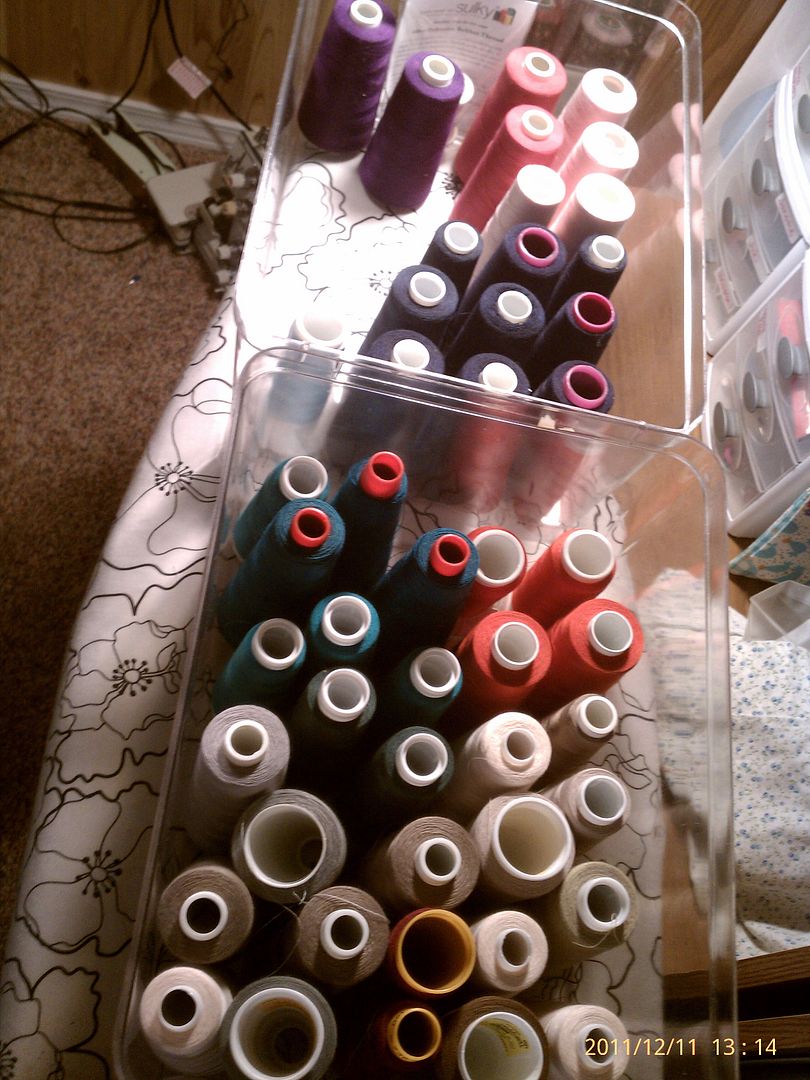
If one has 293 spools of thread,  is it too many?   As I was unloadin the thread out of those cute drawers... the word "HOARDER"  crept through my mind.... 

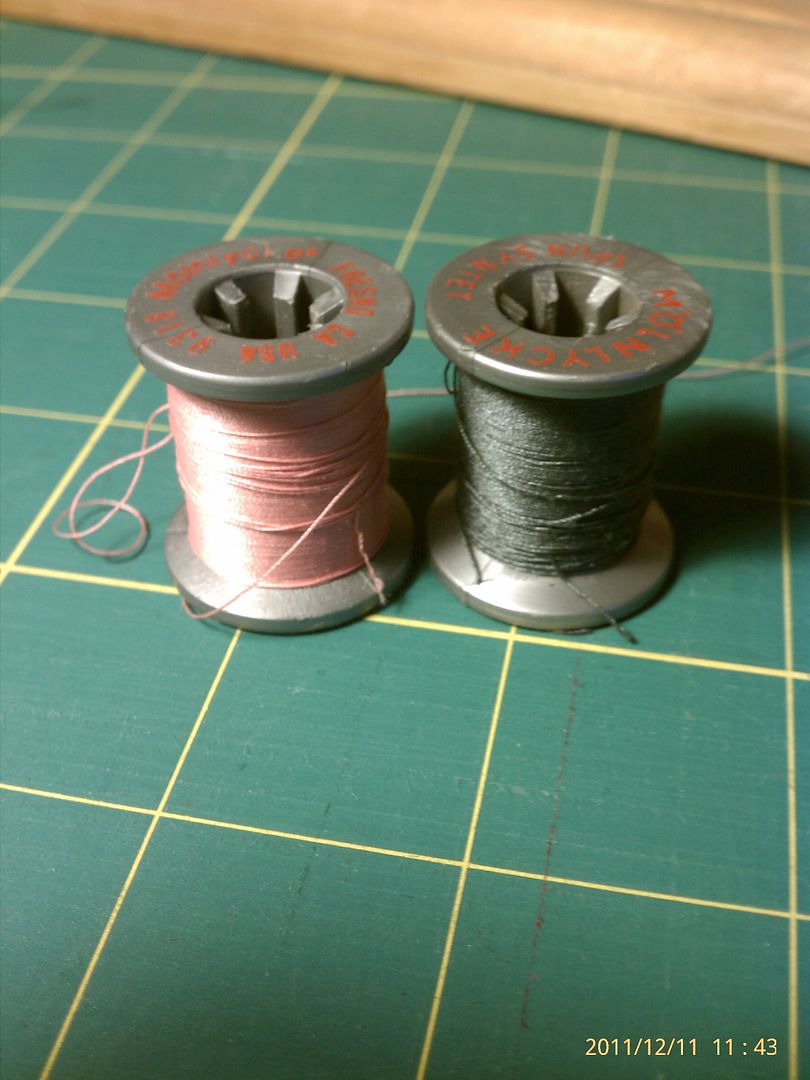
I have some spools that I can pinpoint exactly when and where I purchased them.... It was 1980, in Bend, Oregon... at the sewing machine shop where I purchased my first new sewing machine....  There were no quilt shops then.... in fact... I can't remember if Bend even had a fabric store other than the few bolts that were in the sewing machine store.... If I remember right... I had to drive to Portland to buy fabric....  Maybe there was a House of Fabrics?   or the fabric section at the Ben Franklin Drug store.... I sewed all my own clothes then... so you would think I would remember.... but alas... it doesn't come to mind clearly.    Any how.... these spools of Molynyke thread were from there.....


I have a serger... and so I've accumulated several sets of thread on cones for that.... I must have purchased 4 of every color..... because I have this...
Serger cones

And just how much white hand quilting thread does a machine quilter need?   I found this batch at a yard sale one time, and thought I needed it.... but really... 36 spools?   I got an even better deal than the price listed on the spool ends.... I think I paid $5.00 for the entire lot! 
 Now.... just how much dark green thread should one girl have?    I ask sarcastically?  Maybe I just wasn't organized enough and couldn't find the green I already had?   Maybe I thought I needed that specifically different shade of dark green?   I can explain why I have three spools..... One for for my Viking machine.... and two were for the serger..... so that I could stitch a seam  and then serge with the same color of thread..... (Did I mention that I can be obsessive? LOL)...   that does not explain why I have the two serger cones as well though....


The spools in this picture have never even been started.....  still factory sealed....


And just in case someone thinks I've been wasteful.... here are some spools to prove that I never throw anything away !!!!

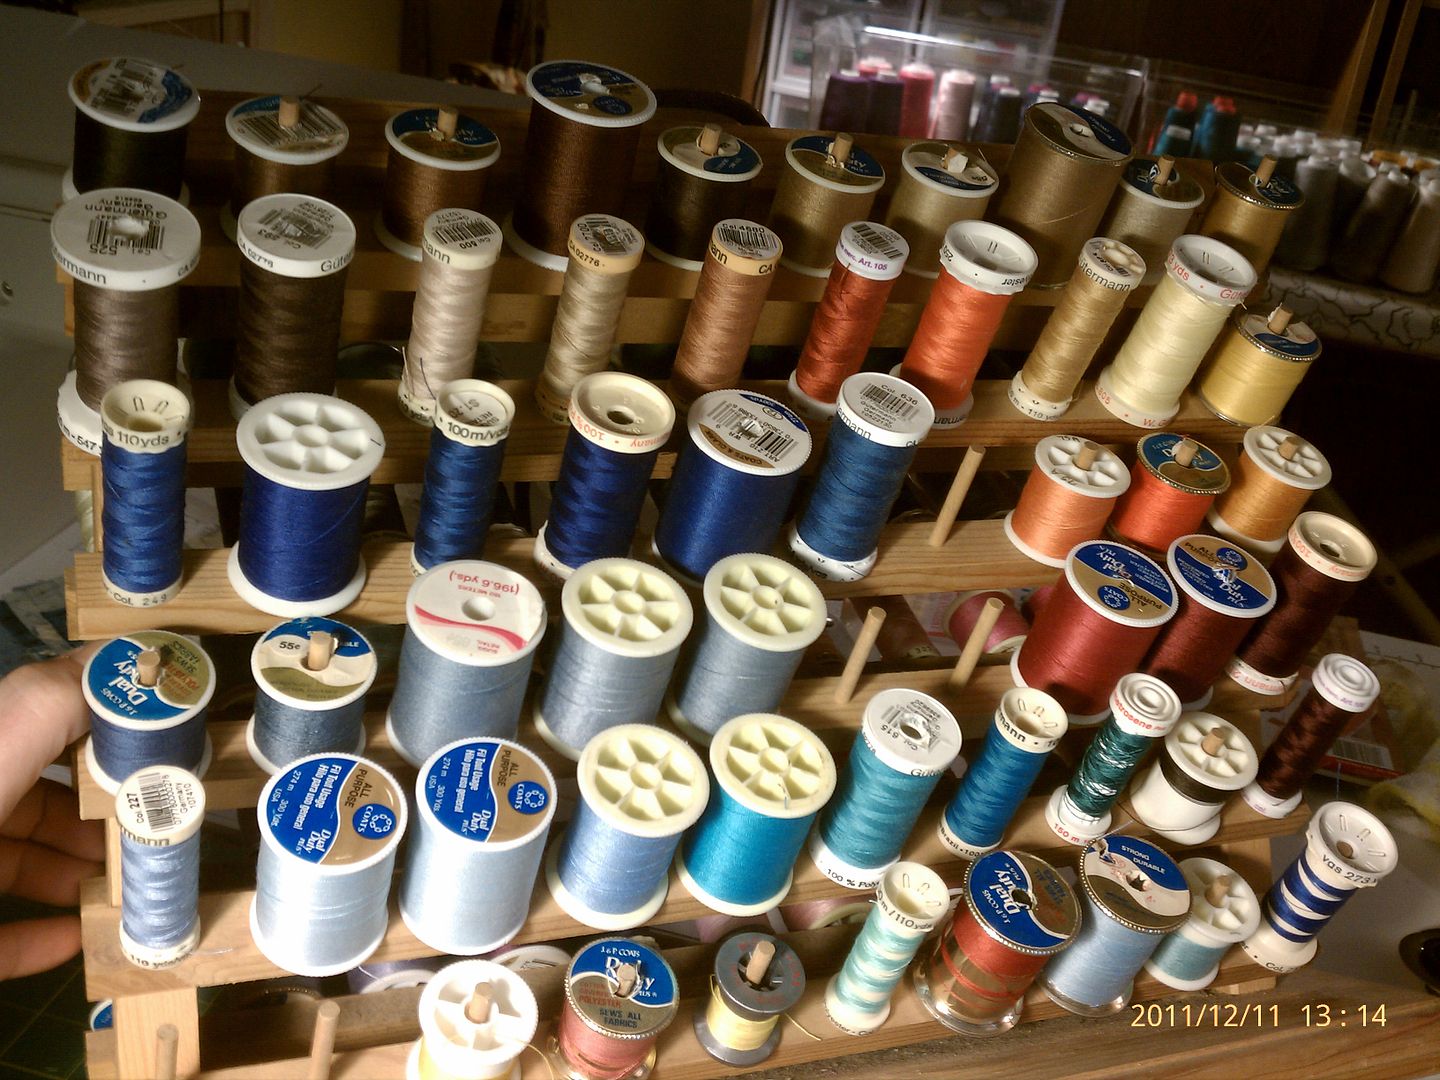
I found this thread holder at a garage sale this last summer.... thought it might come in handy.... It's two sided... and has a carry handle on the top... It will hold 120 spools of thread


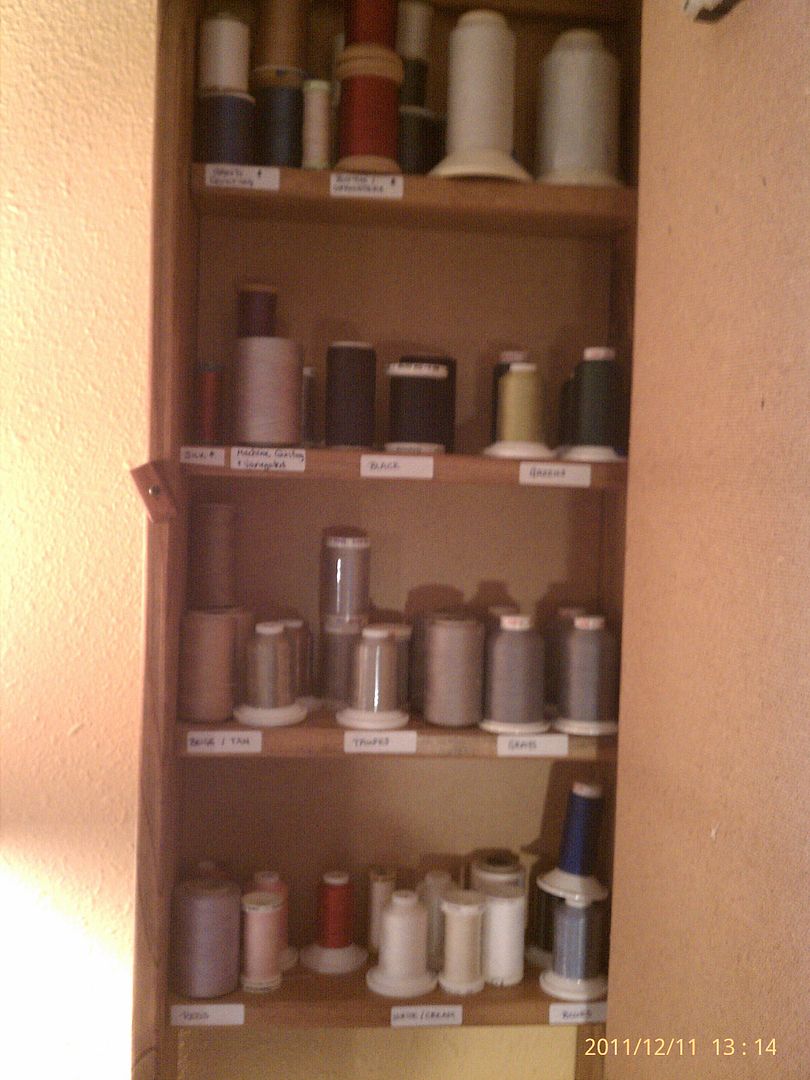
 So today... I gathered up all the thread I could find in the house.... and sorted.... I put all the serger cones together... all the hand quilting thread together.... all the rayon and variegated thread together....  Then... I sorted by color groups.... red,  brown, blue,  gray.... etc.
Small spools went onto the thread rack... and the larger spools went into this little shelf on my wall.

All in all... it's now organized.... and my goal is to use it up!    I make enough quilts for charity purposes,  that I should be able to use up some of these dips and dabs..... when piecing.....  I know... some is poly... some poly-cotton... some all cotton.... but as long as it doesn't snap when I tug on it... it should work just fine! 


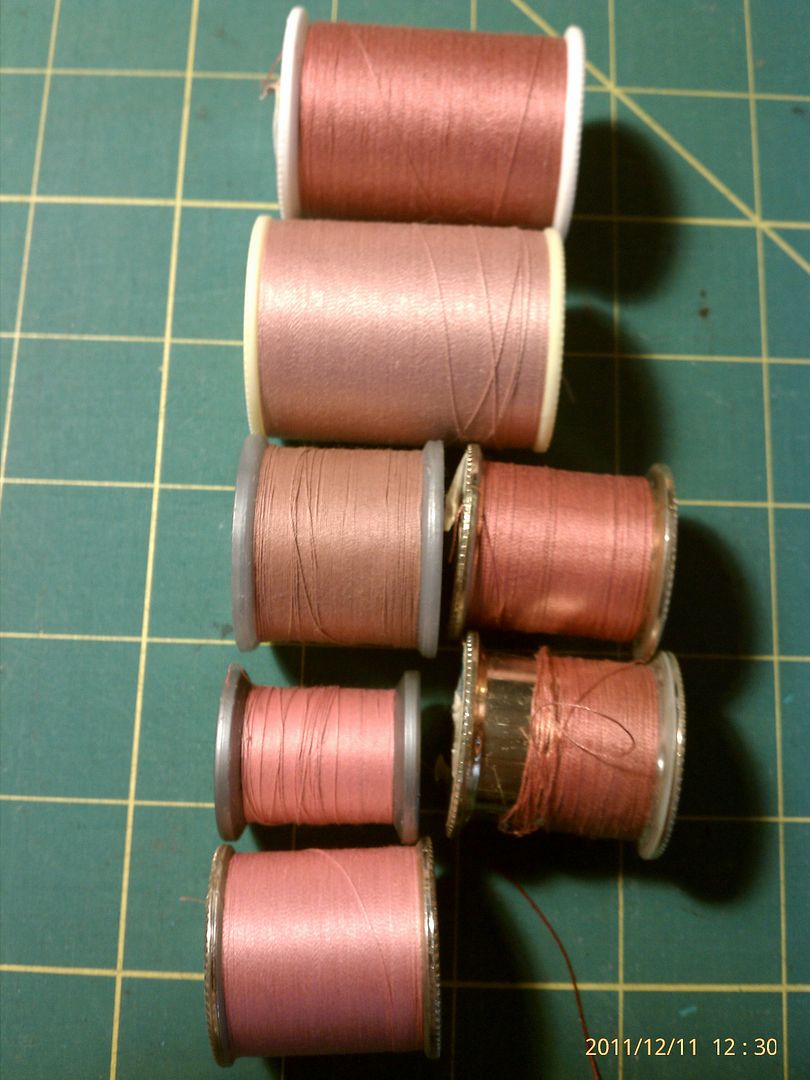
After all.... I don't see myself needing  6+ spools of rose pink for a project anytime soon


Have a great week everyone!

Sunday, December 4, 2011

And a Bonus Quilt!

Using some of the extra component pieces I had cut way back last November when I first started RRCB,  I was able to piece this bonus top! I had to cut and stitch another ten blocks.... I reversed the pink and brown from the original blocks and left the red/neutral HST blocks off.  I did however use the green corner stone blocks for the centers of the 10 extra I made...so I used all those up!

 I still have some of the border components... but I'm thinking of cutting some green/pink/green strips  and making some cute 4" 9 patch blocks.... not sure where they'll get used yet.. but I'm sure they'll get more use than the leftovers I have now....

The piece of shell pink I used for the alternate blocks has been hanging around for awhile.... and I used most of the piece I had....  This measures about 53 x 65".  A great youth size, or even a nice sized baby quilt.   I'll have this one waiting in the wings for someone special.  It has more piecing in it than most of the charity type baby quilts I do. 


I can't believe how labor intensive those pieced borders are.... 

Saturday, December 3, 2011

My Roll, Roll, Cotton Boll Mystery top by Bonnie Hunter

Roll Roll Cotton Boll mystery quilt
Well,  this mystery started a year ago!  I know I work slowly sometimes... but I had actually made excellent progress on the steps as they were posted last December,  but I put it aside sometime in early spring to work on something else... and didnt get back to it.   (I had been sloppy in either cutting, sewing or both, when it came to all those  red and neutral 1/2 square triangles). 

I've decided that I don't need another queen size quilt.... and since the majority of quilts that I gift to people are larger lap throws to snuggle under,  I've decided to use fewer blocks... and not add the pieced border that is pictured at the very top of the photo.   This is beautiful and busy, just as it sits... so I'll sandwich it... quilt it... and put a binding on it.... no border at all!  This will most likely go to one of my nieces..... sure hope she likes pink, green and brown! 

The remaining units that are cut, stitched, etc?   I have an internet buddy who wants a King size... and she dislikes the string piecing process... so I'll ship my strings to her this next week..... then I'll use the remaining pieced blocks and border pieces and some neutral fabric to create another top.   Since I miscut several of those half square triangles... I won't border the churn dash blocks with them... rather I'll use the ones that are the correct size in another way.... or possibly set them aside for a different project later.   (I already have a baggie full of HST to cut down to 1 1/2"  rather than the 2" they were supposed to be.)   Lesson learned... cut carefully... stitch carefully... watch that scant 1/4"! 

I do love the way this has turned out!   Bonnie has started a new mystery for 2011 on her blog which is now in step 3.  I'm saving the steps for later... because as you see by my side bar... I have tons of projects in process that I am determined to get off the shelf and into someone's arms. 

Thursday, December 1, 2011

Quilts for others....

I've been working on several quilts that will go or which have already gone to others, who I don't personally know, in the hopes that they will find warmth and hope around them.

This little quilt went to a young lady who's dad was killed in a surfing accident this fall.   The Windy Hill Quilters out in Corbett give to those in their community who are in need.  Each of three siblings received a quilt.  I worked on this one..... thinking that a 12 year old girl would enjoy the bright panel prints and sort of funky floral fabric.


Teen Girl Panel Quilt

This butterfly quilt is a group project at thequiltandneedle.com .  We have several group projects going... Quilts of Valor,  Charity projects for Pine Ridge Reservation, and a children's center for children who have been through abuse.  We also make Quilt Auntie quilts for the wee ones in the lives of our members.  This quilt will go to a little baby granddaughter of one of our members in Arkansas.   I was the quilter for this project, but it is good to know that it is  on it's way to it's proper owner.

Where is my Blog mojo?

I always have good intentions of stopping by and giving updates..... but this has been a stressful last couple of months for me...

Excuse #1 - my dear husband was diagnosed with prostrate cancer in September.   After consultation with his doctors, we opted for surgical removal.  His surgery was a the week before Thanksgiving and he is now home healing and recouperating.   Pathology reports will be back any day now... and we'll know if there was anything detected in the lymph nodes that they removed.  If it's an "all clear", then he won't need any radiation or chemo. 

Excuse #2 - the program that I teach for, moved locations over the summer. This has created some changes in the types of activities we do with our students and the locations that those activities occur in.   We also have a new administrator this year, so things are stressful there as well.

Excuse #3 - when I feel like I actually have some "extra me time".... I try to fill it with doing something creative.

Excuse #4 - my mom always told me that if I couldn't say anything nice, not to say anything at all.  I try to live this daily.. and try to carry it a step further... and feel that if I can't be positive then I should probably not share my thoughts..... instead, I try to reach deep within and find the strength to keep moving on... to recharge myself.....to look for solutions to problems  and figure out how to turn lemons into lemonade.

So... why do I sit here and type excuses on a blog?  Mostly to let those of you out there in blog land, know why I haven't posted in several months.....   In the next few days... I hope to give you all an update of what's been happening postive in my life the last few months.... 

Thursday, August 25, 2011

Twin Star Tutorial

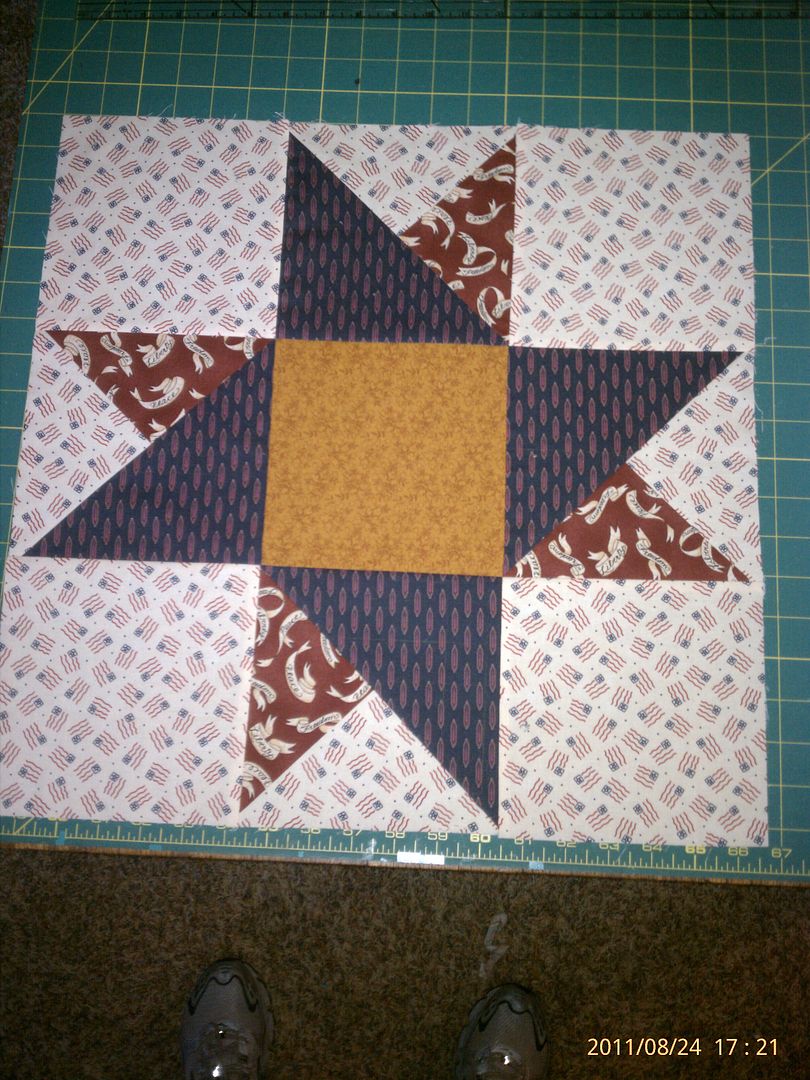
This is a tutorial for making one 18 1/2" Twin Star Block.
You need:

one square background 7 3/8"

four squares background 6 1/2"

one square for center 6 1/2"

two squares main star color 6 7/8"

one square accent color 7 3/8"


Now, we will cut the two 7 3/8" squares on both diagonals, creating 4 quarter square triangles of each color. (QST)
Take the two 6 7/8" squares of the main star color, and cut on one diagonal to create 4 half square triangles. (HST)


Match a background QST with an accent color QST right sides together. Orient as in the picture above, so that you will start stitching from the flat side of the triangle. Stitch with the background fabric on the top. (this will assure that all your resulting units will be the same)


Repeat to make 4 units. Press towards the darker fabric. Trim dog ears. (Take care, not to stretch the bias as you stitch and press)


The resulting triangles will look like this... with the background on the left side, when the triangle is pointing up like in the picture below.
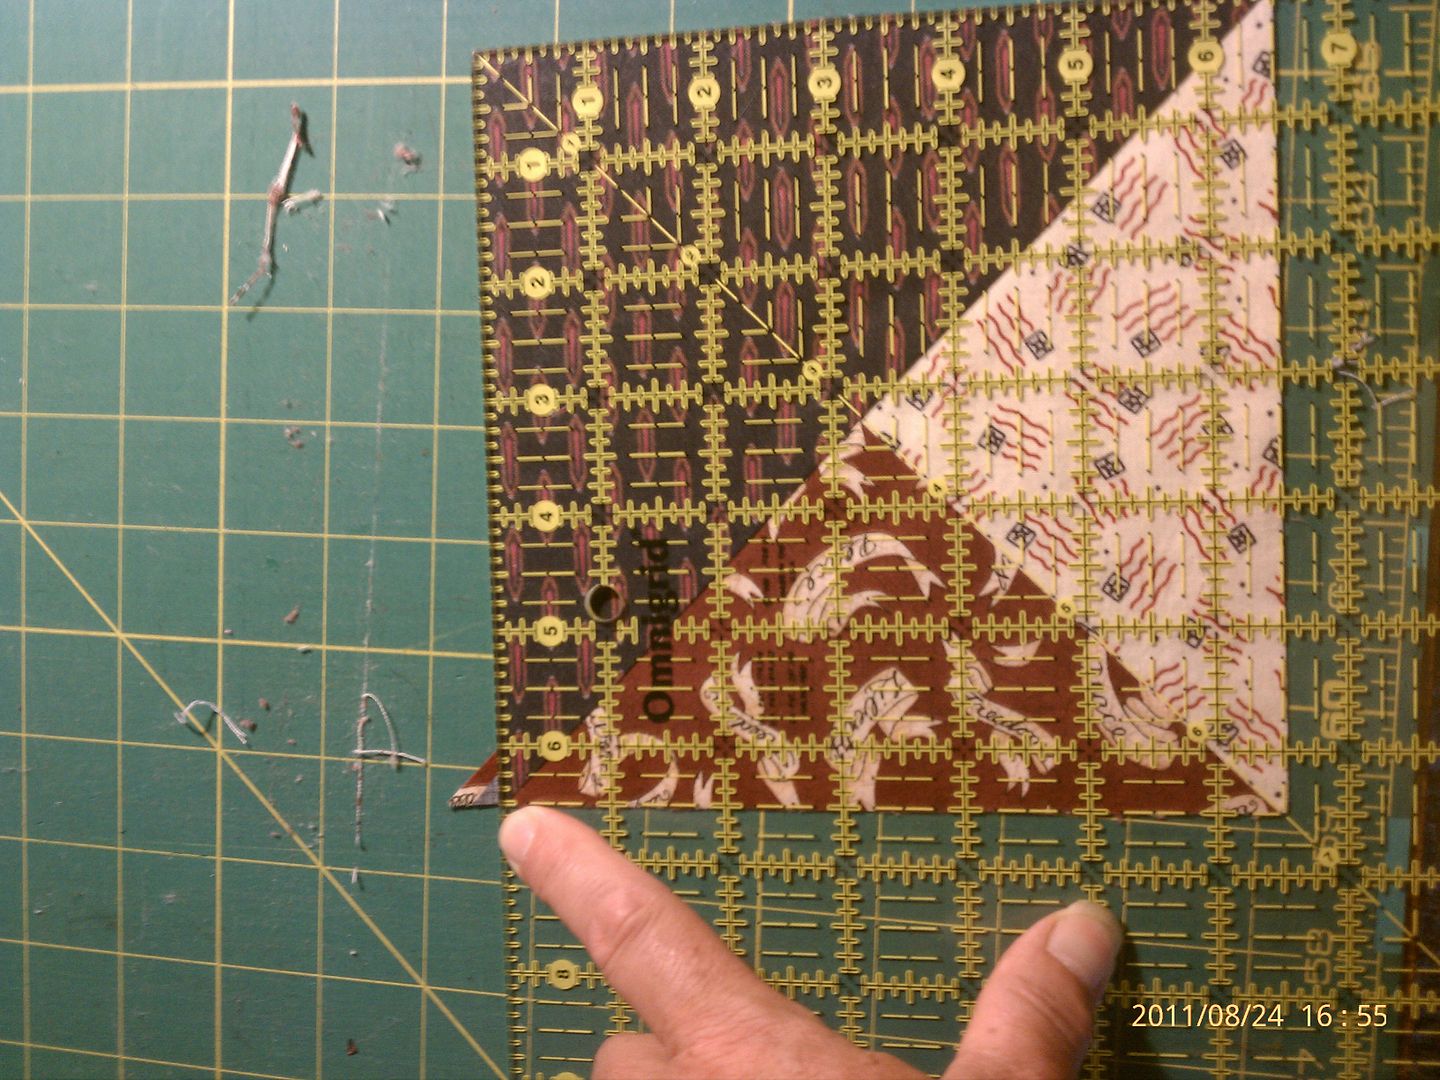
Now, place a main color HST on top of this unit with right sides together, matching the 90 degree corner and the short sides. Using your ruler, double check to make sure that the short sides of the triangles measure an accurate 6 7/8".


(As you can see, my pieced triangle is a bit larger... I may not have cut very accurately)


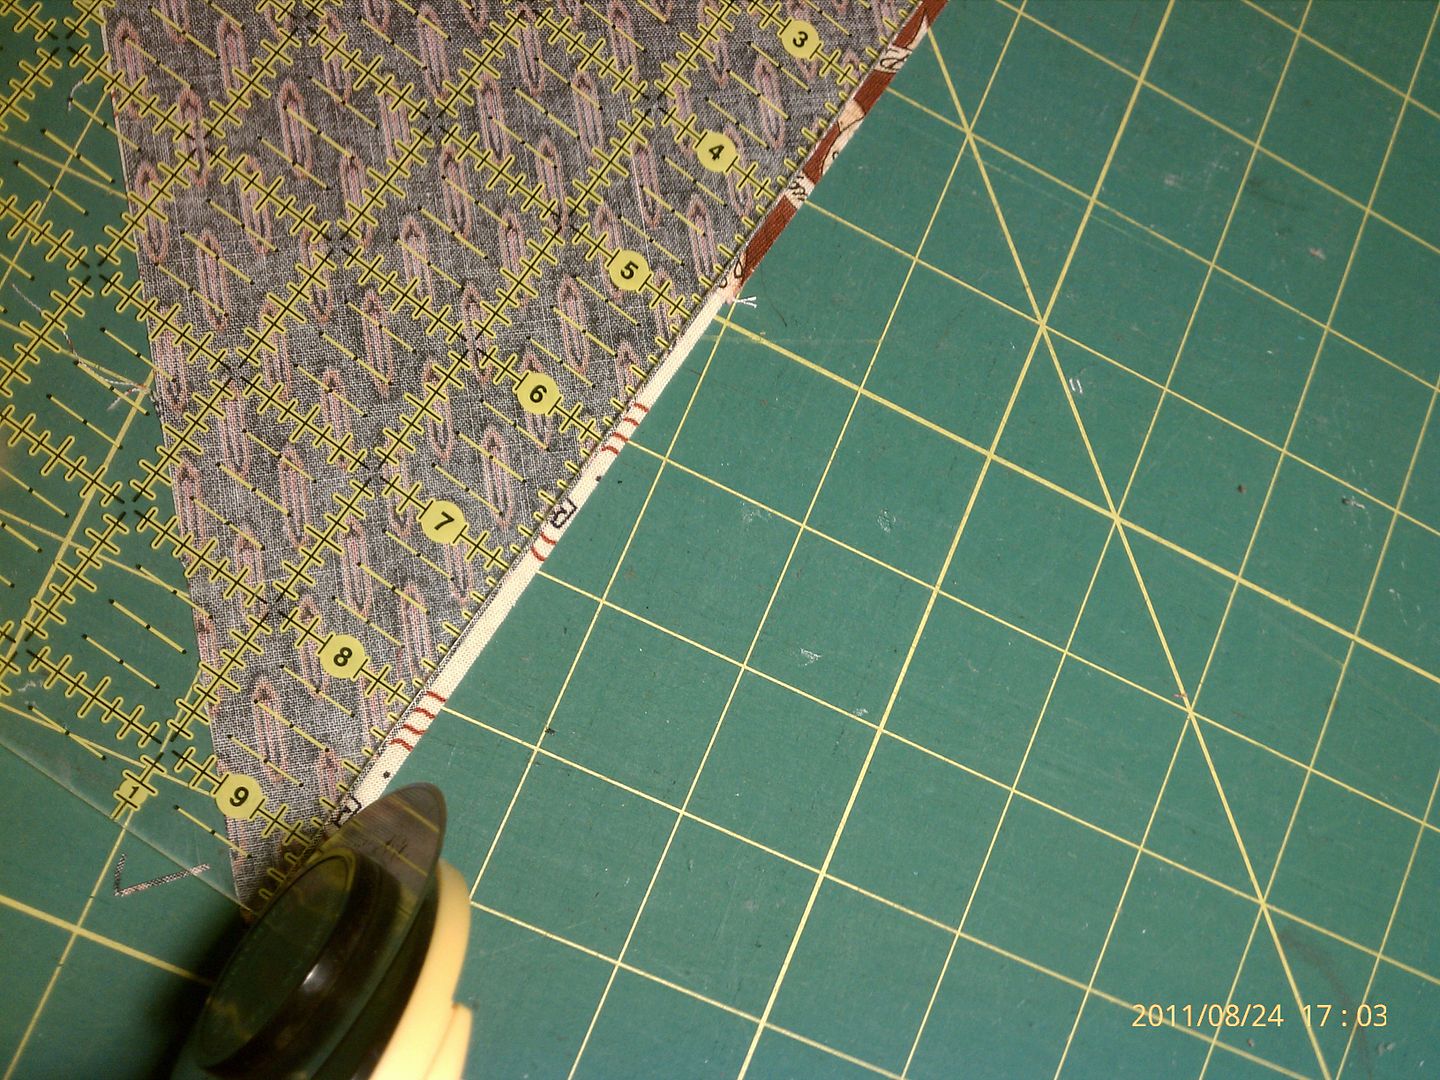
I could just stitch this using the blue as a guide, but I'm a bit more compulsive than that, and I prefer to carefully cut this little extra off.


(Sometimes, it may be even larger than this, making it difficult to get a perfect scant 1/4" seam allowance.)

                                                                                                                                                                               
When you have the triangles corrected, you are ready to stitch.   Congratulations if you didn't have to adjust any at all!
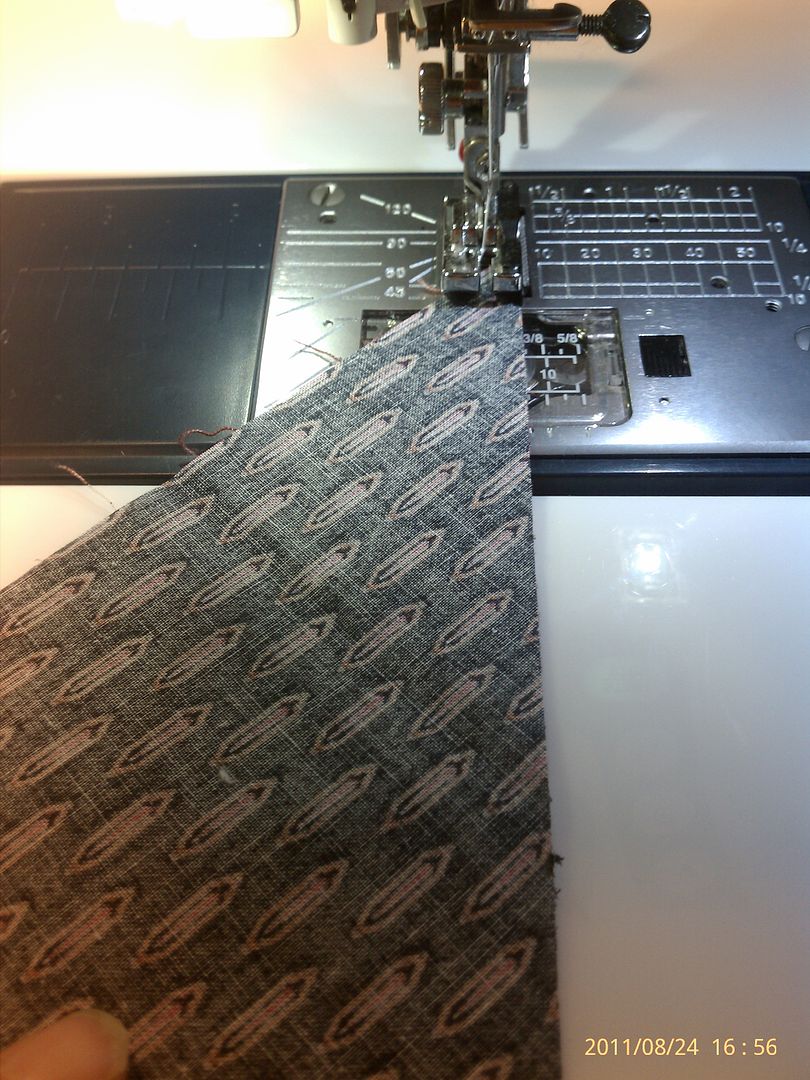
Stitch the units together on the long edge.  This is on the bias, so be careful not to stretch it as you stitch.
Make 4
Press towards the large triangle. 
Trim your dog ears, and square to 6 1/2".
All your units should now measure 6 1/2".  Lay them out so that they look like the picture below.
Now we'll stitch it together like a ninepatch block.    Too make sure that your star points will be nice and sharp, make sure that the outside edges of your blocks are all nice and even. 
Stitch into 3 rows,  press towards the background and center squares. 
Stitch the rows together.  Press.   Your block should be a perfect 18 1/2" inches.  trim and square if necessary. 

Tuesday, August 9, 2011

July UFO finish!

I actually got this finished in May..... Not a machine stitch in it anywhere! YEAH!

Time Flies

Where does time go? My last post was in early May? I've been working in the garden.... and doing some stitching..... This little baby quilt will be for a great-great nephew that will join us sometime in September. The best news? That monkey fabric was on clearance for $1.50 a yard..... I purchased the banana fabric, but the others all came from my stash. I couldn't resist making a few applique monkey faces to fill in the yellow brick road's large squares.
My summer break is over 1/2 over now... and my "to do" list is still looming. The ground is now leveled for my greenhouse, the shop still needs major re-organization, and the lower bathroom still needs it's facelift.
I'm signing off for now... got things to do....

Monday, May 2, 2011

Tutorial for Planting Planters and Container Gardening in General….


Middle of August and Still going strong! 


I’ve always loved container gardening!  You may have seen my tutorial about the exchange planters I am doing this year.   I’ve had several people ask me in the past how my planters look so full and lush all season.   

Here’s what I do.  Click on the pictures for a larger view! 

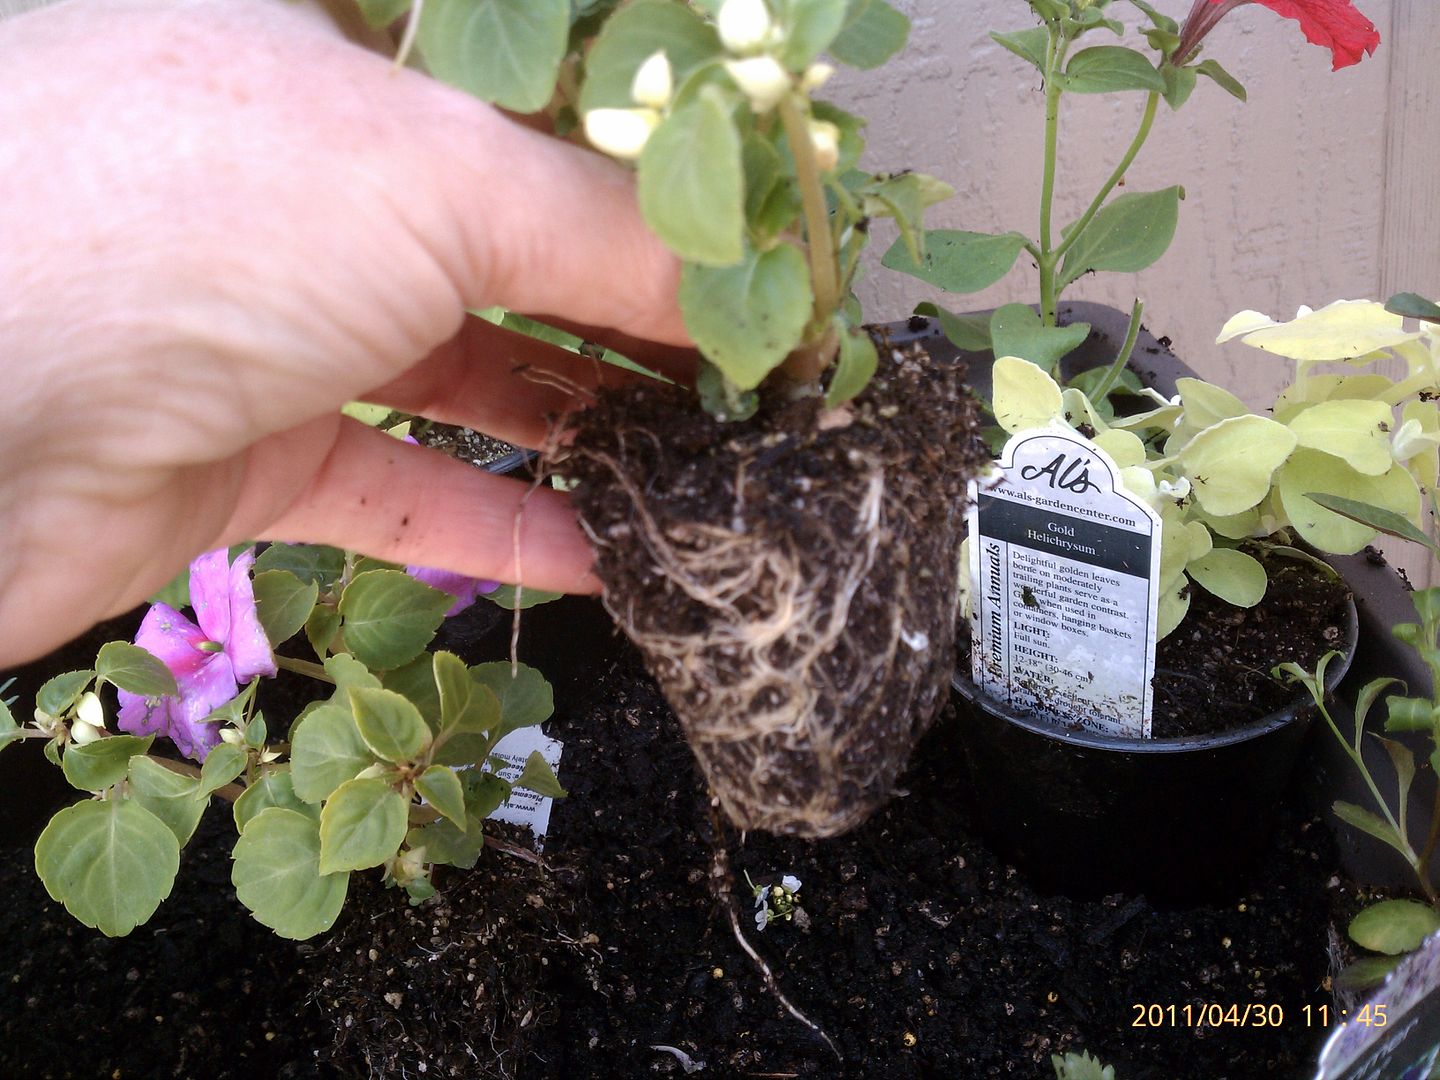
1.     I exchange at least half of the soil in a container each year, with new potting soil.   Where does the old half go?  Well, usually some of it has washed out through numerous waterings all summer.  Also, when I pull the old plants out, there is the soil that is clinging to the roots.   The other part of the half that I pull out goes to a pile I like to call “Dirt Heaven”.  It gets mixed in with the compost or to help lighten up clay soil around the yard.  After all, it’s bark, vermiculite, perlite, and peat for the most part.  So I usually dump the entire pot out into the wheelbarrow. 

2. Think of it as “Soil lasagna”… when filling the pots, use equal parts of old soil, new soil in layers until the pot is about 2” from the top.   Mix it well, so that you can’t tell where the two different soils are.  (This does work best if the old soil is slightly moist.  I always try to water my old pots a couple days before I’m going to work with them.  If they are too wet, it’s a soggy mess.)


Remember to pull out those
old tangled root pieces!
 

My “Soil Lasagna”.  This is half old potting soil, half new potting soil.  It’s about 2” from the top of the pot.
(Don’t try to use regular garden soil for container plants.  It just doesn’t drain right, and you’ll have a soggy, muddy mess.  Please don’t ask me how I know this.)

     
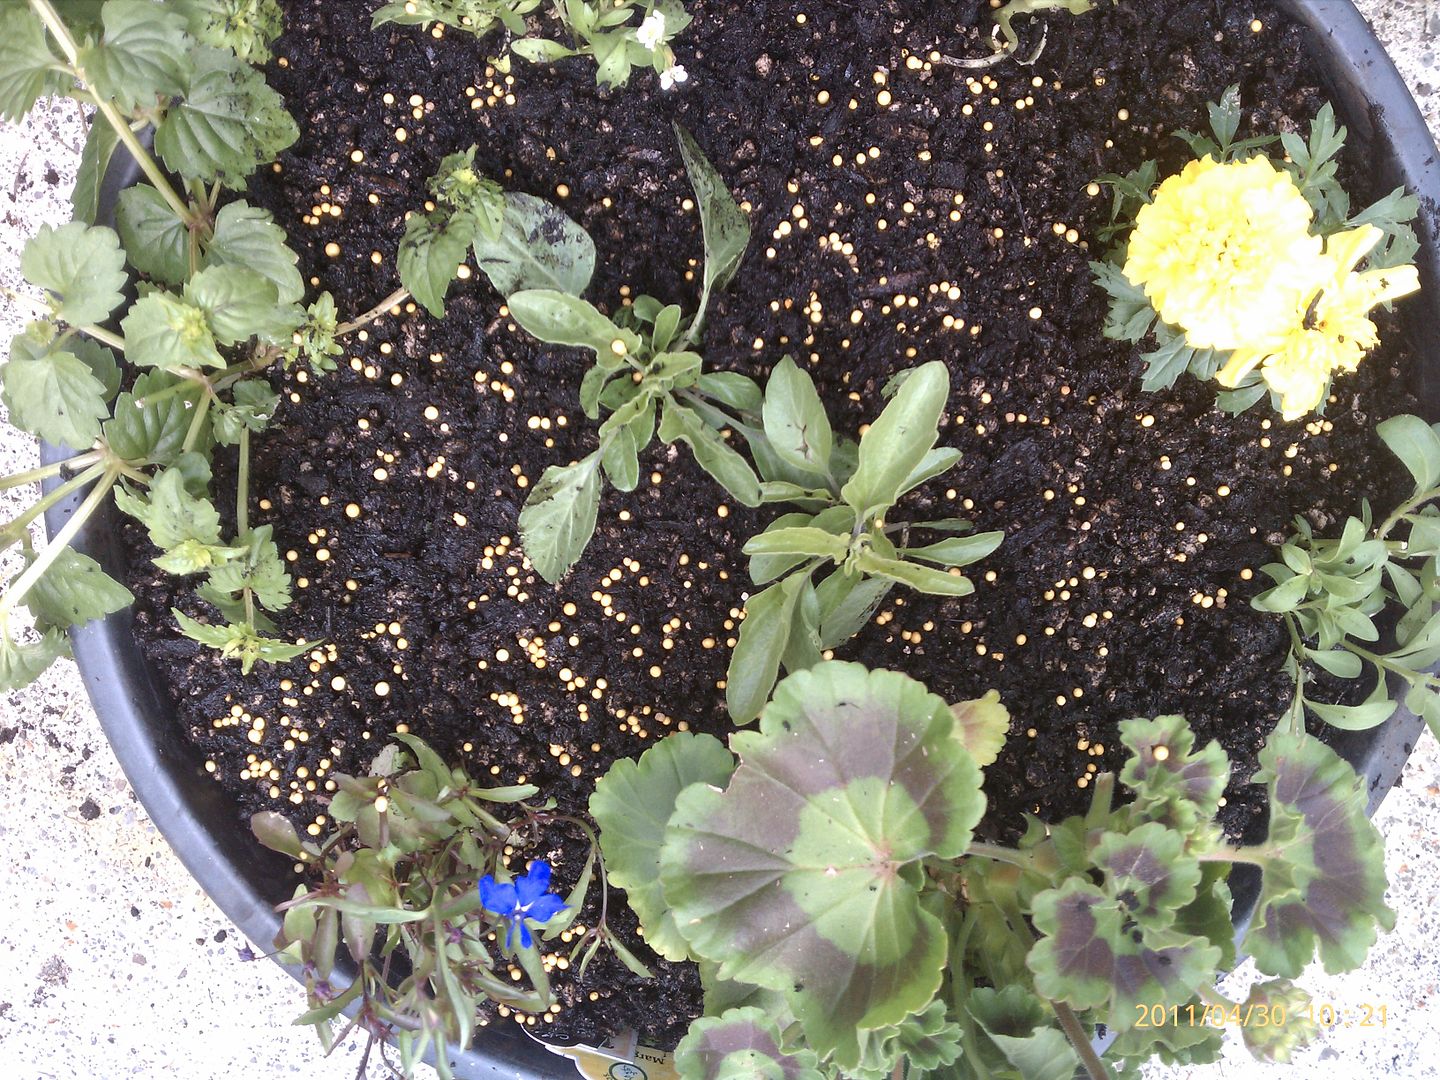
         3.  Add moisture pellets and a good fertilizer.    I personally like Osmocote 14-14-14 for this.  It lasts for 4 months…. And fertizes every day.    
You can buy potting mix by Miracle Grow ( and other companies )that already has these mixed in, but I like to do it myself.  It is about half the price, and I have more control over what goes in.  A little of the moisture crystals go a long way, and one jar has lasted me a couple of years or more.  

This is just one brand of the moisture crystals.

Osmocote 14-14-14
A good, all purpose fertilizer


Follow the instructions on the package .  Sprinkle both on the surface… Mix Well! 

Find the plants you want to put into the planter. 


Here is a little side tutorial for those not familiar with the moisture crystals.

These little guys will be a lifesaver in the heat of summer.  They help hold moisture in the soil, and then slowly dry up, releasing the moisture as they do.   (Just remember that if your pot goes totally dry… it will take a very good soaking to plump them back up.)
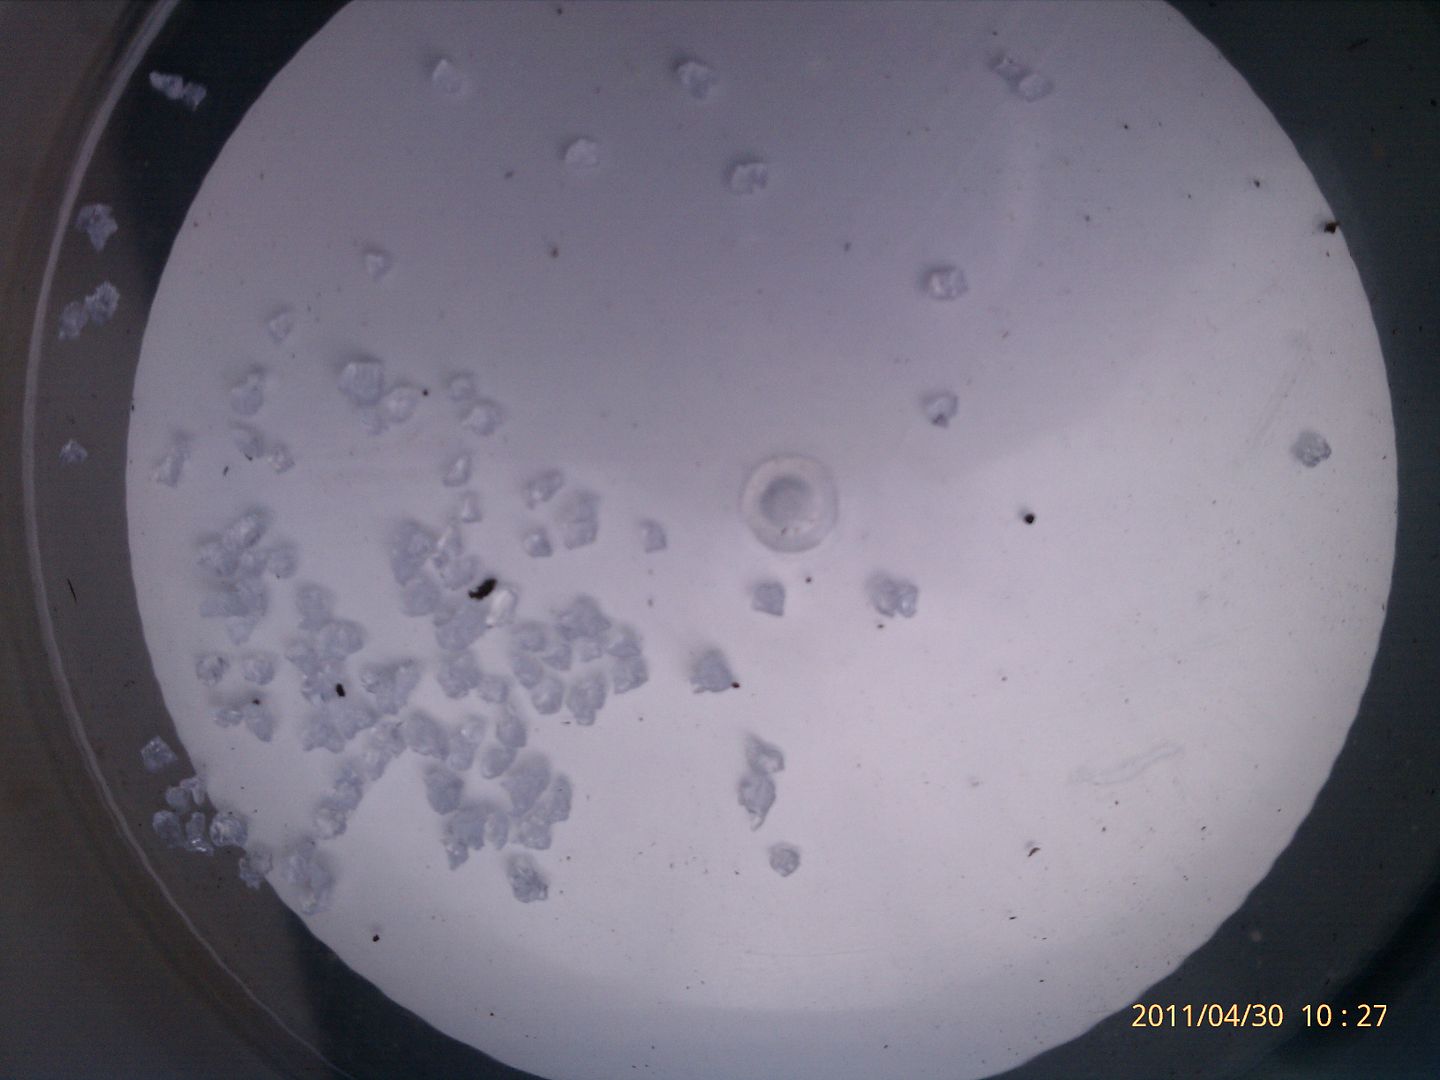
I put about ¼ teaspoon into this little container.

I added about ½ teaspoon of water


I waited about 30 minutes

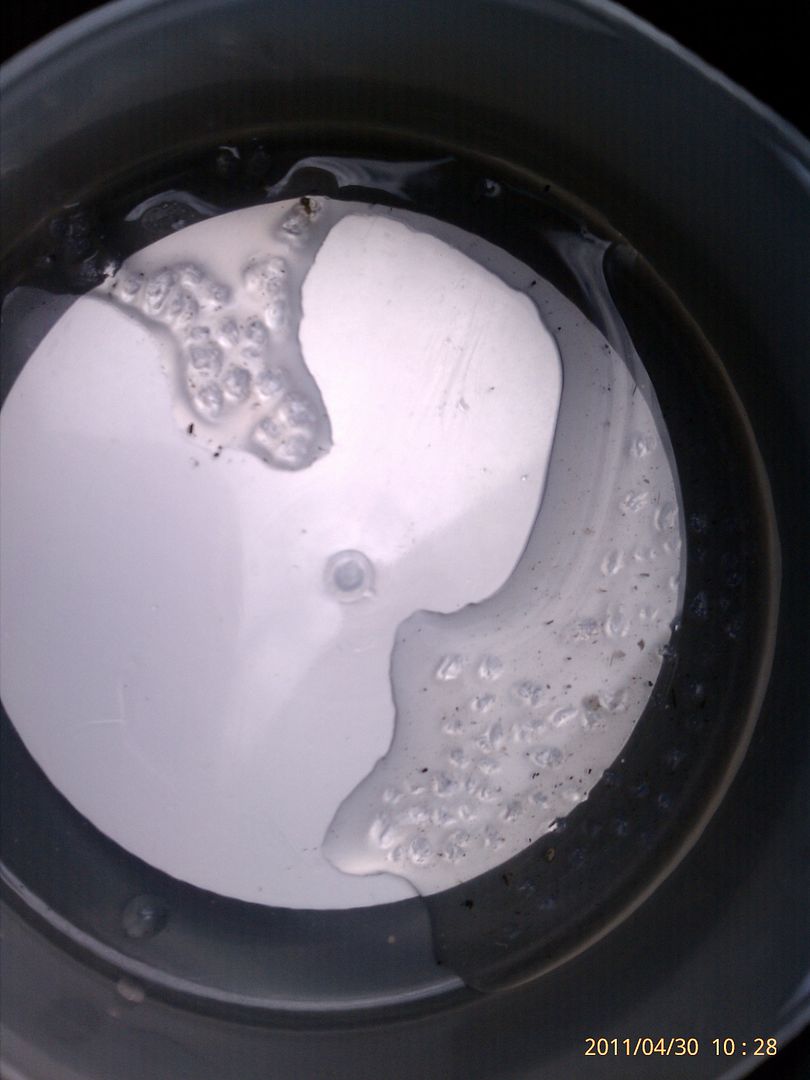
See the little  “cubes” of gel?  That is what they turned into.
Some have asked me why I don’t add the moisture crystals to all the soil… I want my roots deeper than the top 1 or 2” of soil, so if the crystals are lower, it will “invite” better root growth.  The other reason is… if you have the crystals in the top, they tend to “float”, and then it looks like “jellyfish” have invaded your planters.

4.  Let’s get to planting!  I like my pots very full!  I never read the spacing requirements when doing pots.  {If you have ever looked closely at those beautiful pots at the garden center that cost $50.00 or more, you will notice that they are packed tight!}  I can buy a lot of plant starts for $50.00… in fact… I can usually plant 5-6 full planters for that price!   It depends on how many premiums I put in, and if I got them all on sale or not.


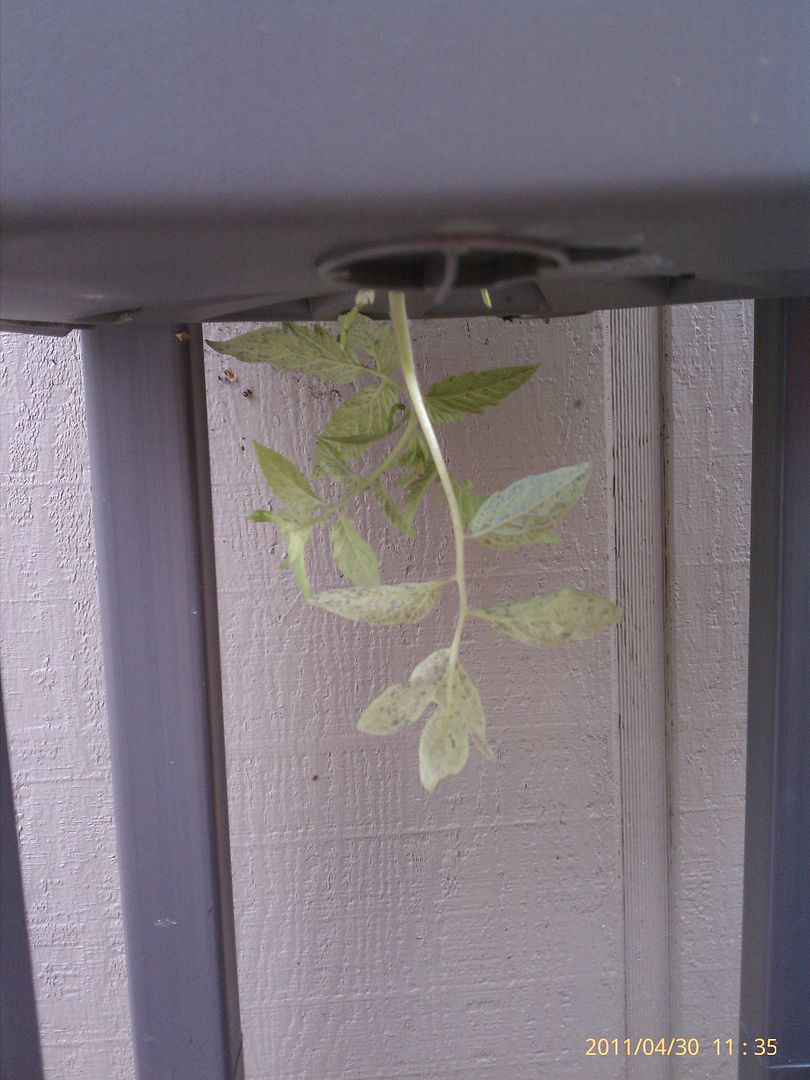
This planter has a spot for tomatoes or other trailers to grow out of the bottom. 

I am doing Early Girl tomatoes in this one, so the tomato goes in BEFORE I start my “soil lasagna”


This is what it looks like before building up my soil.  See the tomato root ball sticking up in the center? 

I usually start by laying my plants in the general layout I think I want.Taller plants in the back or center, depending on where the planter will sit.


Then I start by putting a  1" buffer of soil between the plant and the outside of the pot. (Remember that pots can get hot sitting in the sun.) I put all the outside plants in first, remembering the buffer zones along the outside. 

Then I fill in the center plants.  


I fill the soil up to the plant line as I go….

 This means that for a large premium 4” plant that I dig a small hole for it. 

I try to leave at least 1” between the top of the soil, and the rim of the planter to hold water

Gently pack the soil in around the plants to give them firm support.


Now, add a few more of the fertilizer beads to the top. 
I tuck the pull tags of the plants I used, behind one of the plants at the edge.   This way I can remember what's in there, and make notes about performance, etc in my gardening journal. 

Sweep up the loose soil and plant parts BEFORE you water in your planterGive the planter a good drink of water.  Check soil level, and if necessary, add more.  Water again.


This planter has:
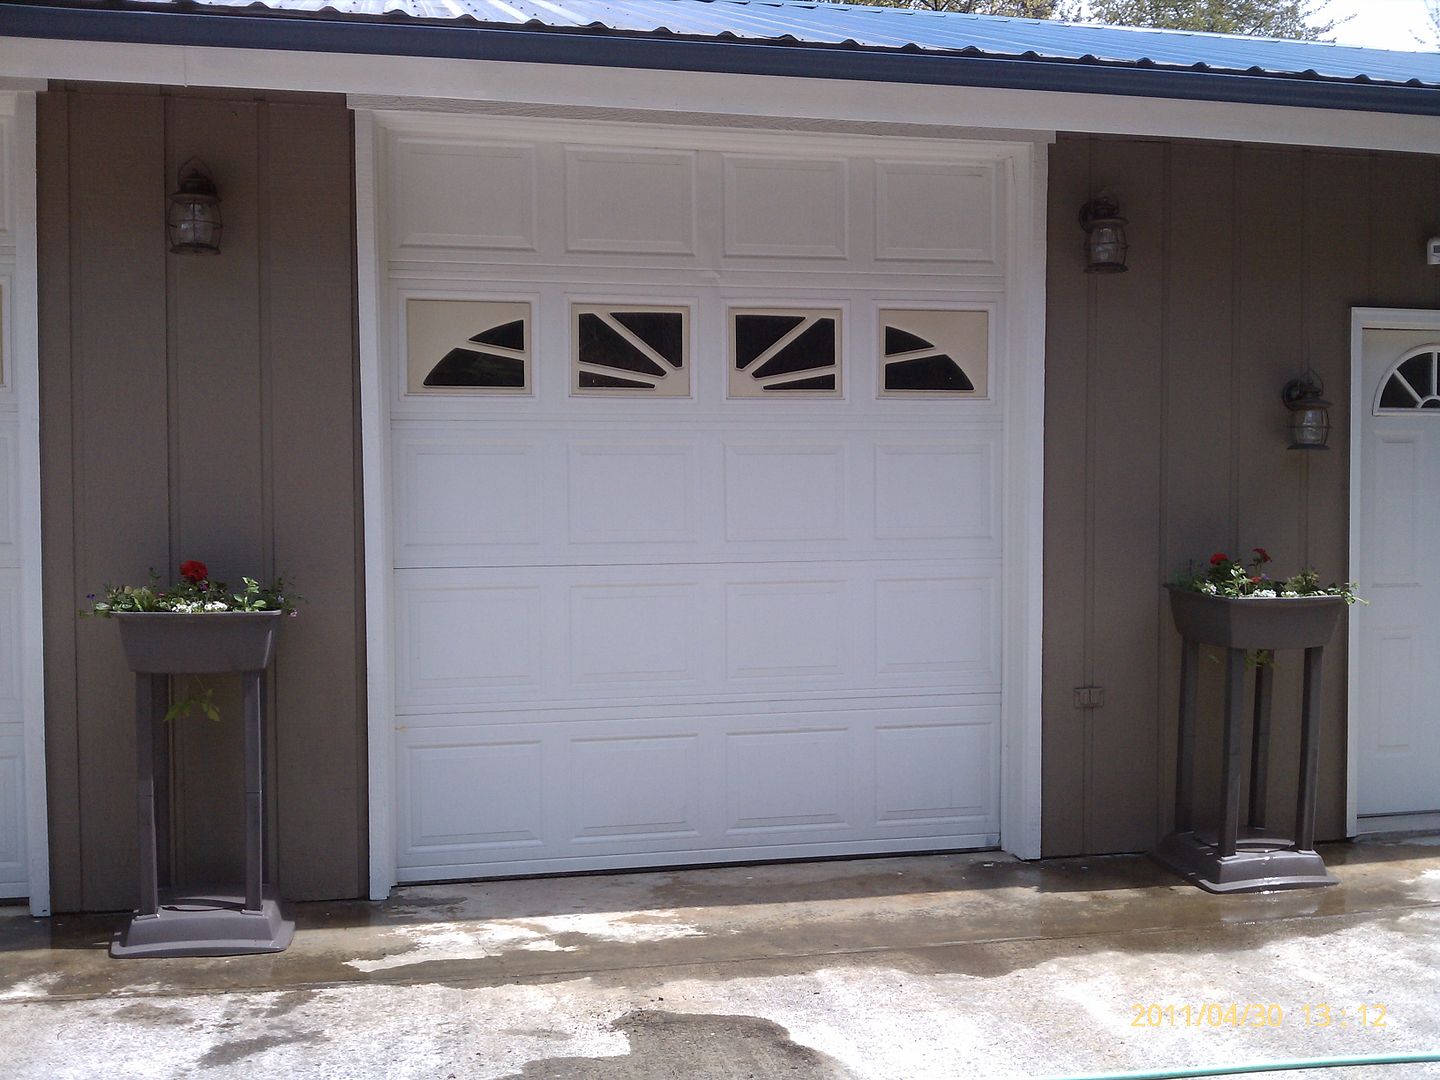
          One midnight wave (I think it’s a scaeveola), One red geranium, one pink bacopa, a lime licorice vine, two white alyssum starts, two midnight blue lobelia starts, two red petunia starts, and 3 impatiens starts.  And a 3" tomato start!  The first four were all 4” plants and the starts were from tray packs. Cost of plants was less than $10.00 

         5.  I start my planters about 3 weeks before I would put plants out into the actual soil.   Usually between Easter and Mother’s Day.   The planters with their fresh soil mix are warmer than the soil in the ground, and they have better drainage.  Just remember that if you have frost -fragile plants, that you tuck the pots under cover if it’s going to get cold.

Oops!  Frost damage to this little sweet potato vine.

It’s hard to protect from spring hailstorms though…. This begonia got caught out one afternoon last week.


            6.  Water on a regular basis.  Try to keep the soil damp….  Not soggy, not dried out.     If by chance a planter or hanging basket dries out, soak it in a tub of water if possible…. So that those little water crystals can re-hydrate.  I usually soak mine for about 2 hours or so if needed.

         7.  Fertilize ! Fertilze !  Fertilize !   I know.... we used those fertilizer beads, but I always do a liquid water-soluble fertilizer (Miracle Grow, Schultz, Peters, etc.) about once a week when watering.   This is where I can be planter specific.  Do I want a bloom booster? {use one with a High middle number… i.e.. 15-30-15}.  Do I want overall growth?  {use one that is more evenly proportioned i.e.… 20-20-20.}  They make those great hose end feeders, but I like to do it the old-fashioned way, and mix the powder into a watering can.  This way, I get up close to the plants.
      By the way… those fertilizer numbers….    Think….  “UP, DOWN, ALL AROUND” and that will make it easier.
First number is nitrogen  - for top growth… green growth….  
Second number is phosphorous  - for  roots and blooms…
Third number is potassium – for overall strength and vitality.   If plants have been stressed, or have week stems, try to increase this number.  Or go with an even proportion until the stress is over, and then return to the bloom booster.  

8.  Deadhead and Pinch.  This is vital to a great looking pot. (or garden in general).   I usually do this with my bare hands, but some like to use scissors.   As blooms fade, pinch off the dead or wilted flower.   If the lobelia gets a little brown, pinch it back or pull that part off.   To keep the trailers going, pinch back about 1/4 to 1/3 of the foliage and blooms each week. (as your are fertilizing is a good time.)  This way, you never have to really give the entire planter a full haircut, but it keeps generating new growth that looks good.  Pinching back, especially early in the season, forces the plant to fill out more.  I know, it’s hard to pick off that first petunia bloom, but believe me; it will give you a much better show later if you do. 
{Did you know?   The only job of an annual flower is to produce seeds for the next generation?  In order to produce the seed, it has to flower first!  So… if you pinch off the fading flower, BEFORE it goes to seed, then the plant needs to produce another flower! }   Yes, you can trick a petunia to flower over and over, all season.   But, if you let it go to seed, then it will retire and go to the seed ripening stage, and stop flowering for you.

This was taken last August….


 So was this one… same planter, but you can see the tomato growing out the bottom! 


I hope I haven’t bored you today with planting tutorials… just wanted to share my methods and ideas.