Tutorial for Exchange Planters….
This is an idea I’ve been thinking about for several years. Back in the semi-dark ages when I managed a garden center, one of my regular customers did these for people as a side job. It sounded like a great idea at the time, but I’ve never put it to practice for myself. This is the year!
We have a solid surface deck, that does not drain water easily. The mixture of patio / deck pots I had last year, were always overflowing, even with saucers, and making a mess. Our deck is huge… and those small pots seemed lost and to just kind of sit there, like an afterthought.
The plan works like this:
You pick out pots that fit your décor. Then, using a liner pot, you plant your summer color in the liner. You are also going to plant a liner up for fall, one for winter interest, and one for early spring. When it’s time to switch from one season to the other, you pull the early spring bulbs liner out, and replace it with the summer color one. You can plant up your fall one, with mums, asters, autumn joy sedums, etc. The winter one could have small evergreens with trailing ivy. The spring one could be planted with bulbs, and have room to tuck in some primroses or pansies when they become available in Feb. The possibilities are endless.
Remember the customer I was telling you about earlier? He would plant an extra up for his clients, so that in case something happened to a single plant or to the pot, there was a replacement ready to go in it’s place. This would be an especially great idea if you were planning a garden wedding or special event. A little back-up plan.
How to:
Now, before you run out and buy just any pot for this project, you will want to do some homework first. You need to find some inserts. These could be inexpensive, large black plastic nursery pots (mine were free)…. Or they could be purchased plastic ones that are a little more decorative. I would try for pots that are at least 5 gallon in size or so, to make it worth the trouble of planting. You need these in multiples of 3 or 4 for each decorative planter you want. This is determined by how many seasons you want to plant for. Having them all consistent is size is best…because in the end, you’ll do a lot less fussing.
 | I got 12 of these #10 pots from a nursery in my area. (Thanks Vicky!). They were used, but in good shape. They are all the same. I need to get 4 more when they have some more to give away. They measure 12” tall, and 18” across |
I actually took one of my liners with me the day I shopped. I was looking for something that the liner would go down into, and be approximately the same size at the top. It’s ok, if the decorative pot is deeper, because you can always build a shelf inside with something to bring it to the right level. You do want to avoid having the liner be much more than ½ inch taller than your decorative pot, though.
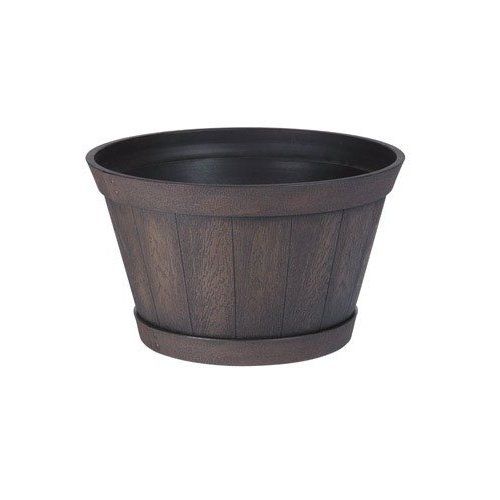
So, off I went to find my new decorative pots! I purchased some High Density Resin planters that look like whiskey barrels. They are lightweight, durable, and don’t have drainage holes. (Although you could drill them if you want to). I didn’t want to spend another $25.00 just for a saucer to go under my large planter. I found mine at Lowes, but there are lots of these lightweight planters available, in either the resin, fiberglass, or even cork. If you haven’t been out pot shopping in awhile, you’re in for a treat! I was looking for a rustic type of look, so the whiskey barrel was my choice. (I’m thinking that I’ll go buy another one to use to fill with ice for summer beverages on the deck.)
|
| ||||||
|
| ||||||

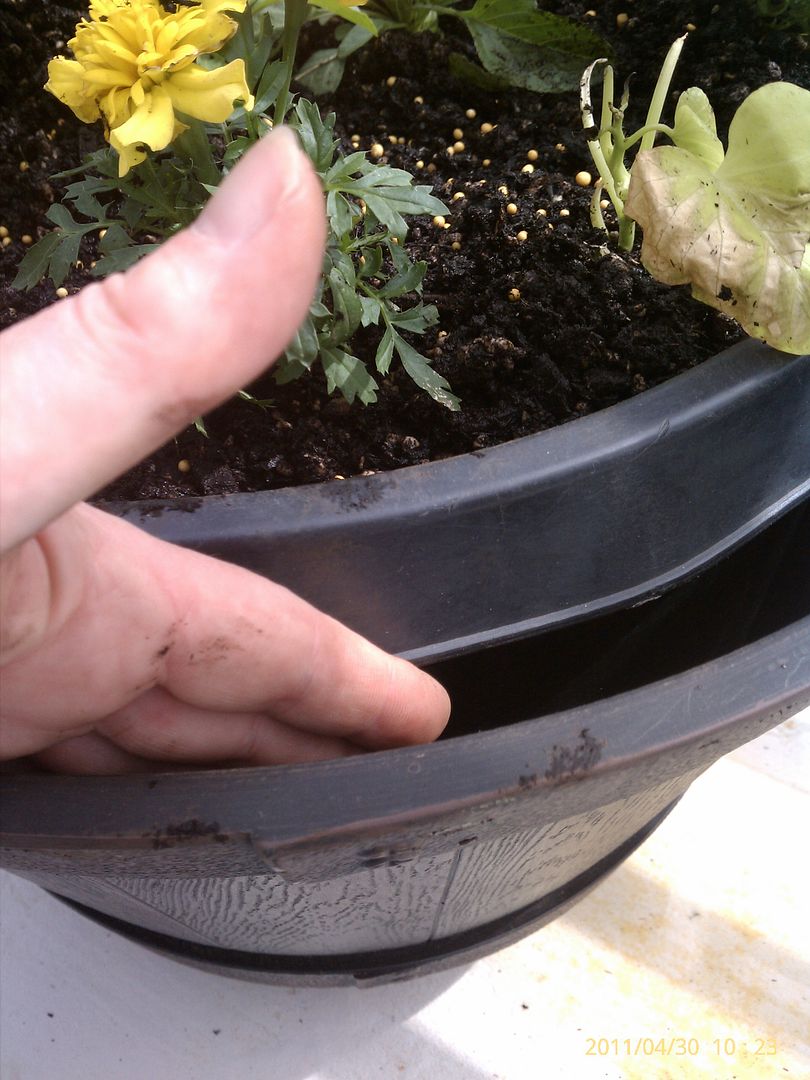
When set down inside of my decorative pot, my liner was ½” taller, and there was about 1” all the way around at the top. I could put my hand down inside. The shape of the whiskey barrel is flared at the top, and my #10s are straight up and down. I’ll show you my solution to that in a while.
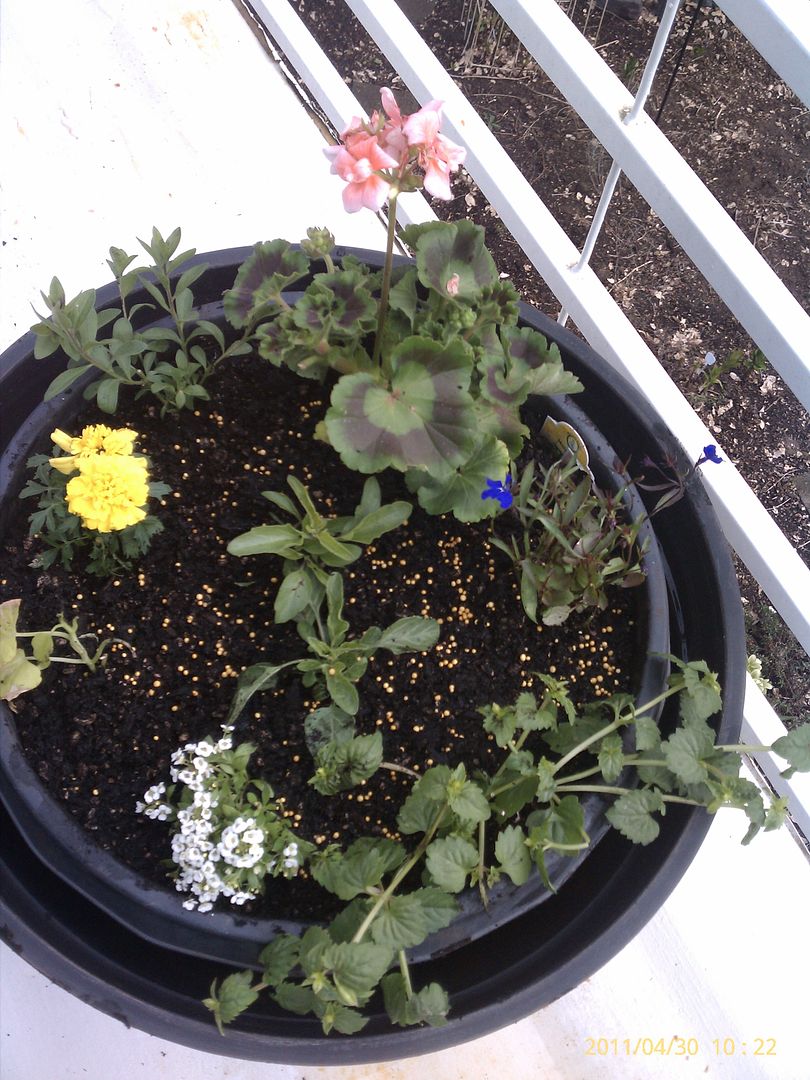
I fill my pots pretty full. I want a lot of color impact going on. These will fill out in month or so, and by July it will be in full glory.
Now, about that gap….. Since I had an inch all the way around, I wanted to fill it in. I thought about moss, but since I will have to pull my planters out to drain water, I didn’t want the moss mess. (If you are using decorative pots with drainage, then decorative moss would be a nice touch.)
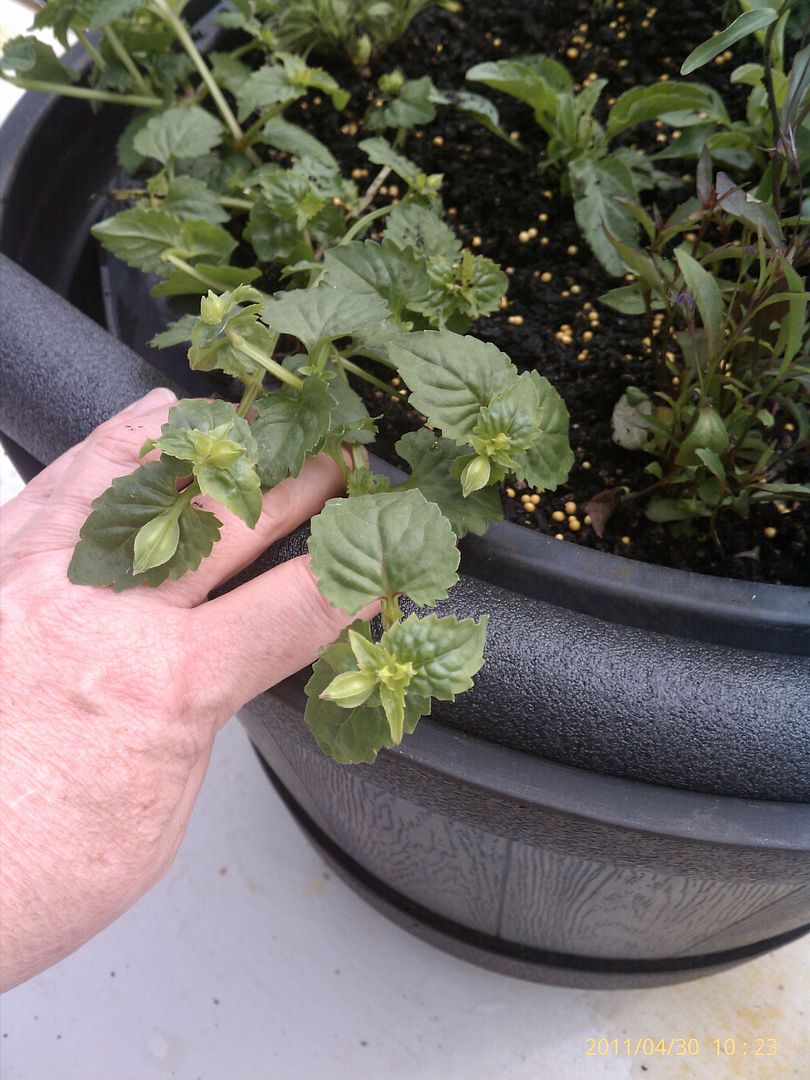
I filled the gap in with some of that flexible foam pipe insulation that comes in 4 foot lengths at the home improvement store. Mine was for ½” pipe, but they make other sizes.
|
| ||||
|
| ||||
|
| ||||
| |||||


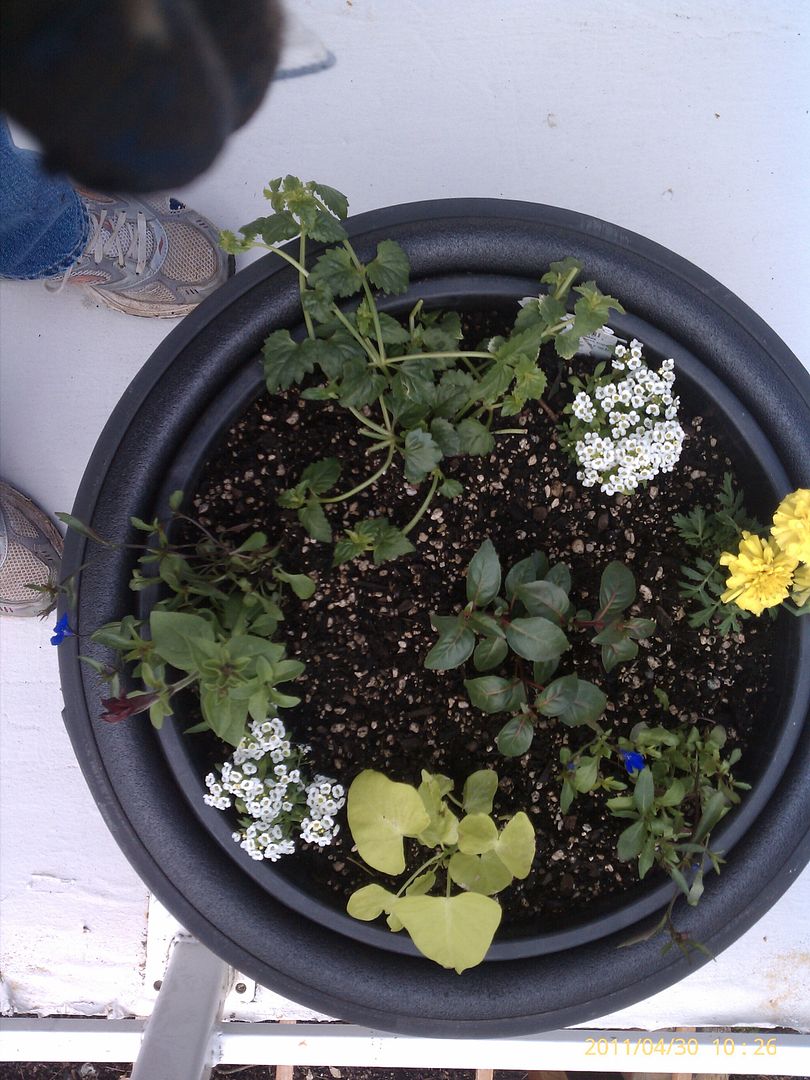
This planter has:
One upright fuchsia, one midnight wave (I think it’s a scaeveola), a yellow leaved sweet potato vine, two white alyssum starts, two midnight blue lobelia starts, one petunia start, and a marigold start. The first three were all 4” plants and the starts were from tray packs.
In no time at all, these will all cascade over the edge, and I’m hoping that the foam filler won’t even be an issue.
Now, I just need to start planning what will be in the fall and winter planters, and get them started. I have lots of room for these to sit down by the shop. But if you are limited in space, you may want to just plant one season for now, and the next season approaching.
Remember…. Wherever you put your “next season planters”… make sure to water them!
Thanks for sharing the photos of this great idea. I never would have thought of the foam pipe insulation, but it really it a great solution.
ReplyDelete